How to Download Your Tweets from X (Formerly Twitter)
There are plenty of reasons you might want to download your tweets from X (formerly Twitter). Maybe you’re thinking about finally saying goodbye to the platform, or you just want to preserve years of your witty observations, memes, and debates.
Perhaps you’re backing up your posts for professional records, analyzing your content for insights, or simply holding on to your online history before it disappears into the ether.
The good news? X makes it easy to download an archive of all your tweets. Whether you’re leaving the platform or just want to keep a record for yourself, you can save everything with a few simple steps.
How to Download Your Tweet Archive
Step 1: Log in to X (formerly Twitter).
Start by logging into your account. If you’re using a desktop, click “More…” in the navigation menu on the left-hand side to reveal additional options.

On mobile, tap your profile picture in the top-left corner to open the navigation menu.
Step 2: Go to Settings and Privacy.
In the navigation menu, look for and select “Settings and privacy.” This will take you to your account settings.

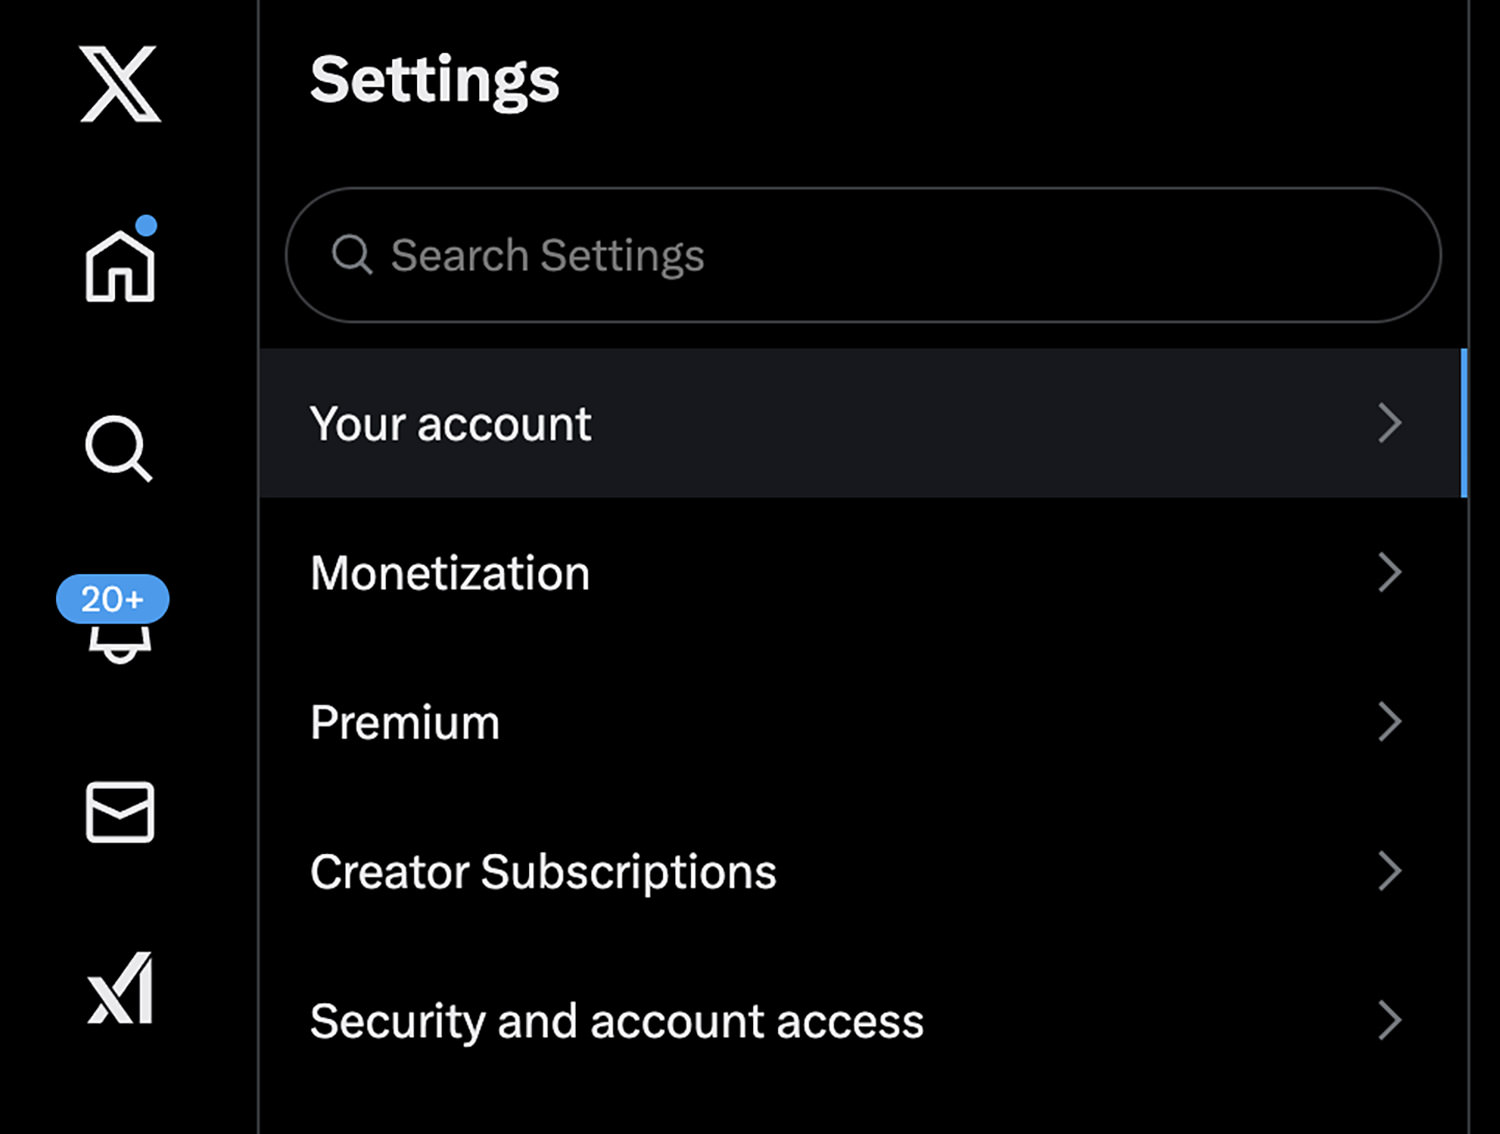
Step 3: Access Your Account Settings.
Once you’re in the settings menu, click or tap on “Your account.” This is where you can manage your account details and access your archive request.
Step 4: Request Your Data Archive.
Within the “Your account” section, select “Download an archive of your data.” This option will guide you through the process of requesting a copy of your tweet history.

Step 5: Verify Your Password.
X will prompt you to confirm your identity by entering your password. Type in your password, then click or tap “Next” to proceed.
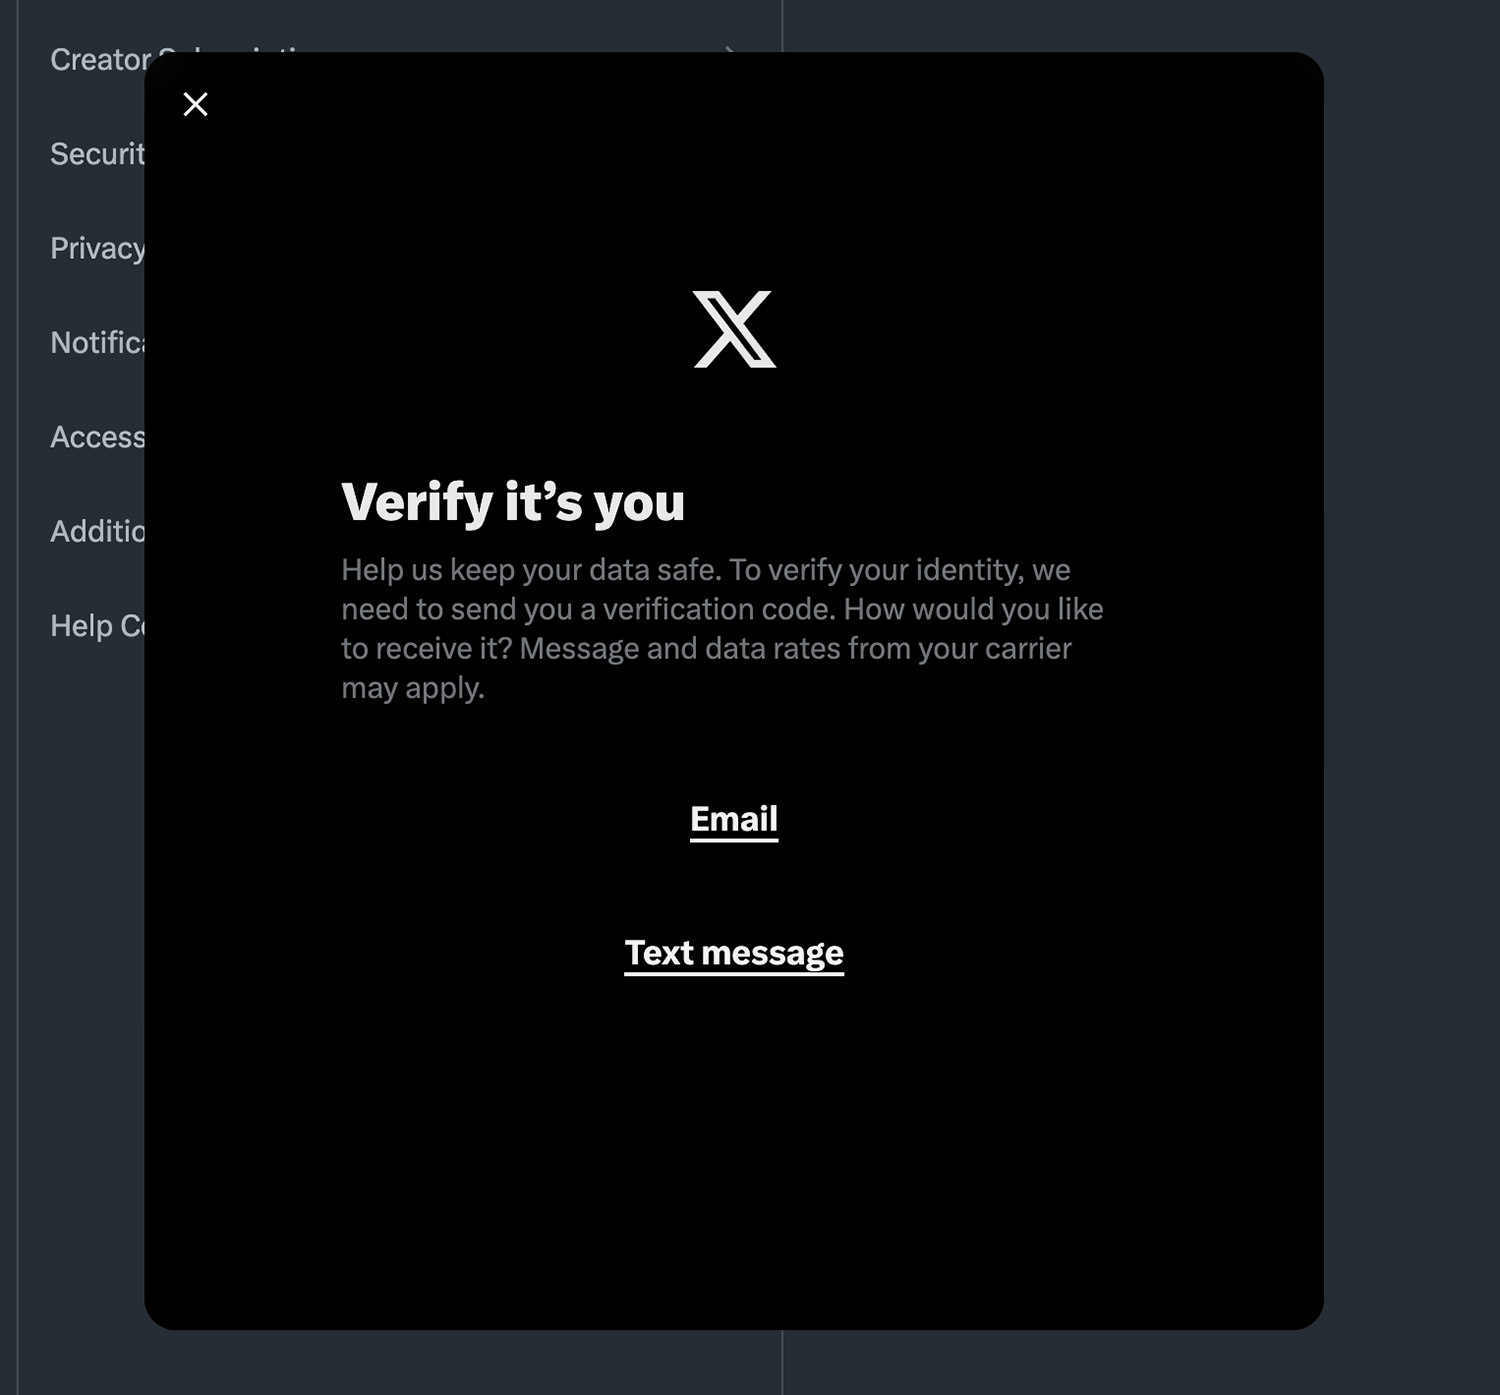
Step 6: Choose a Verification Method.
To ensure your data is secure, X will send a verification code to either your registered email address or phone number. Choose your preferred method for receiving the code.
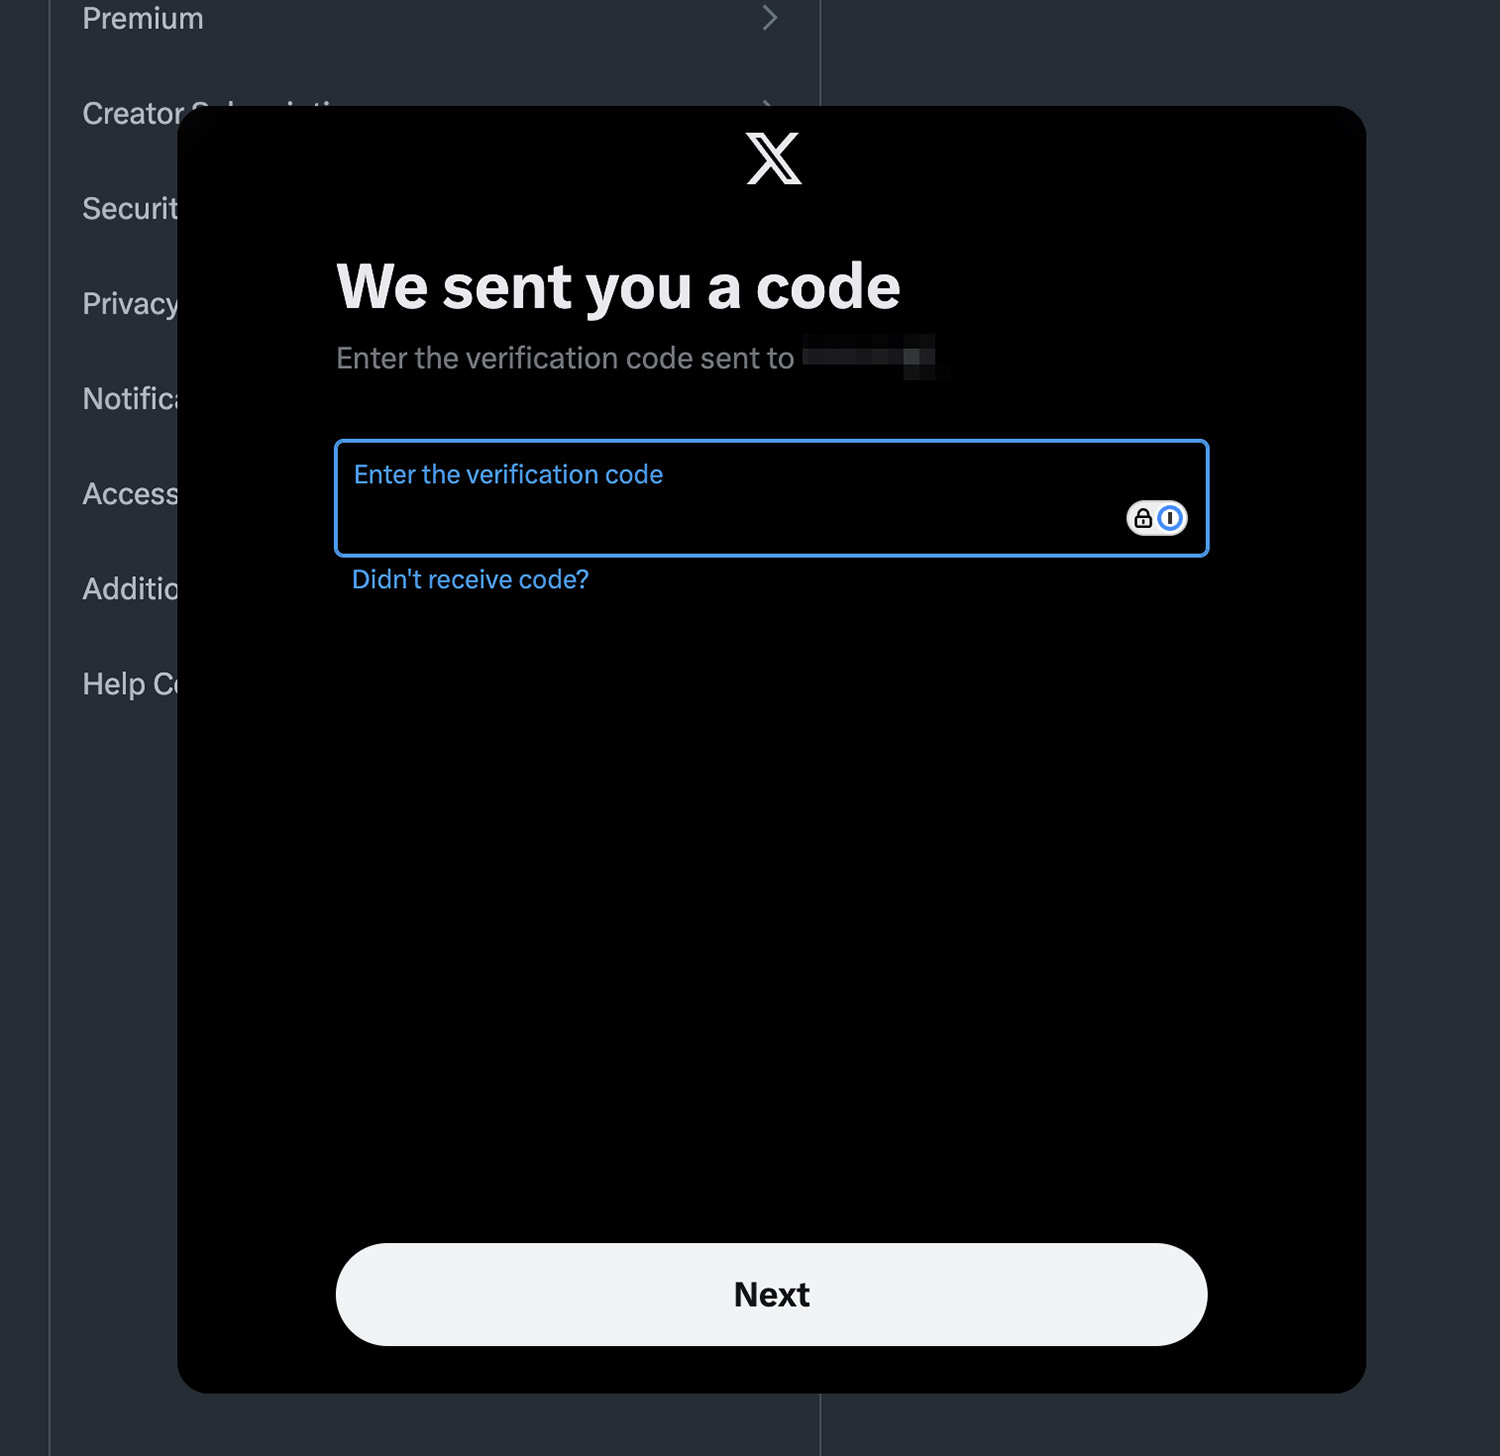
Step 7: Enter the Verification Code.
When you receive the code, enter it in the field provided and select “Next” to confirm your request.
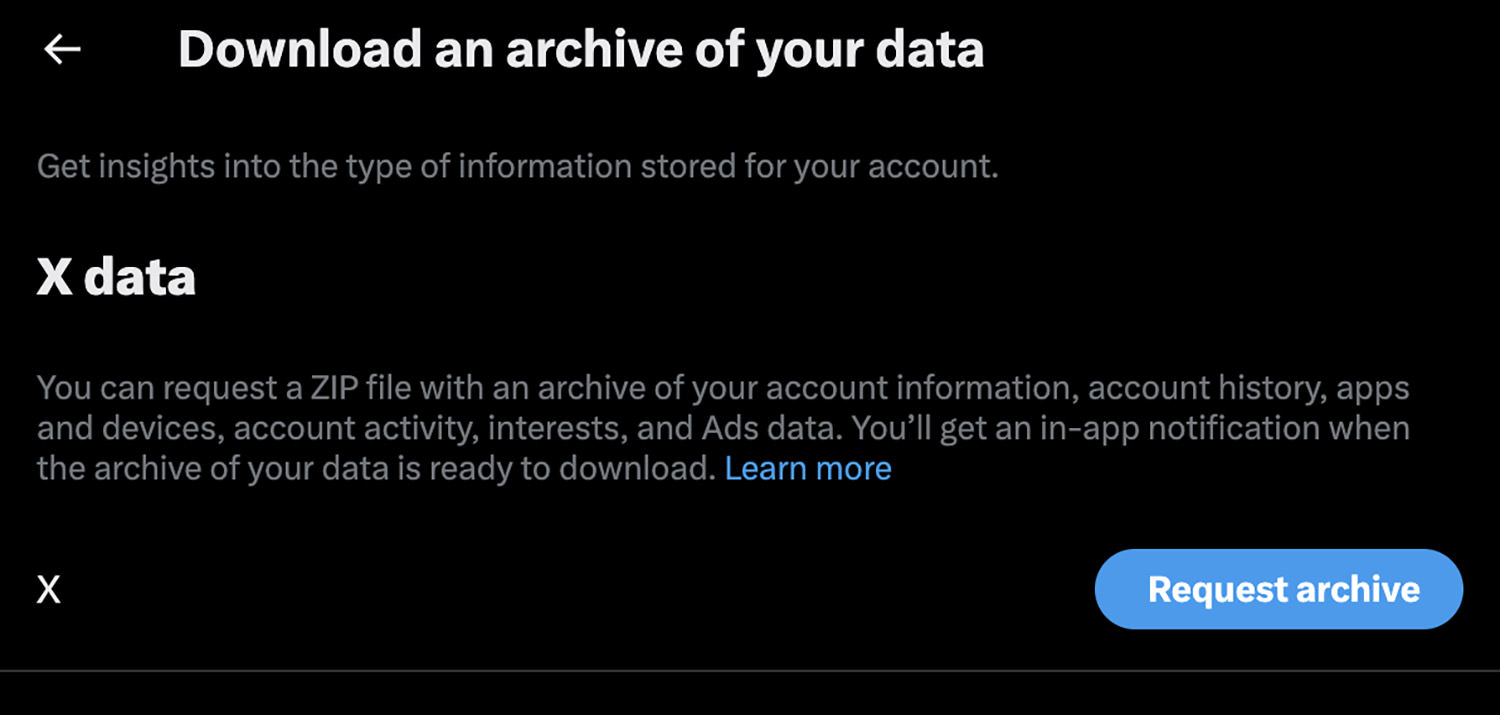
Step 8: Submit Your Archive Request.
After verification, click or tap “Request archive.” This will begin the process of preparing your data.
Now, it’s a waiting game. It can take up to 24 hours for X to process your request. Once the archive is ready, you’ll be notified via email or a push notification in the app. You can then download your archive as a ZIP file.