Building Your First Website with Wix (Step-by-Step Guide for Beginners)
Today, I’ll show you how to easily create your first website using Wix, which is free for basic use. We’ll go through choosing designs, adding text, and uploading images and logos.
By the end of this guide, you’ll be ready to launch your own site.

- Signing Up and Starting on Wix
- Choosing Your Website Type
- Setting Up Your Store on Wix
- Selecting and Customizing a Template
- Navigating the Website Builder Dashboard
- Editing the Website Header
- Managing the Website Menu
- Adding New Pages and Templates
- Customizing the Header and Adding Logos
- Editing and Positioning Images
- Working with Text and Styles
- Adjusting Page Layouts and Backgrounds
- Editing the Website Footer
- Publishing Your Website
- Optimizing Your Site for Mobile Viewing
Signing Up and Starting on Wix
First, visit Wix.com and sign up for an account to get started.
After you create your account, Wix will prompt you with a few questions to help tailor the setup process. Although Wix offers to set up your site using AI, we’ll proceed manually today, so I’ll guide you through each step without AI assistance.

Choosing Your Website Type
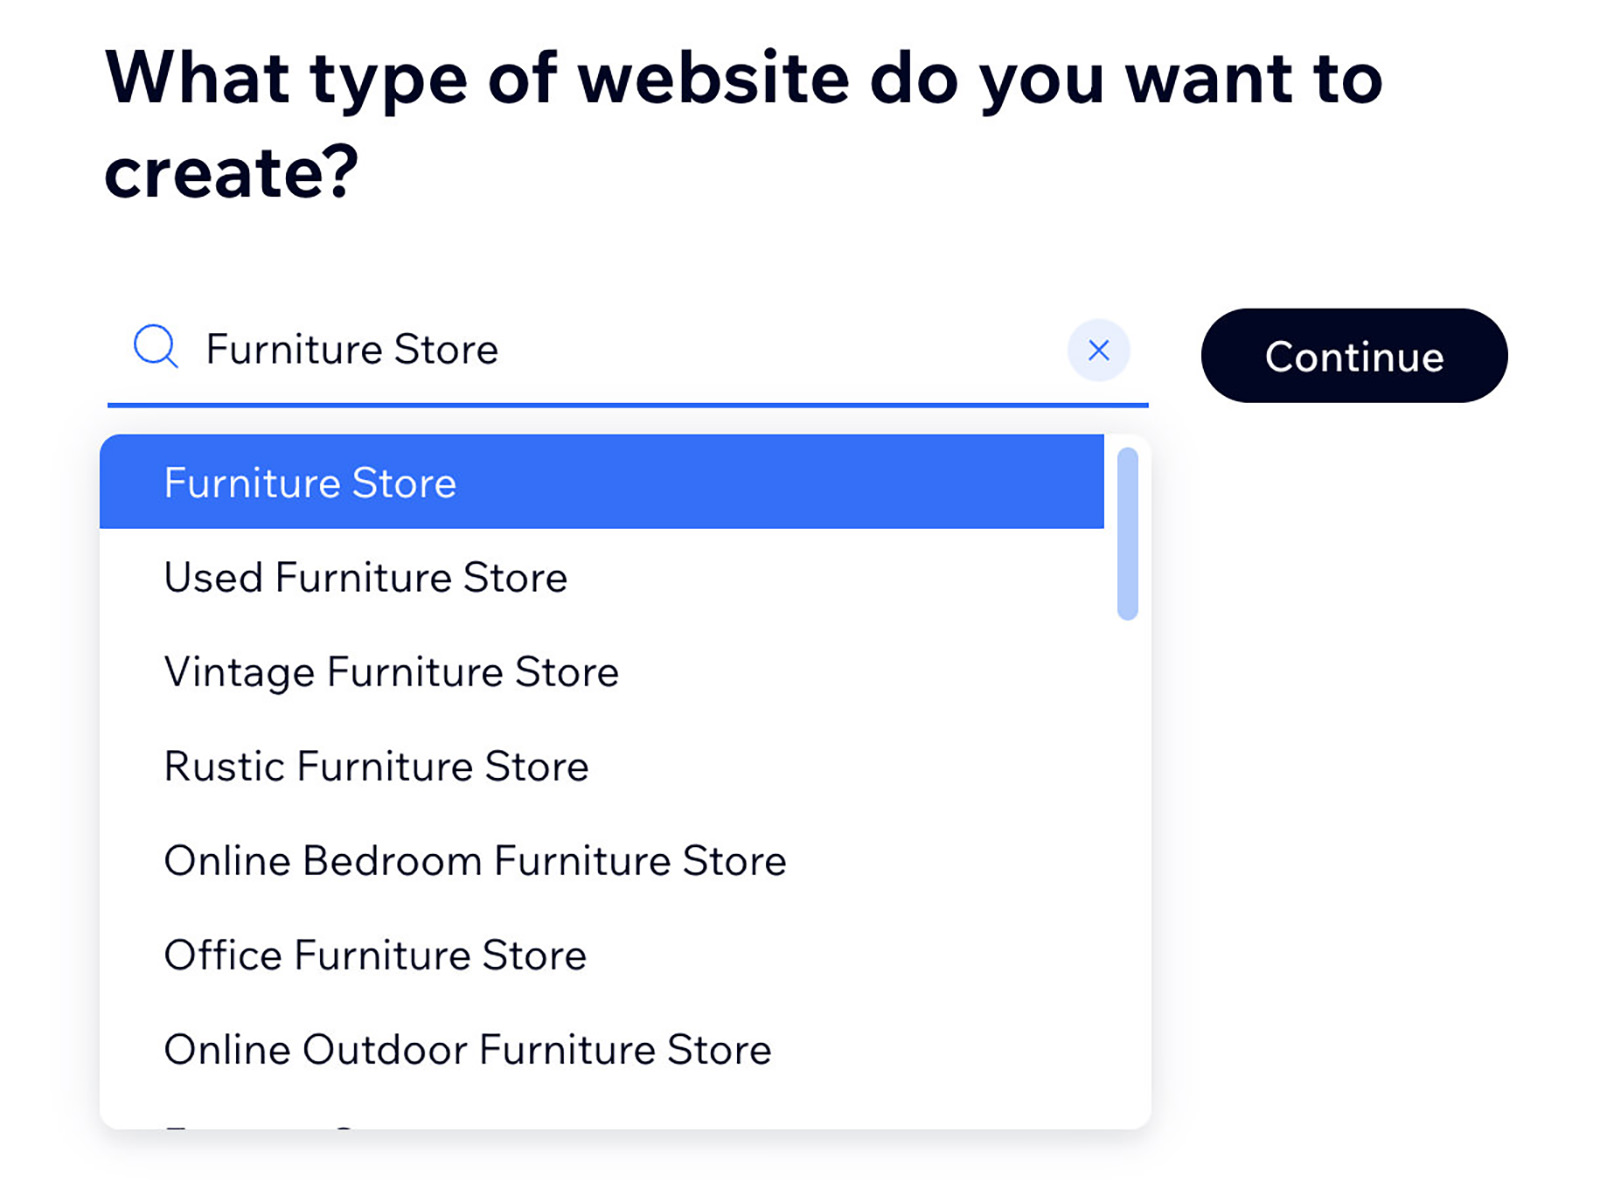
Next, Wix will ask what type of website you’d like to create.
For this tutorial, we’re setting up a website for a furniture store. Wix offers a wide variety of designs, and don’t worry – if you change your mind about a design, it’s simple to go back and choose another one.
Setting Up Your Store on Wix
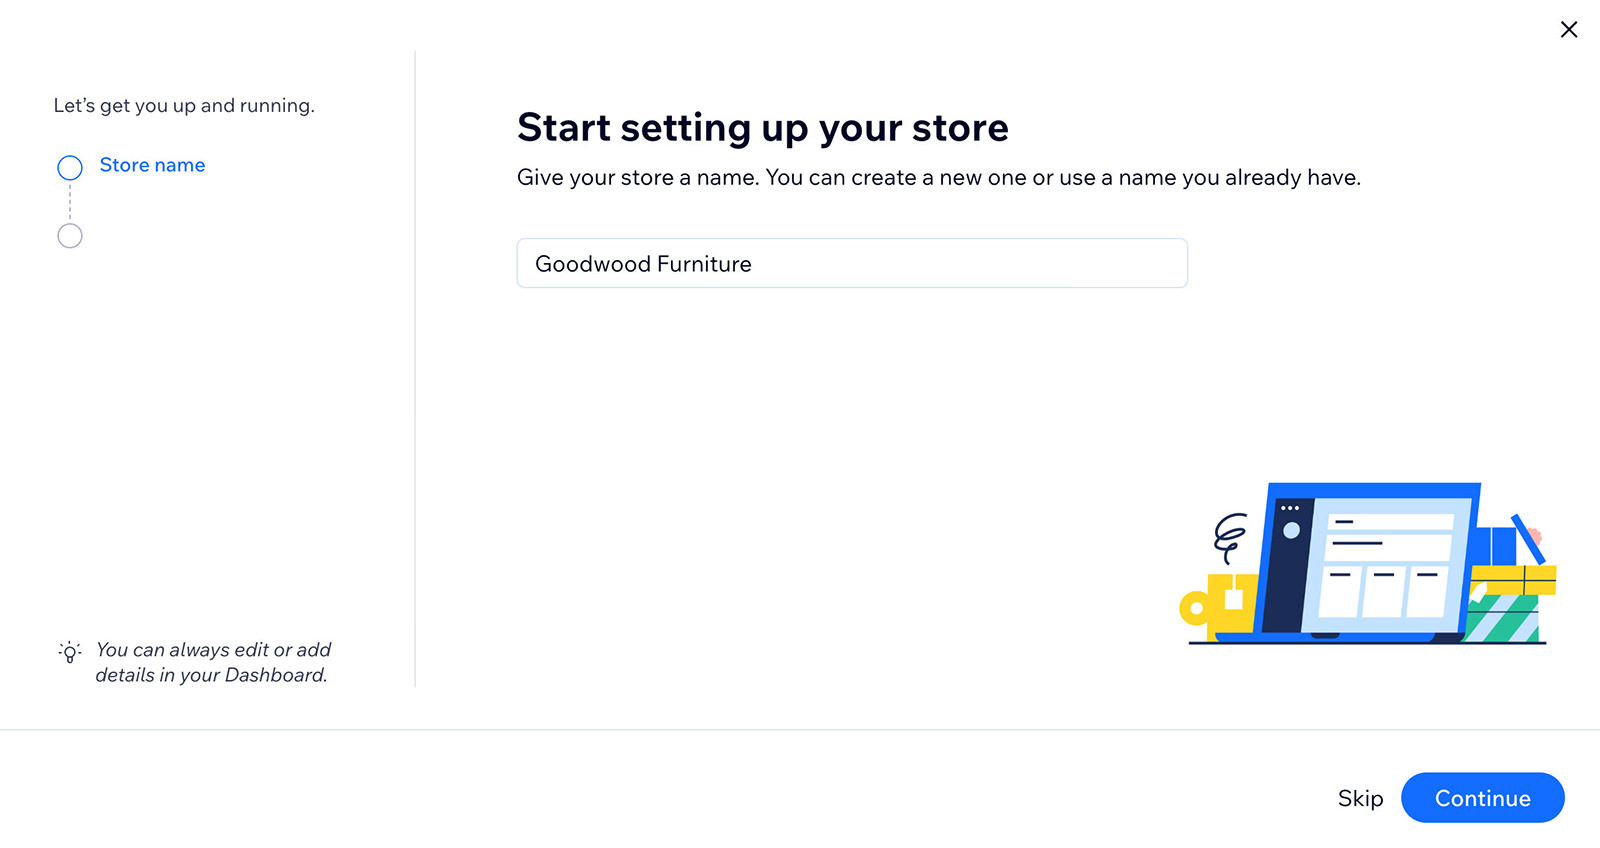
After choosing your website type, Wix will ask you several questions about your business. While some questions might be more pertinent than others, it’s good to answer them all to tailor your site effectively.
Once you’ve completed this step, click ‘Continue‘ to move forward.
Selecting and Customizing a Template
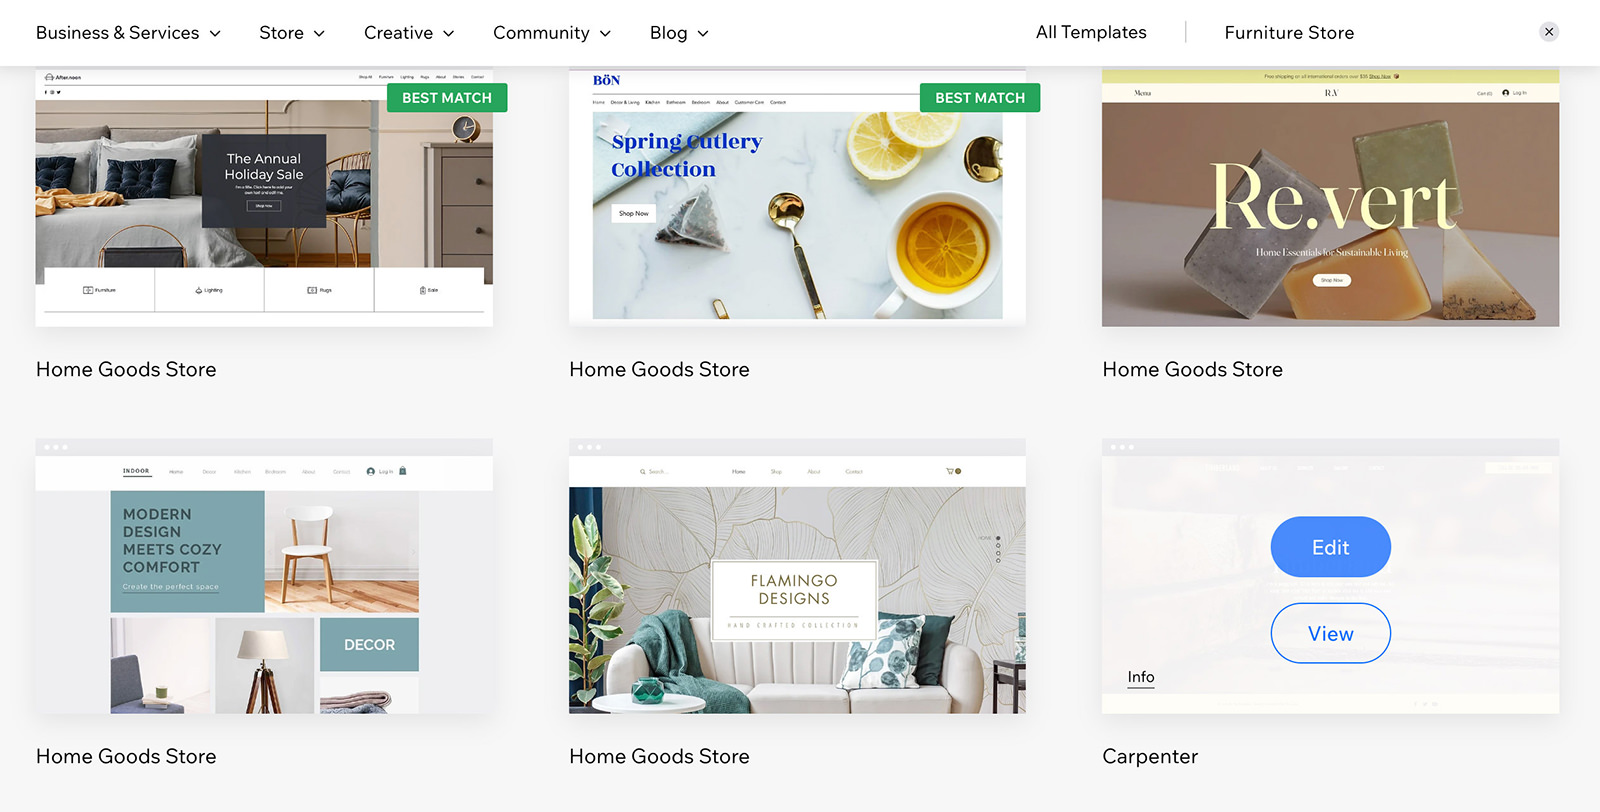
Once you’re set, you can navigate to ‘Design Site‘ > ‘Pick a Template‘. Wix offers a diverse range of templates to choose from.
Find one that catches your eye and click ‘Edit‘ to start customizing it to your needs.
Navigating the Website Builder Dashboard
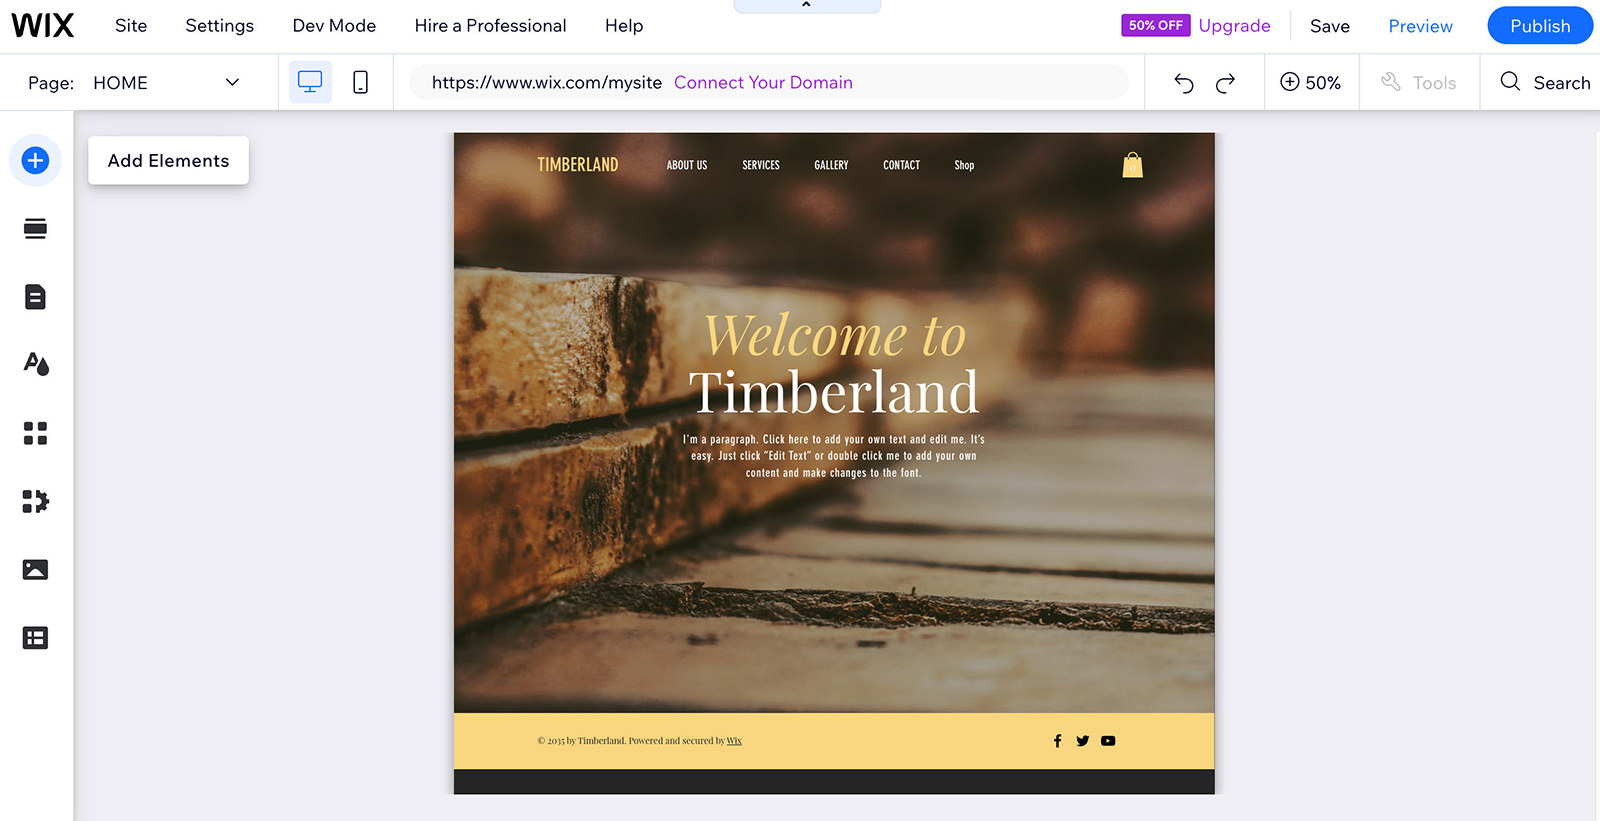
Once you’ve selected a template, you’ll be taken to your website builder dashboard. On the left-hand side, you’ll find the primary navigation menu. This is where you can add elements, create new pages, and design your website.
You also have the option to integrate apps and include more business information as needed.
Editing the Website Header
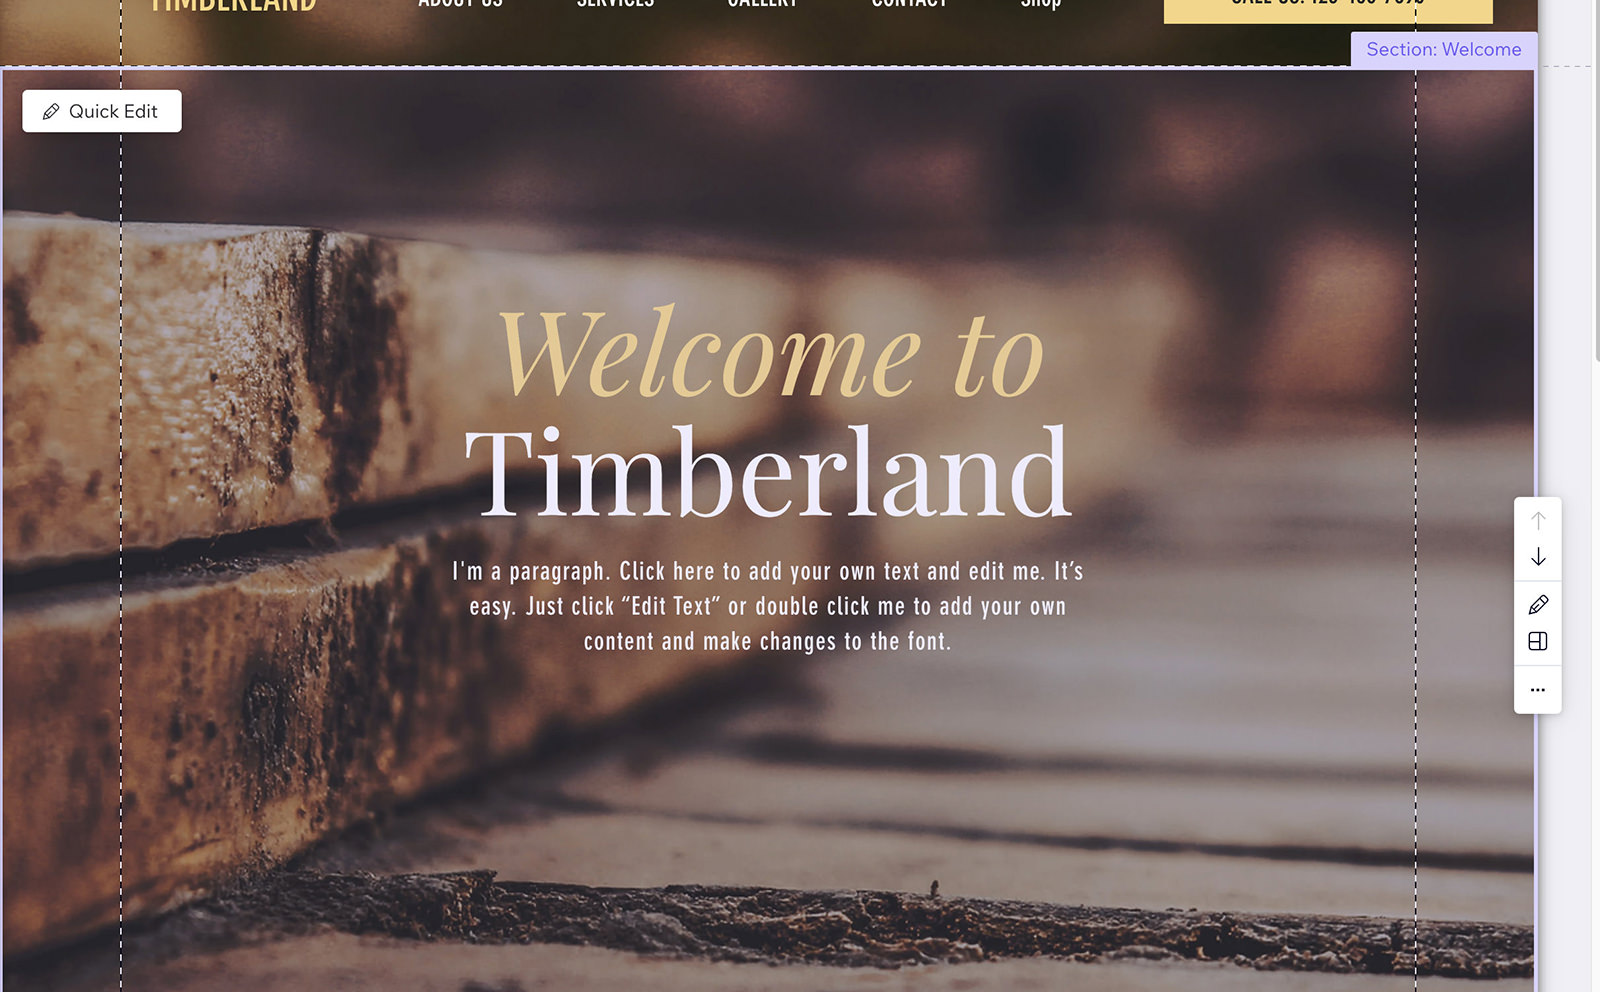
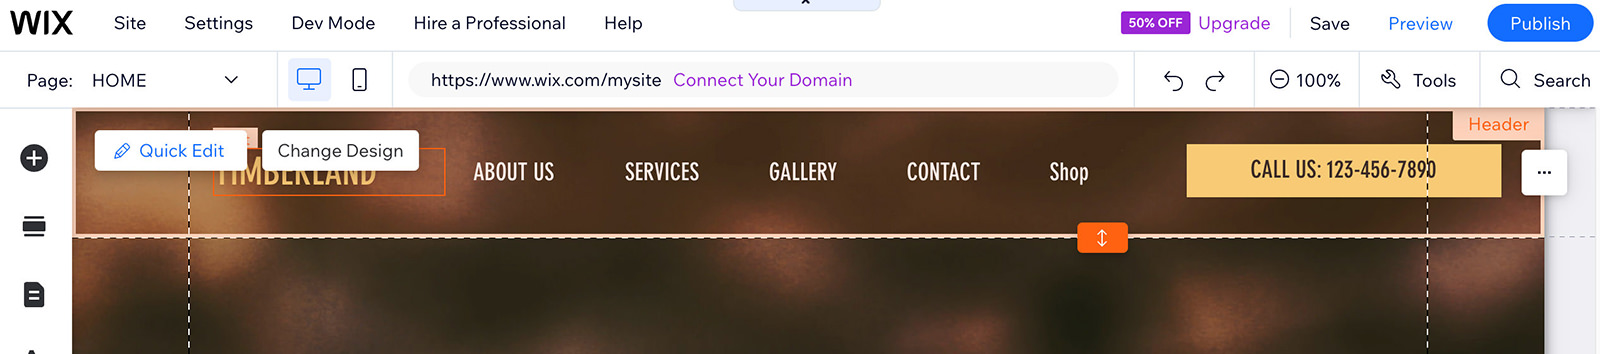
Let’s explore the default layout Wix provides. The header at the top serves as a key navigation tool, making it easy for visitors to move between different pages and sections. To learn more about each section, hover over it, and Wix will display its name, helping you identify areas to edit.

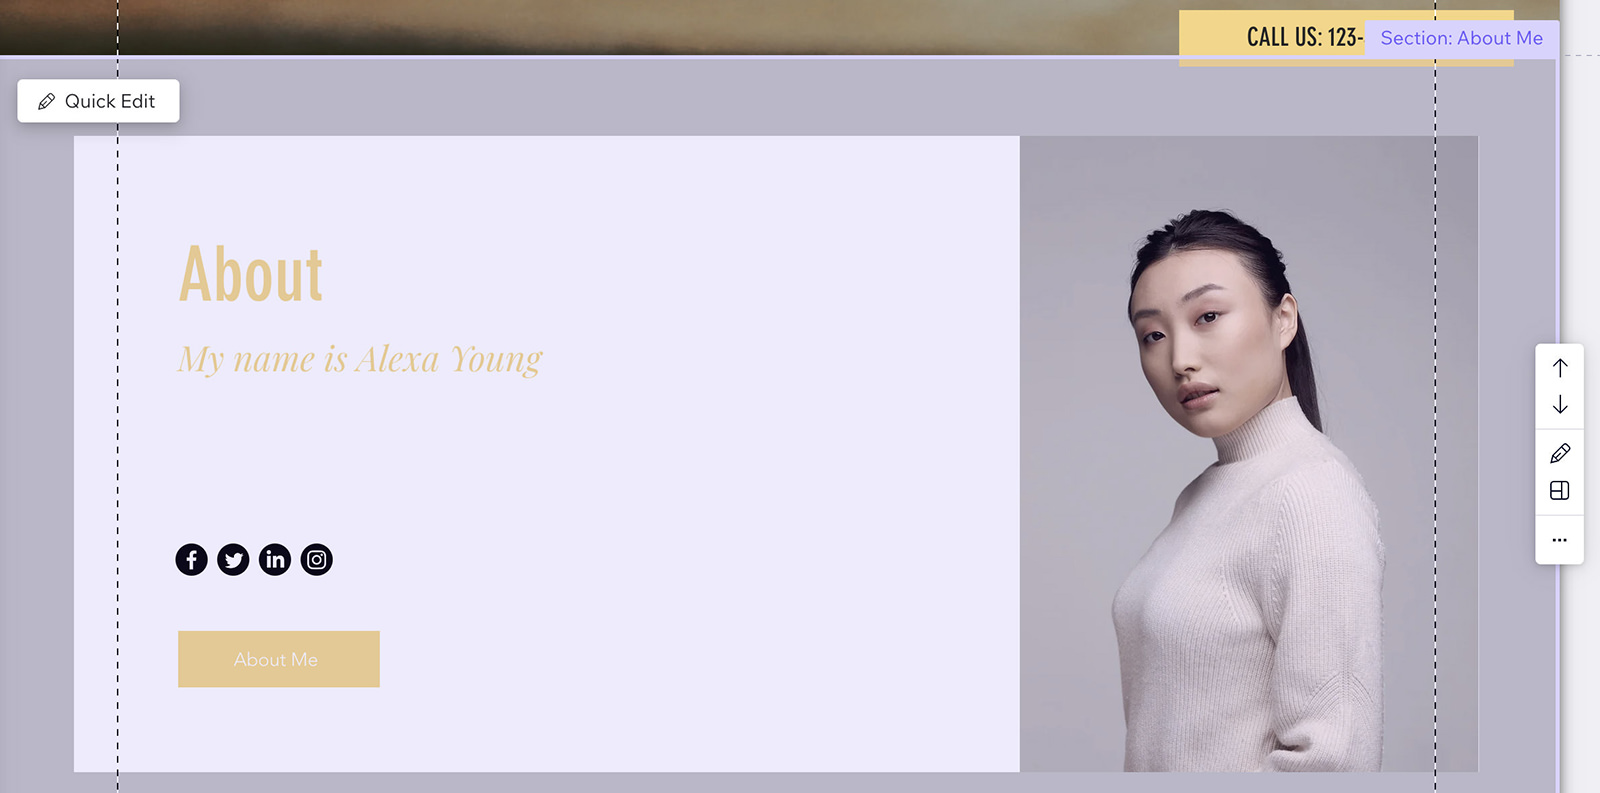
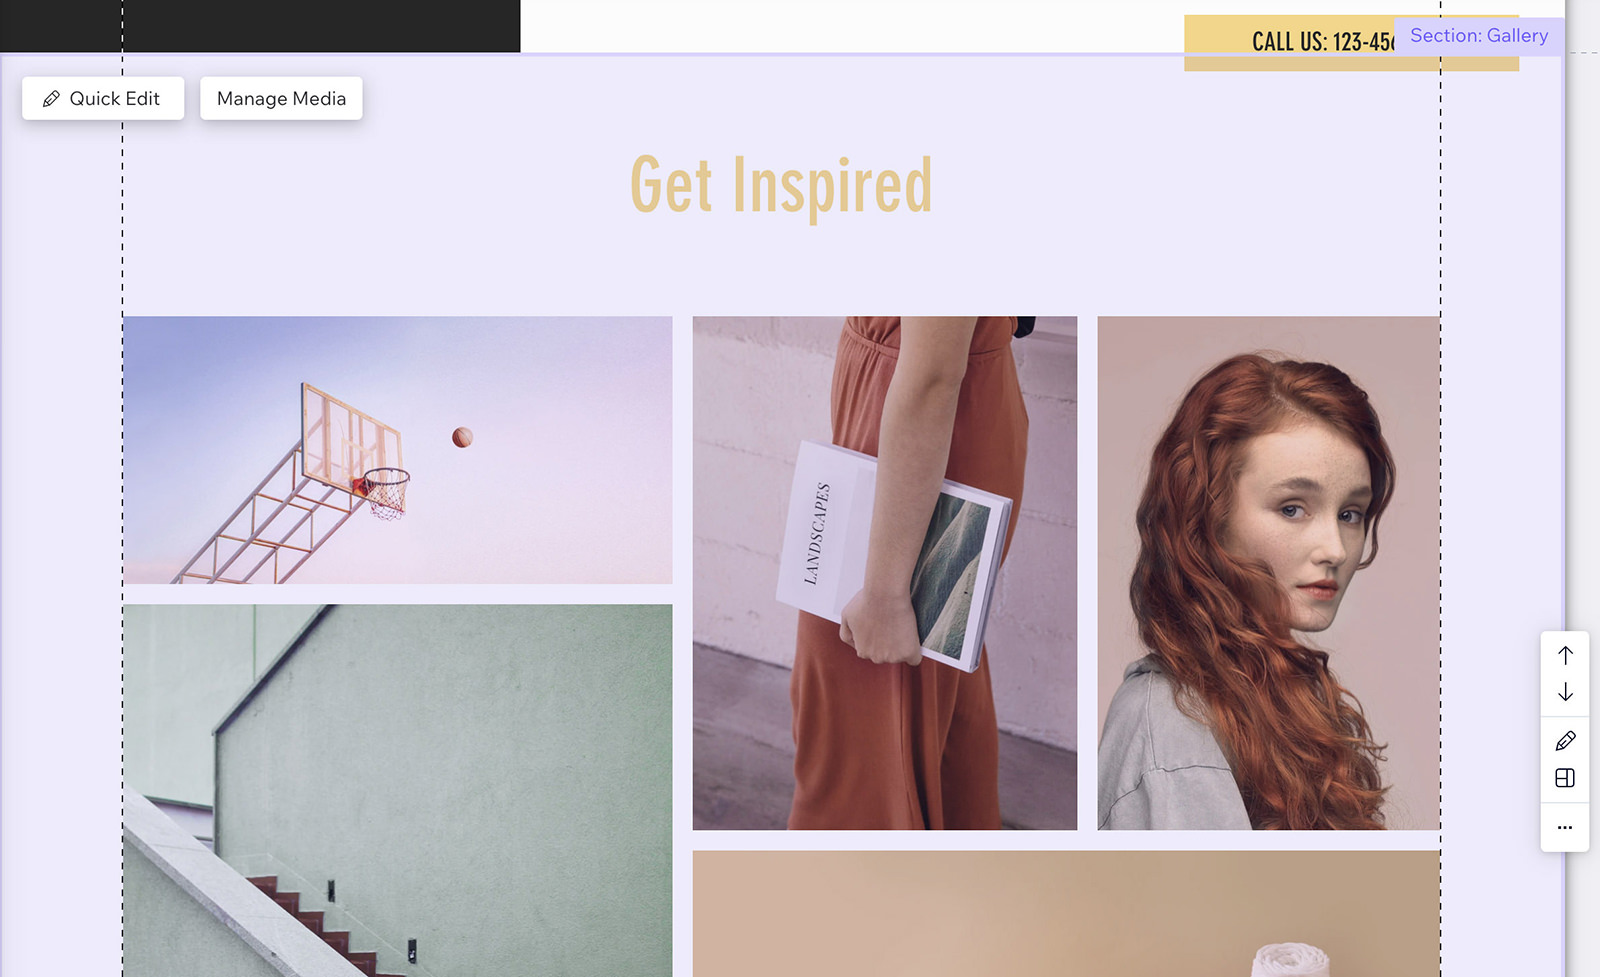
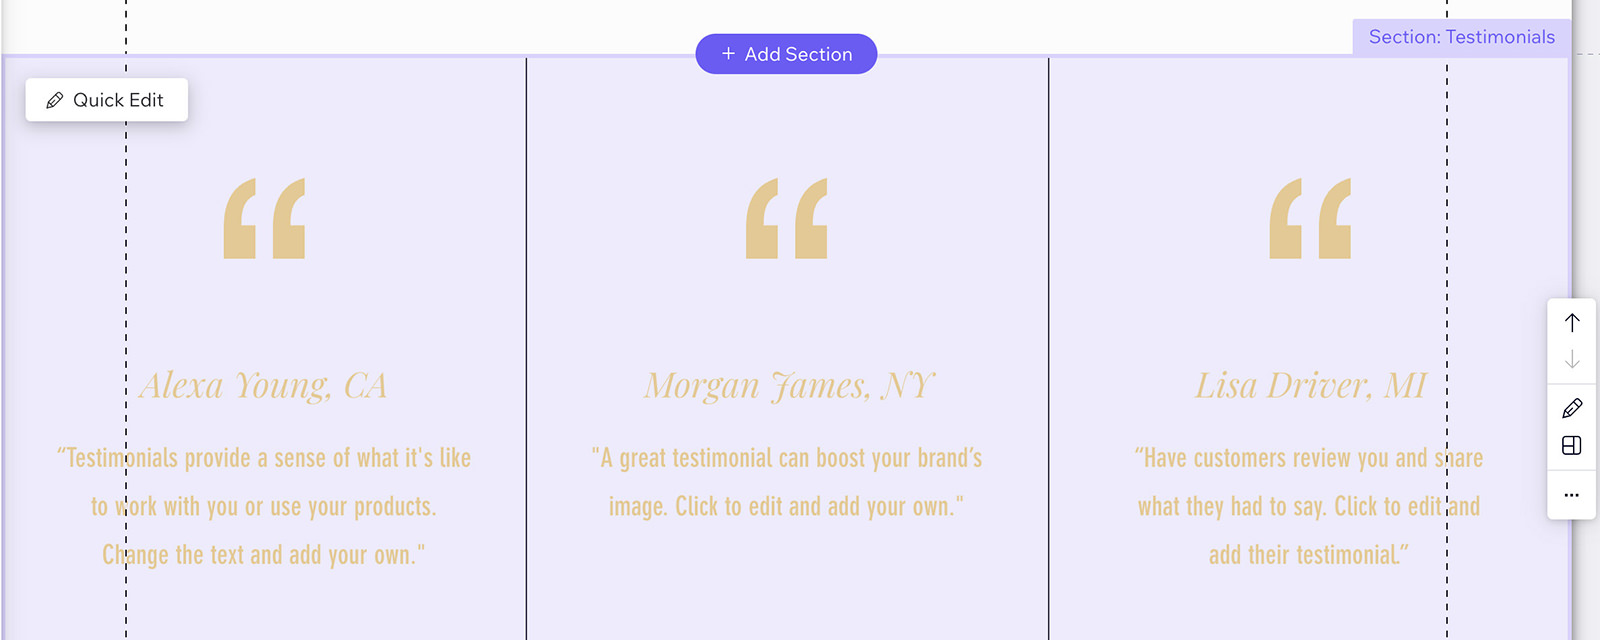
As we scroll down, we notice several elements Wix has set up: a large image, an About section, a gallery, client testimonials, and a ‘Get in Touch‘ form. Each plays a vital role in engaging visitors.

The footer, found at the bottom of the page, will be edited later.

We’ll start editing from the top, beginning with the header, where I’ll select ‘Quick Edit‘ to make adjustments.
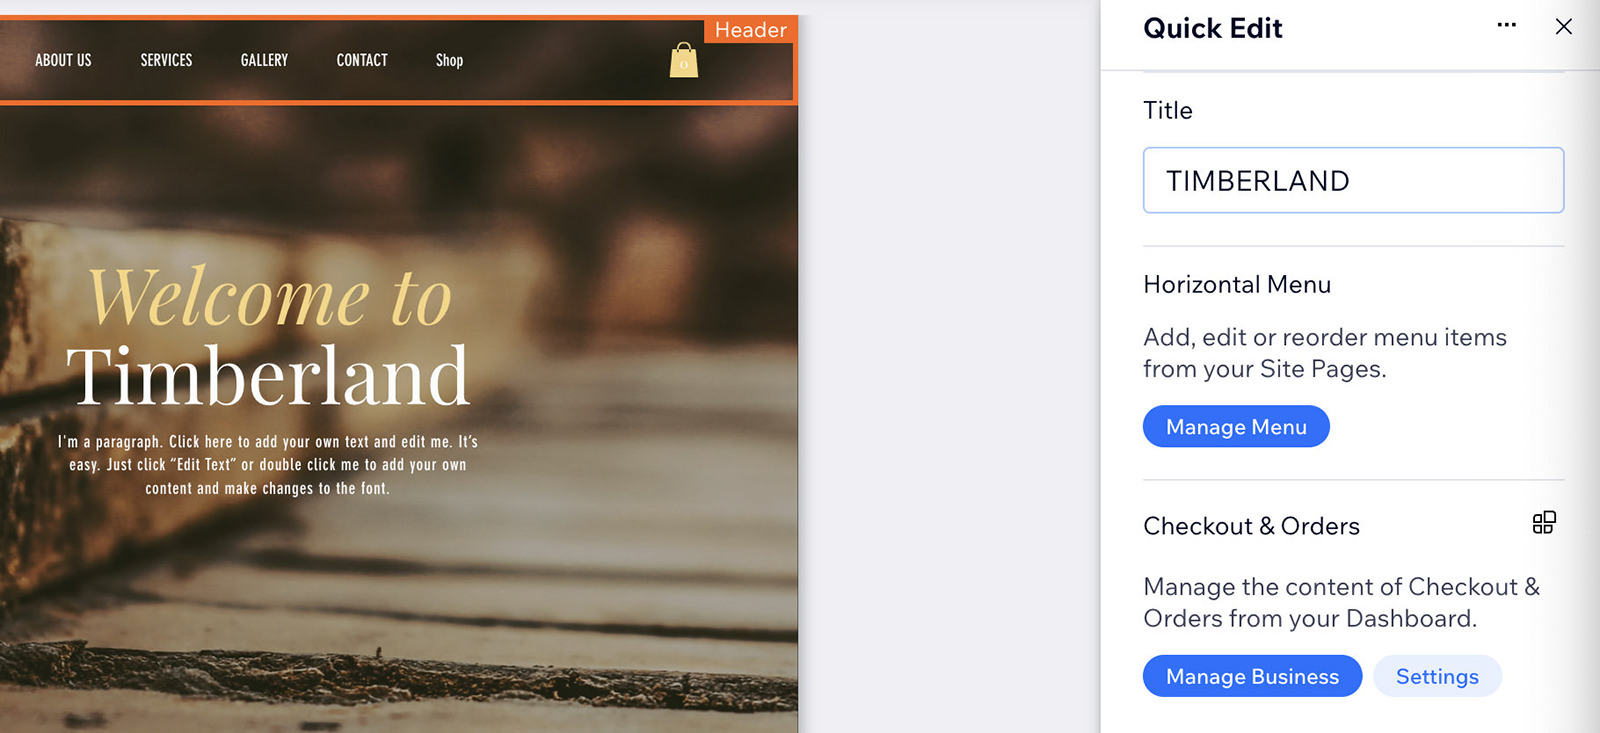
Managing the Website Menu
Next, click on ‘Manage Menu‘ to decide which pages will appear on your website.
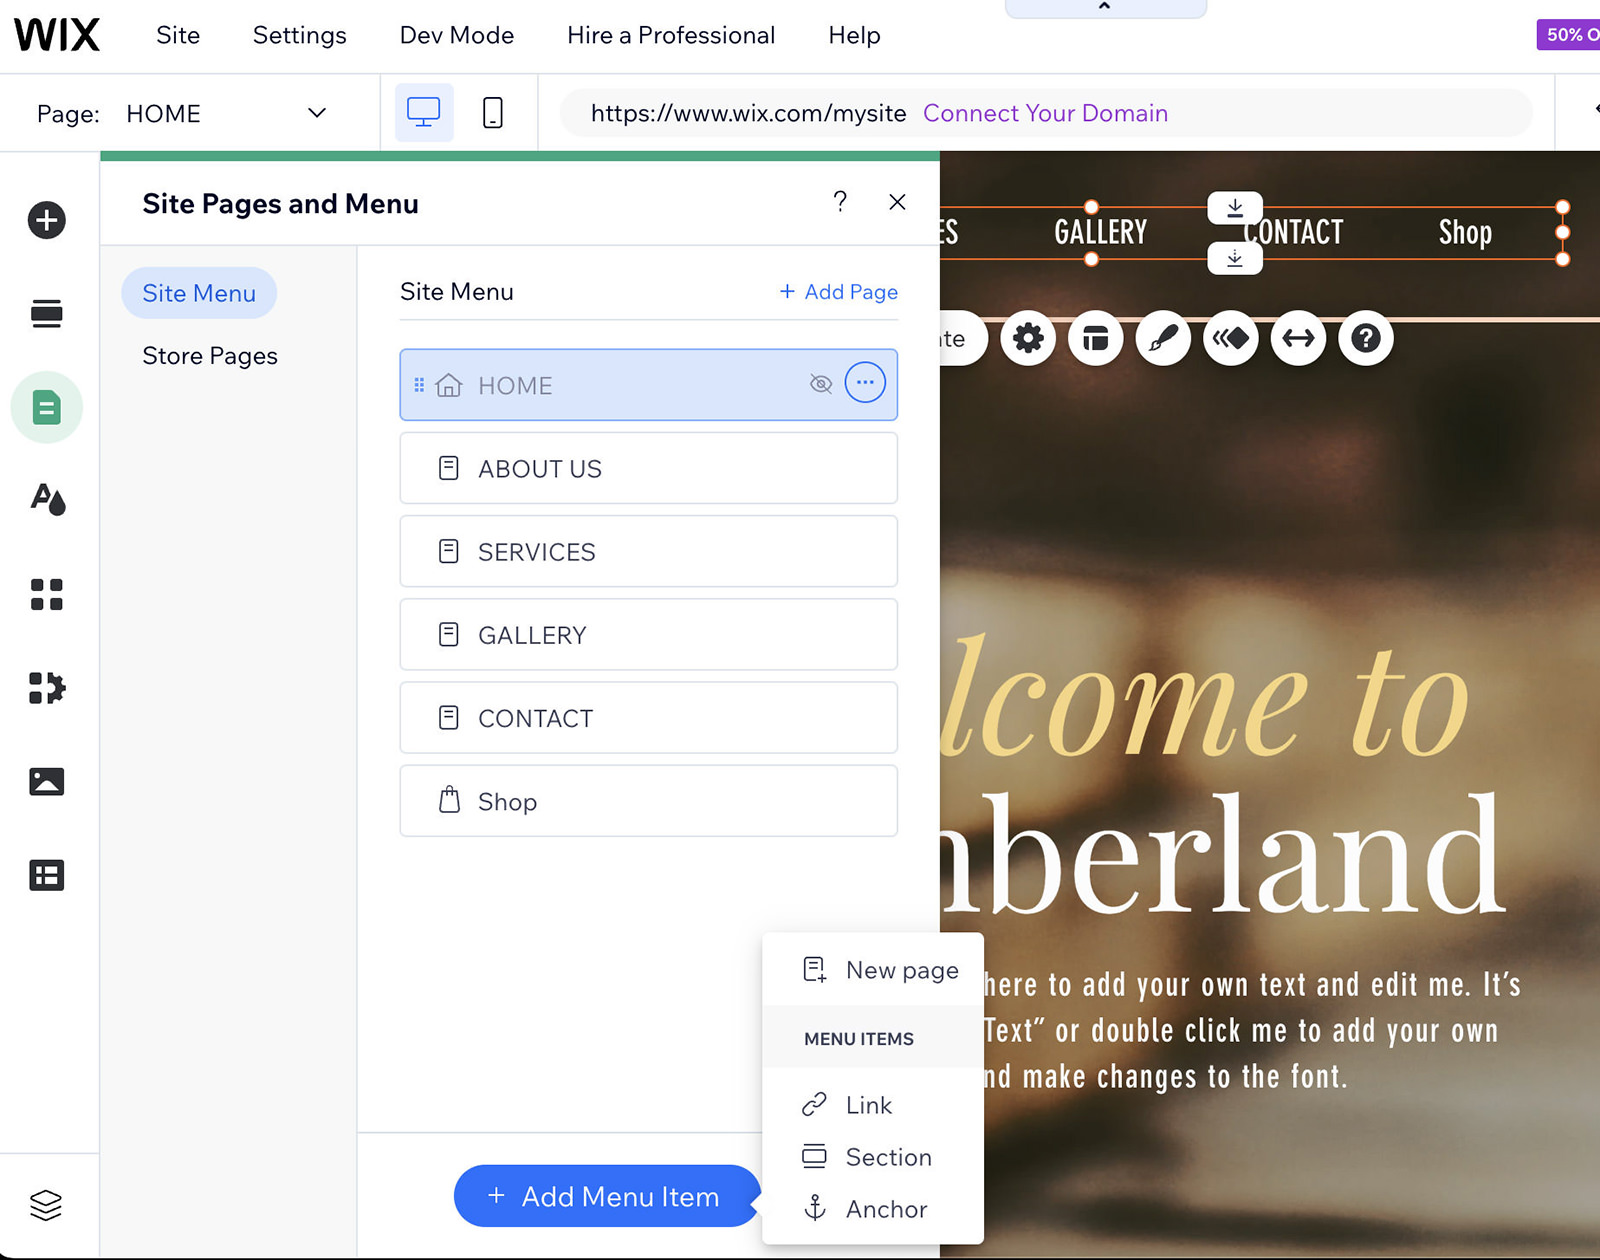
To modify a page or section, hover over the three arrows next to any menu item. Here, you can rename, delete, or temporarily hide a page while it’s under construction or if you’re not ready to publish it yet.

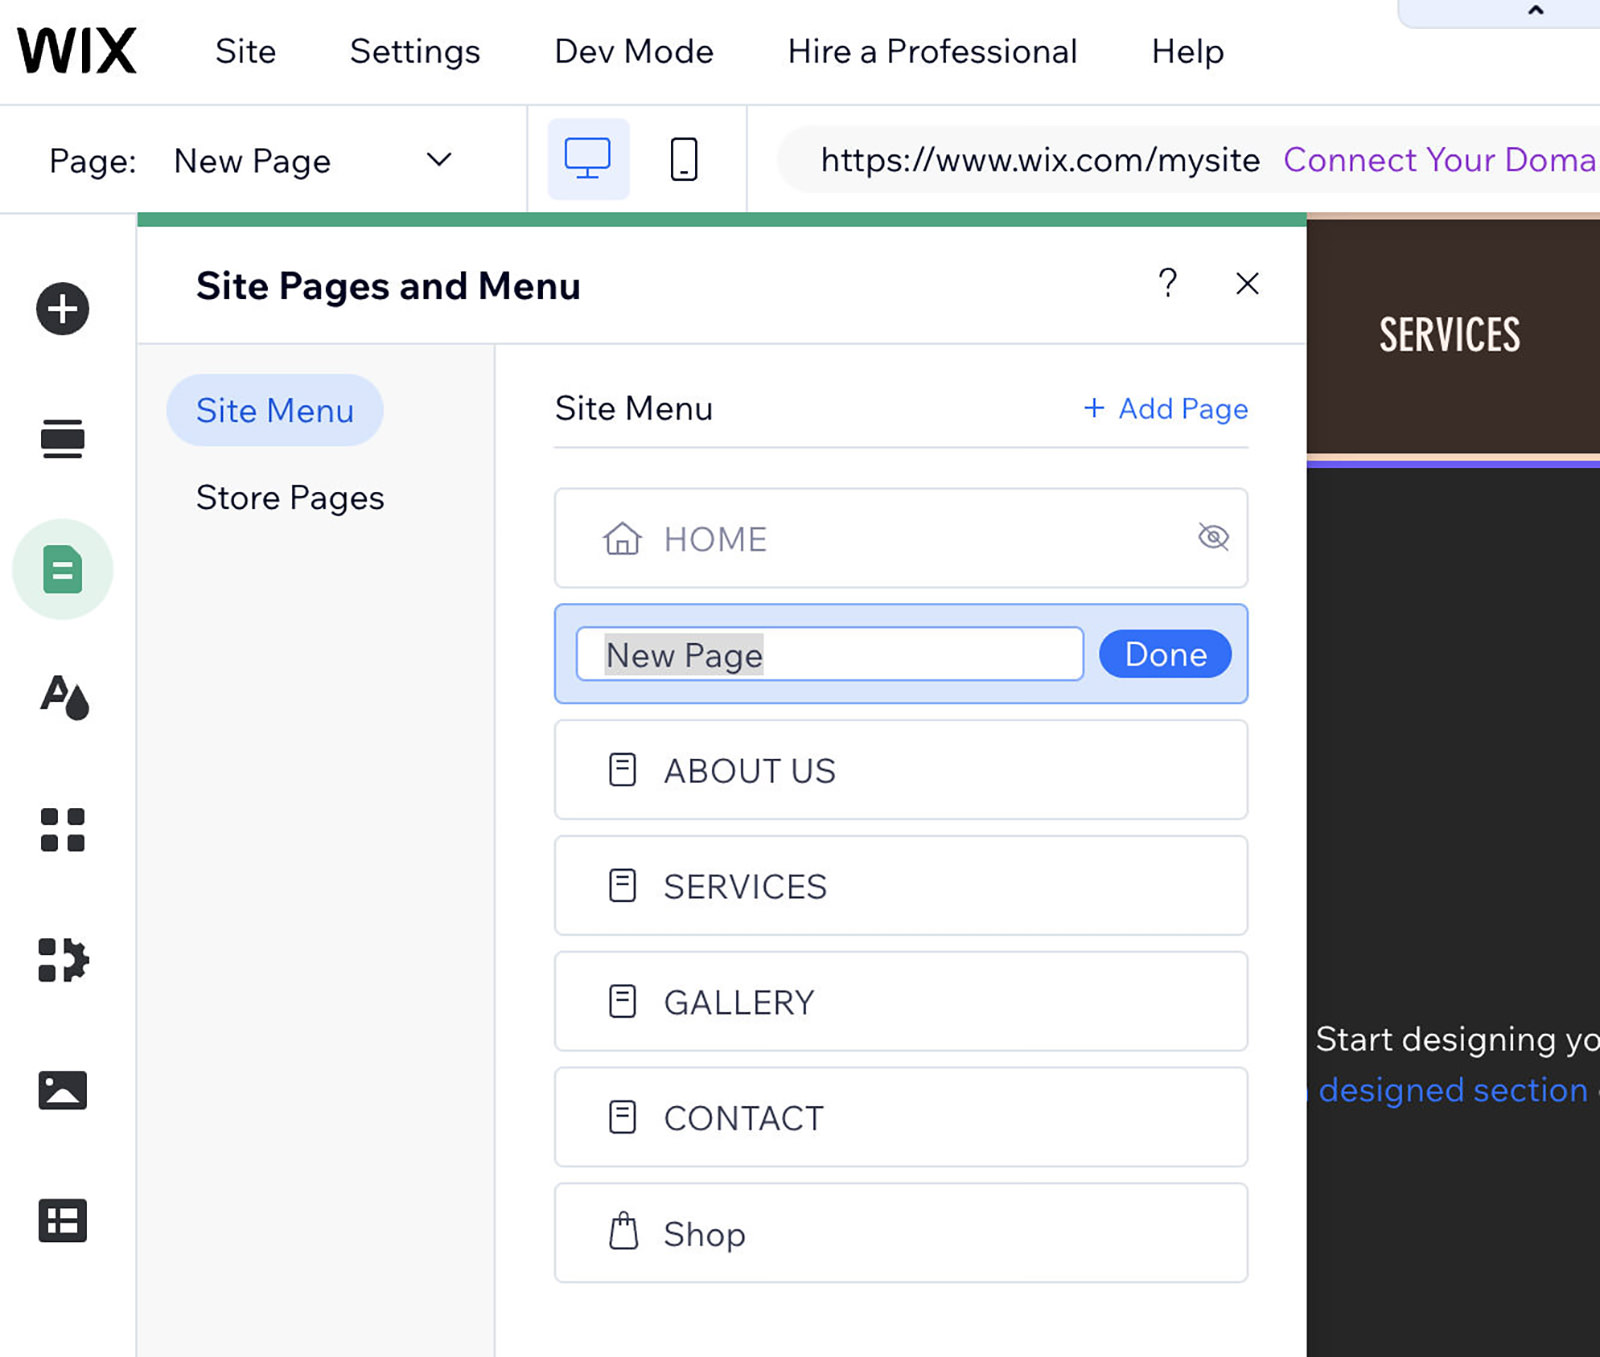
Finally, I’ll add an additional page to my website. By clicking ‘Add Menu Item‘, I can choose and name a new page to include.
Adding New Pages and Templates
Wix offers various templates for new pages, though more design options will become available as we build the page. For now, I’ll start with a ‘Blank Page‘.
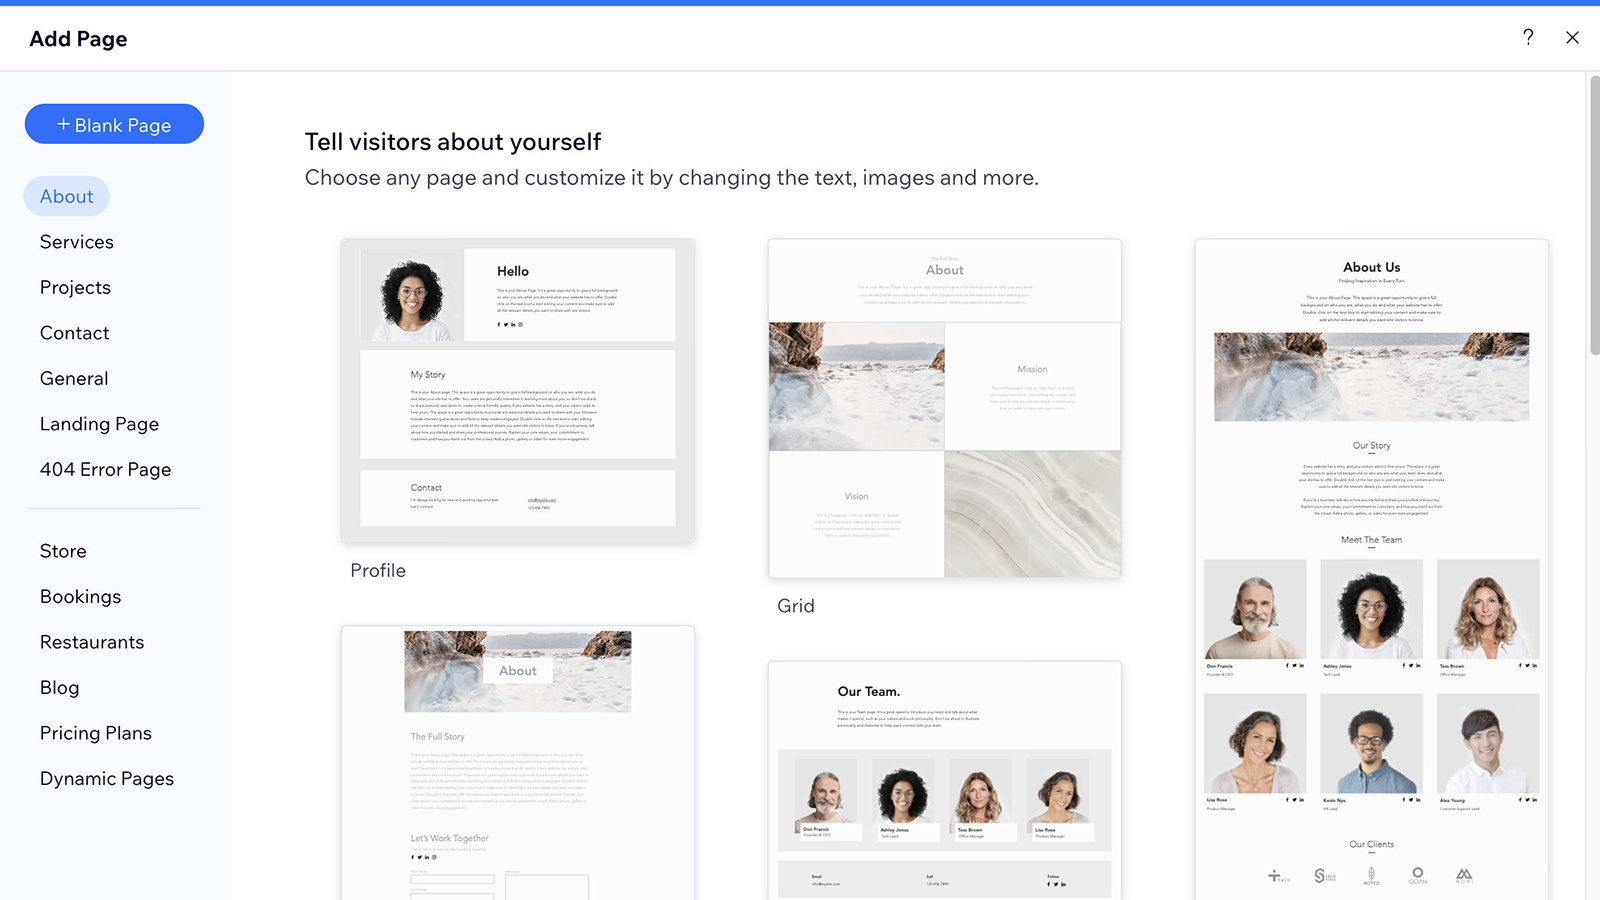
After selecting a blank page, I can name it. For this example, I’ll prepare to create a gallery, naming the page ‘Gallery‘.

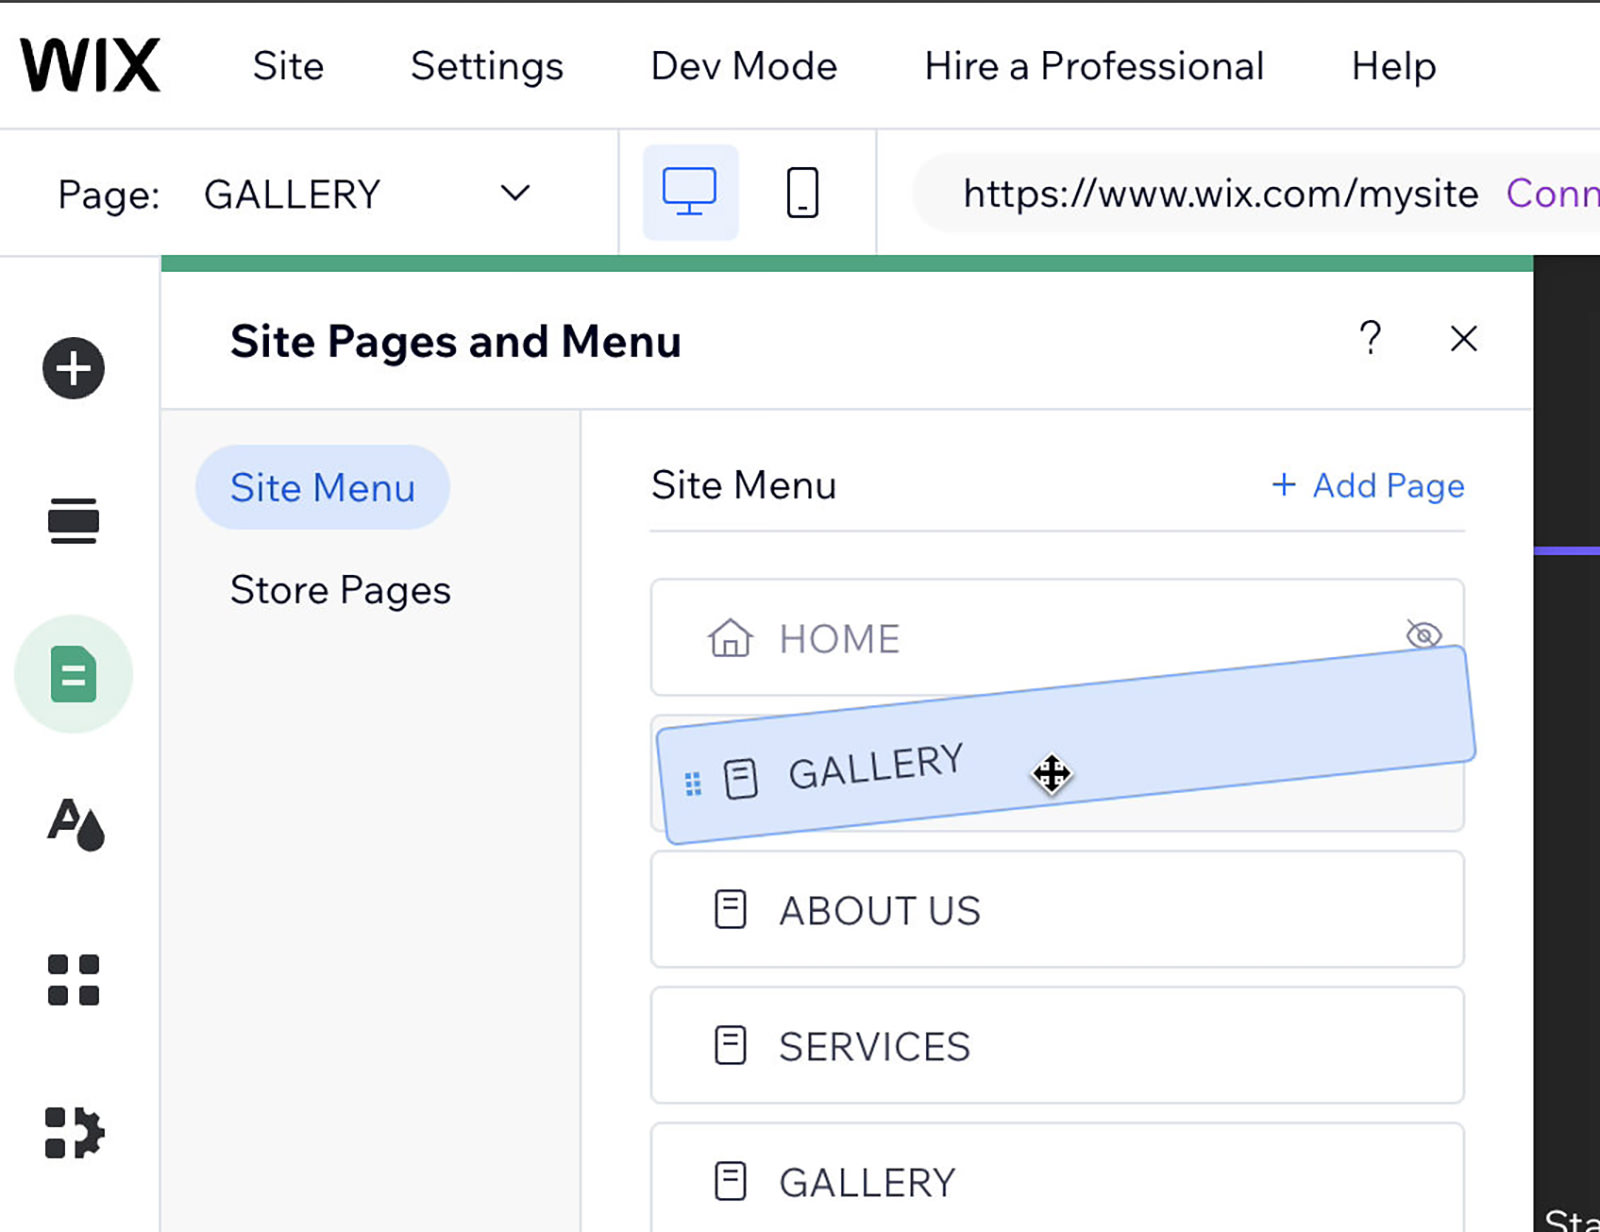
To rearrange your site’s menu, just drag and drop the pages into your desired order. Once finished, click the home button to return to the main site and continue editing. Close the editor by pressing ‘X‘.
Let’s go back to refining our header. Hover over any icon, and Wix will indicate its function. For instance, if there’s a ‘Call Us‘ icon that’s not needed, right-click and select ‘Delete‘.

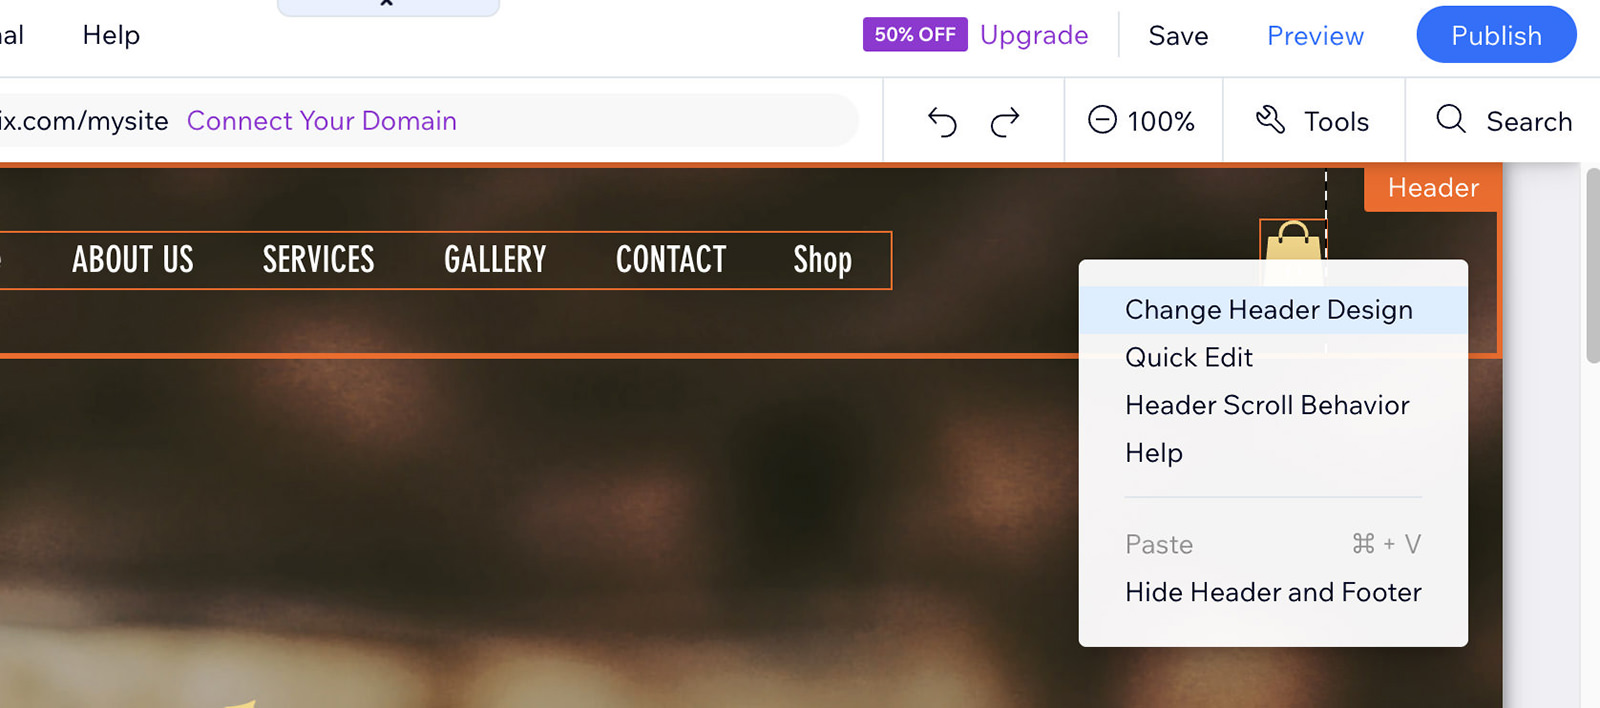
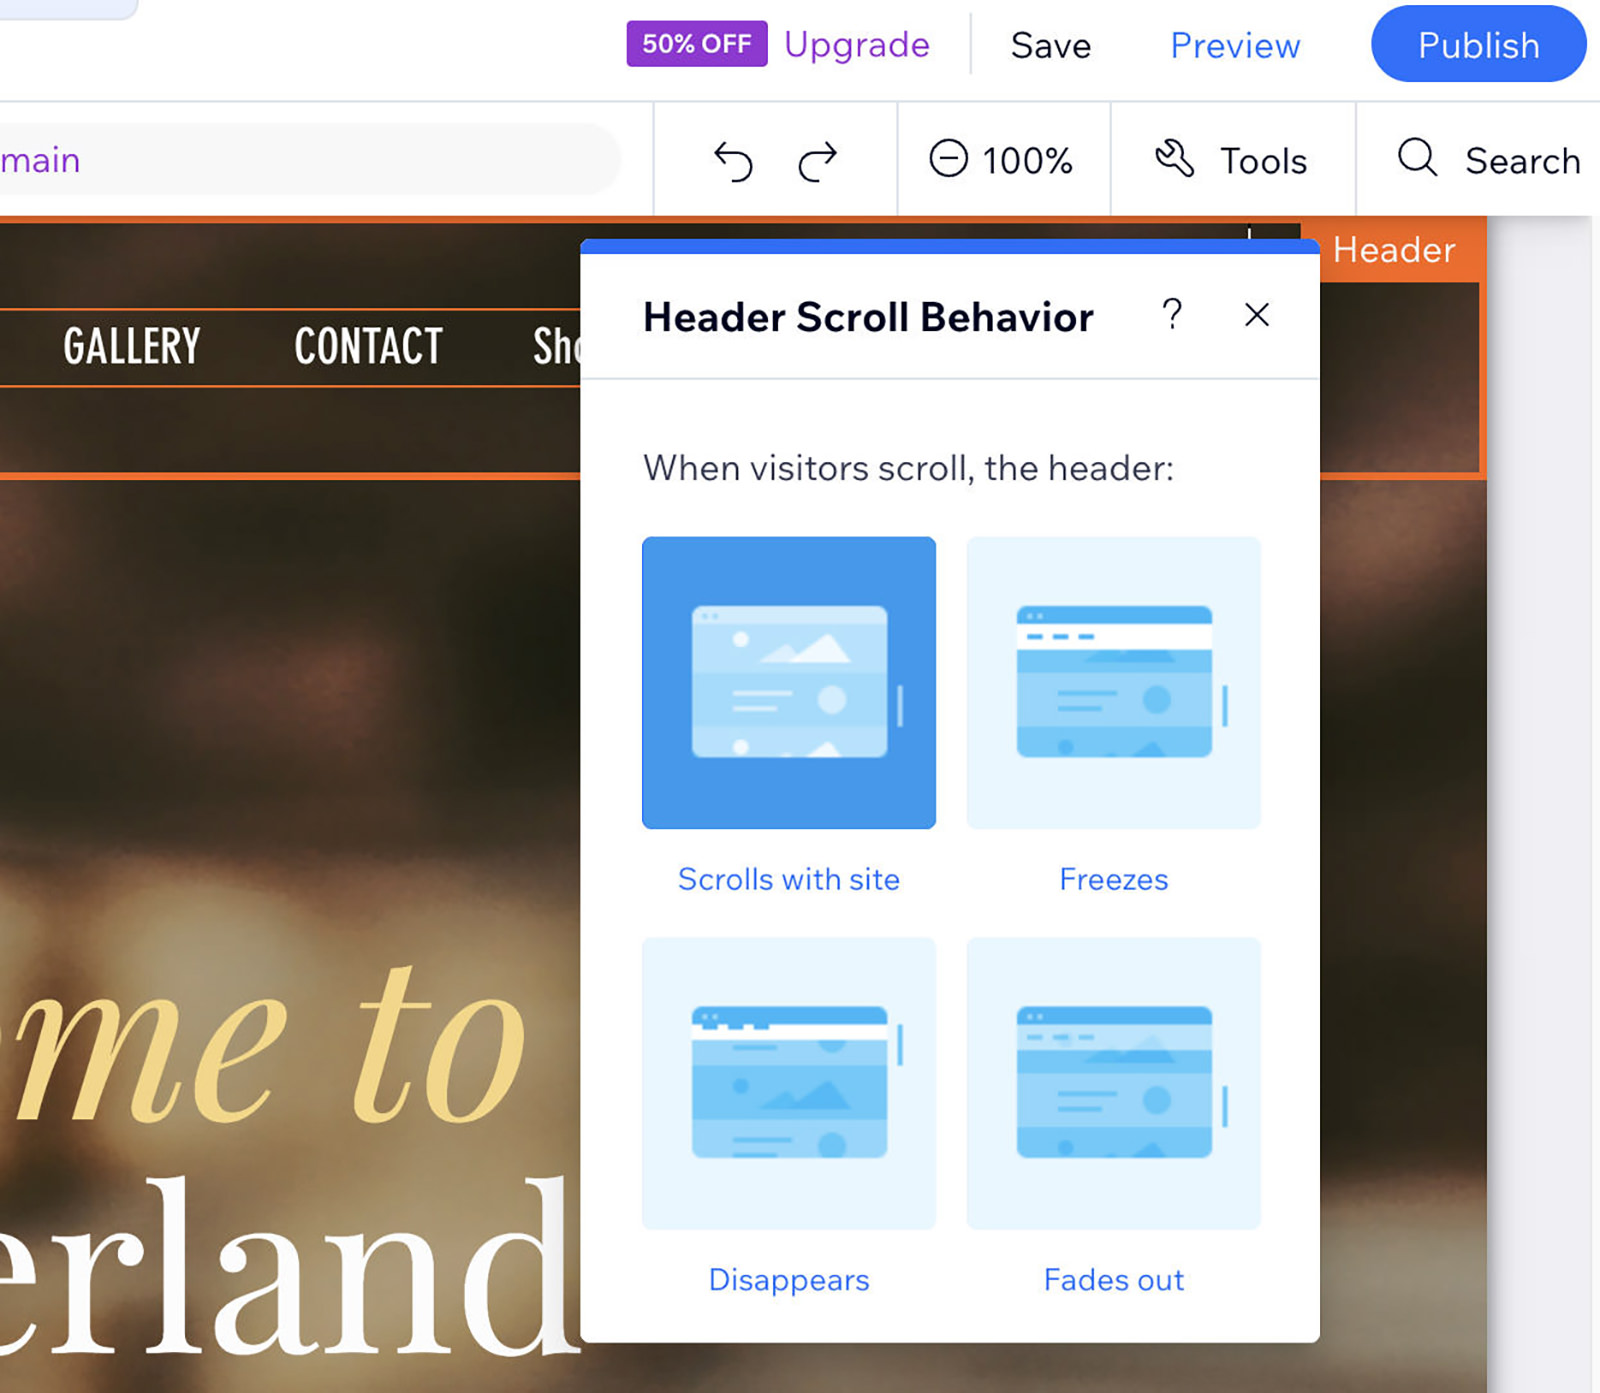
The header appears on every page, but its behavior can be adjusted. By clicking the settings on the right-hand side and selecting ‘Header Scroll Behavior‘, you can decide if the header should scroll with the page, remain fixed, disappear, or fade out.
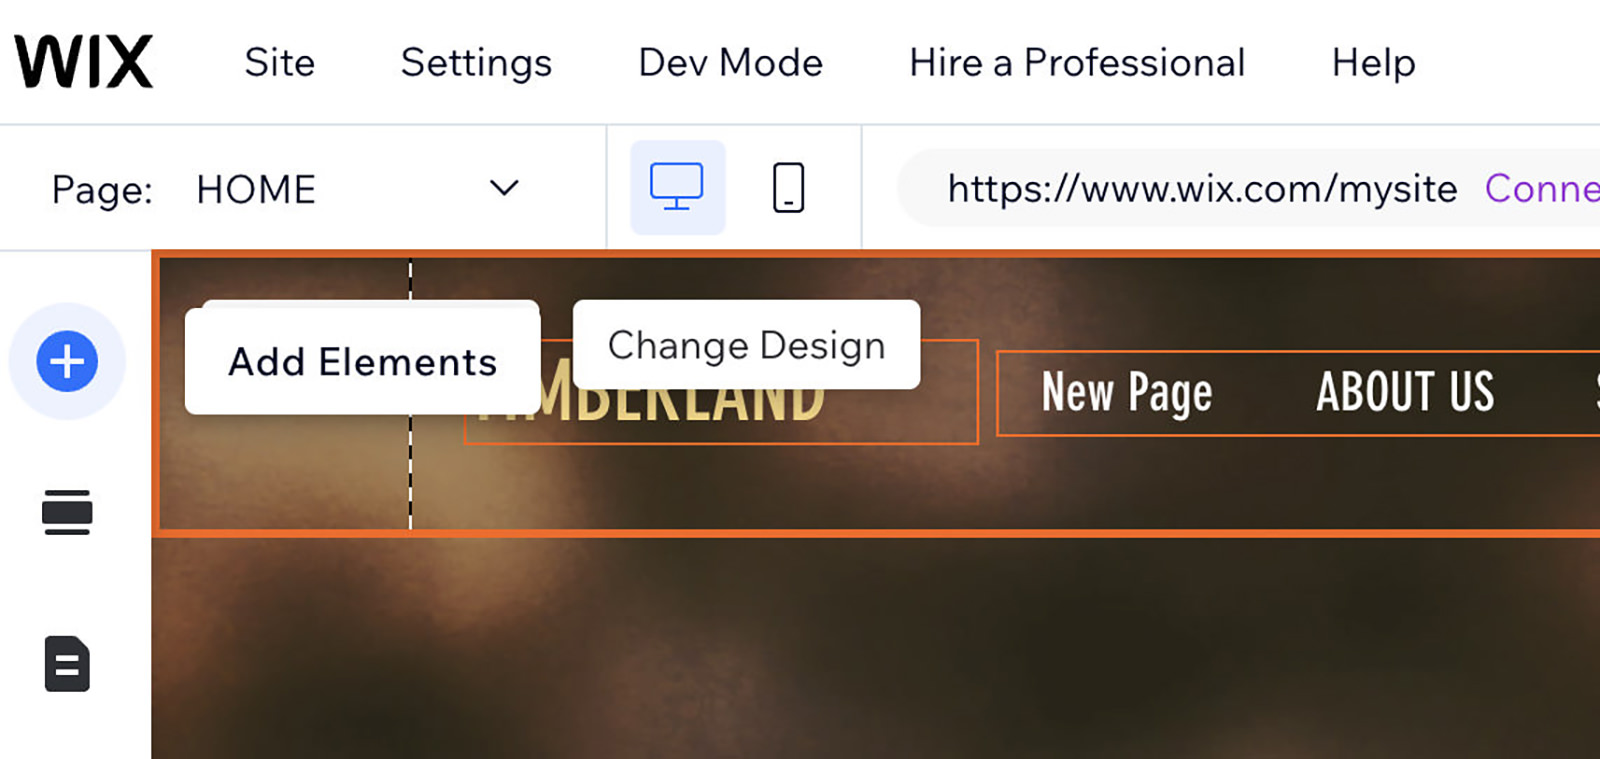
Customizing the Header and Adding Logos
I’m going to add a logo to my header to ensure it appears consistently across all pages of my website. Since there isn’t a pre-existing option to edit for this, I’ll go to the left-hand side navigation bar and choose ‘Add Elements‘.
Next, I’ll select ‘Image‘. Wix offers multiple methods to upload images: directly from your computer, importing from social media or Google, using AI to create an image, or choosing from a vast collection of free images and illustrations.
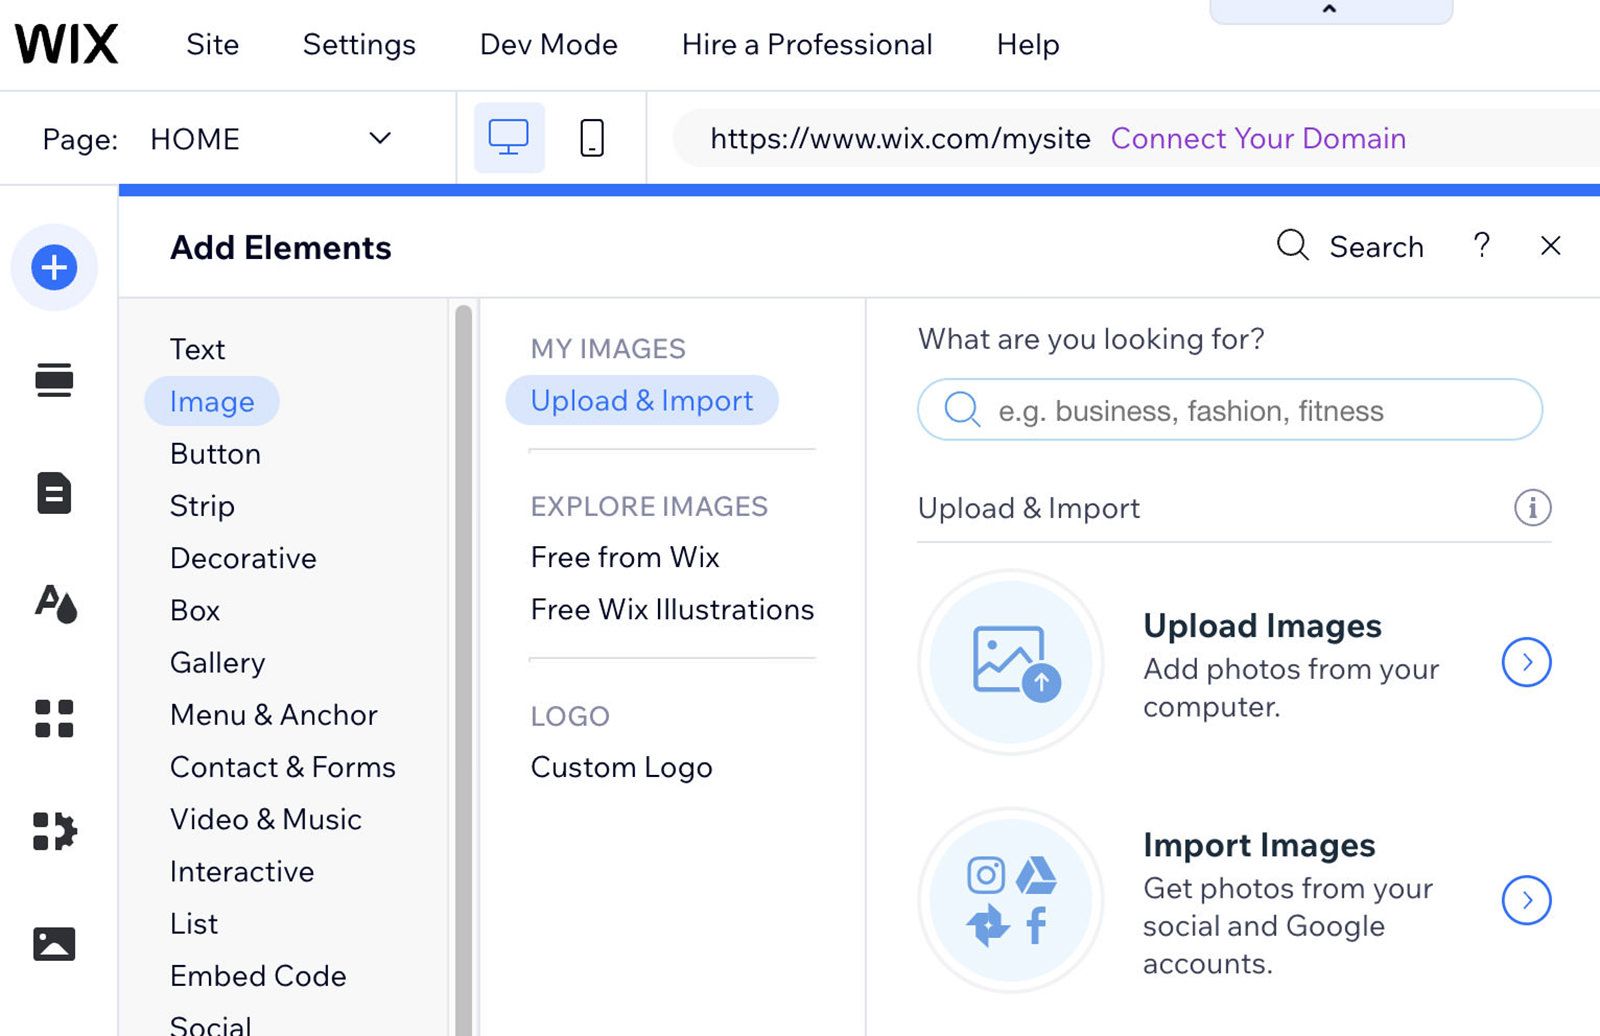
For this tutorial, I’m adding a pre-designed logo from my computer. If you don’t have a logo yet, Wix provides tools to help you create one directly within the platform.
Editing and Positioning Images
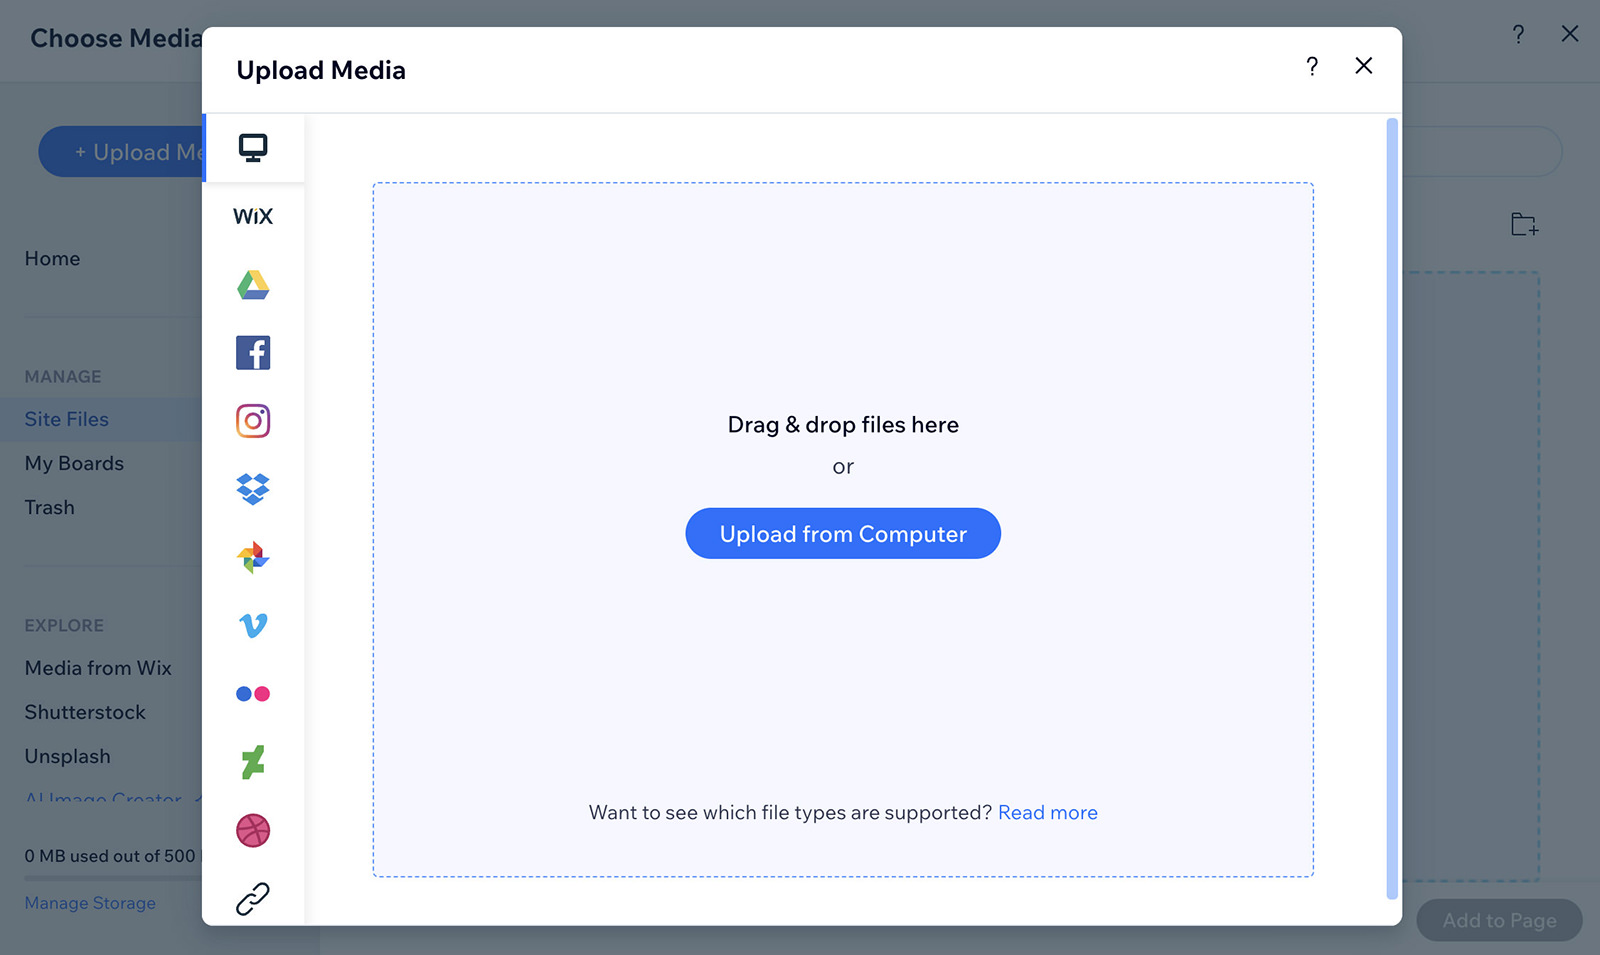
To add my logo, I’ll navigate back to the top of the page and choose ‘Upload Images‘ to select my logo file from my computer.
Once uploaded, click ‘Add to Page‘.
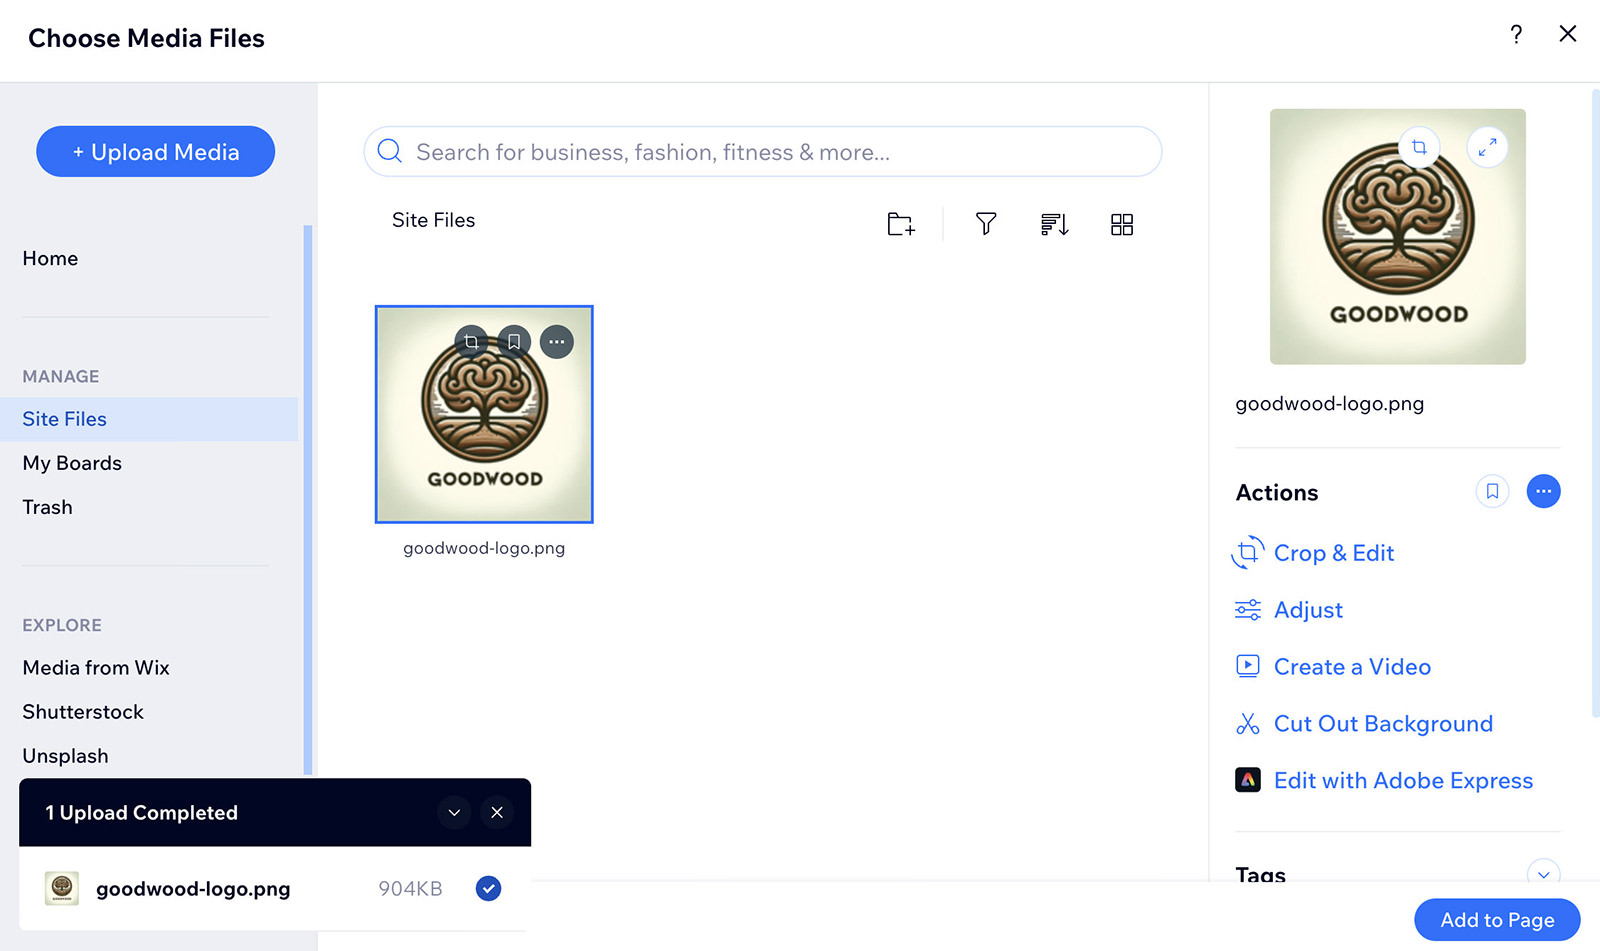
You can then drag and drop the logo to your desired location. Remember, anything added to your header will show on every page of your website. You can also easily adjust the size of the image directly.
If you need to make further adjustments, select ‘Edit Image‘ for more editing options, or change the image entirely if necessary.
Working with Text and Styles
Let’s move on to the welcome section. If you’d like to change the background here, click ‘Change Background‘.
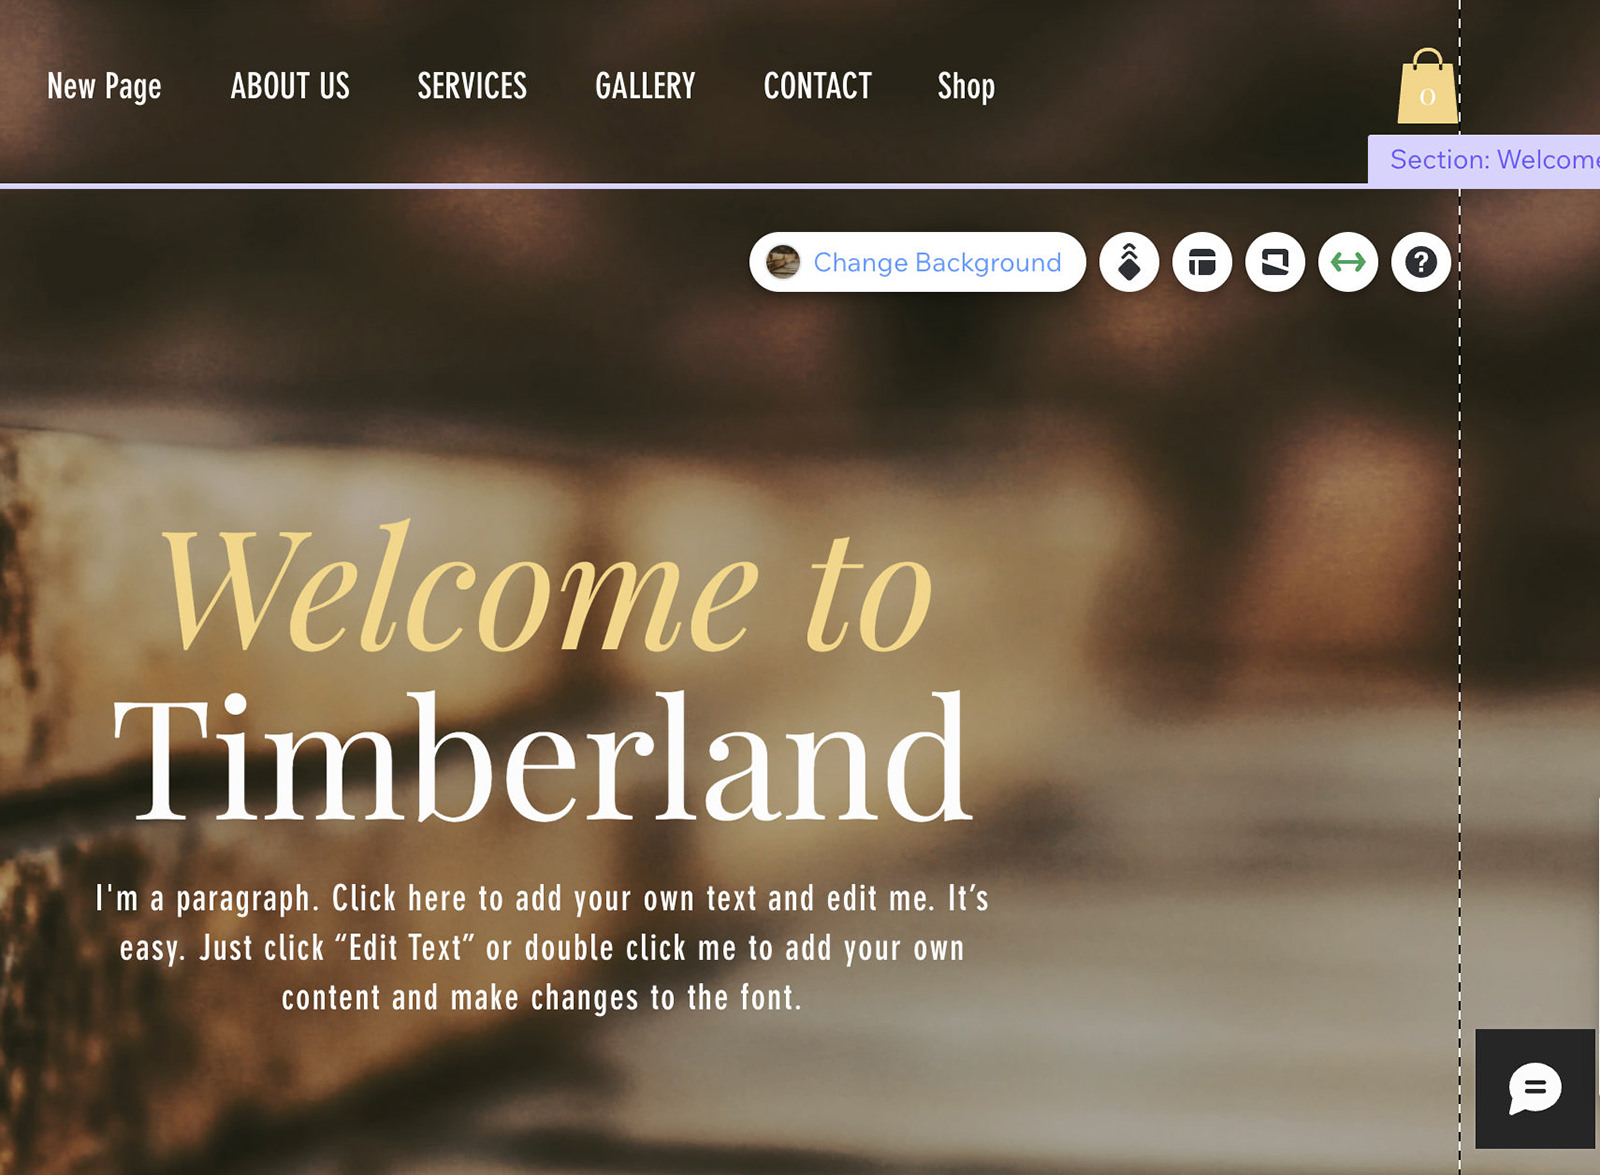
You can choose from the backgrounds Wix offers or upload your own, using the same process we used to upload the logo.

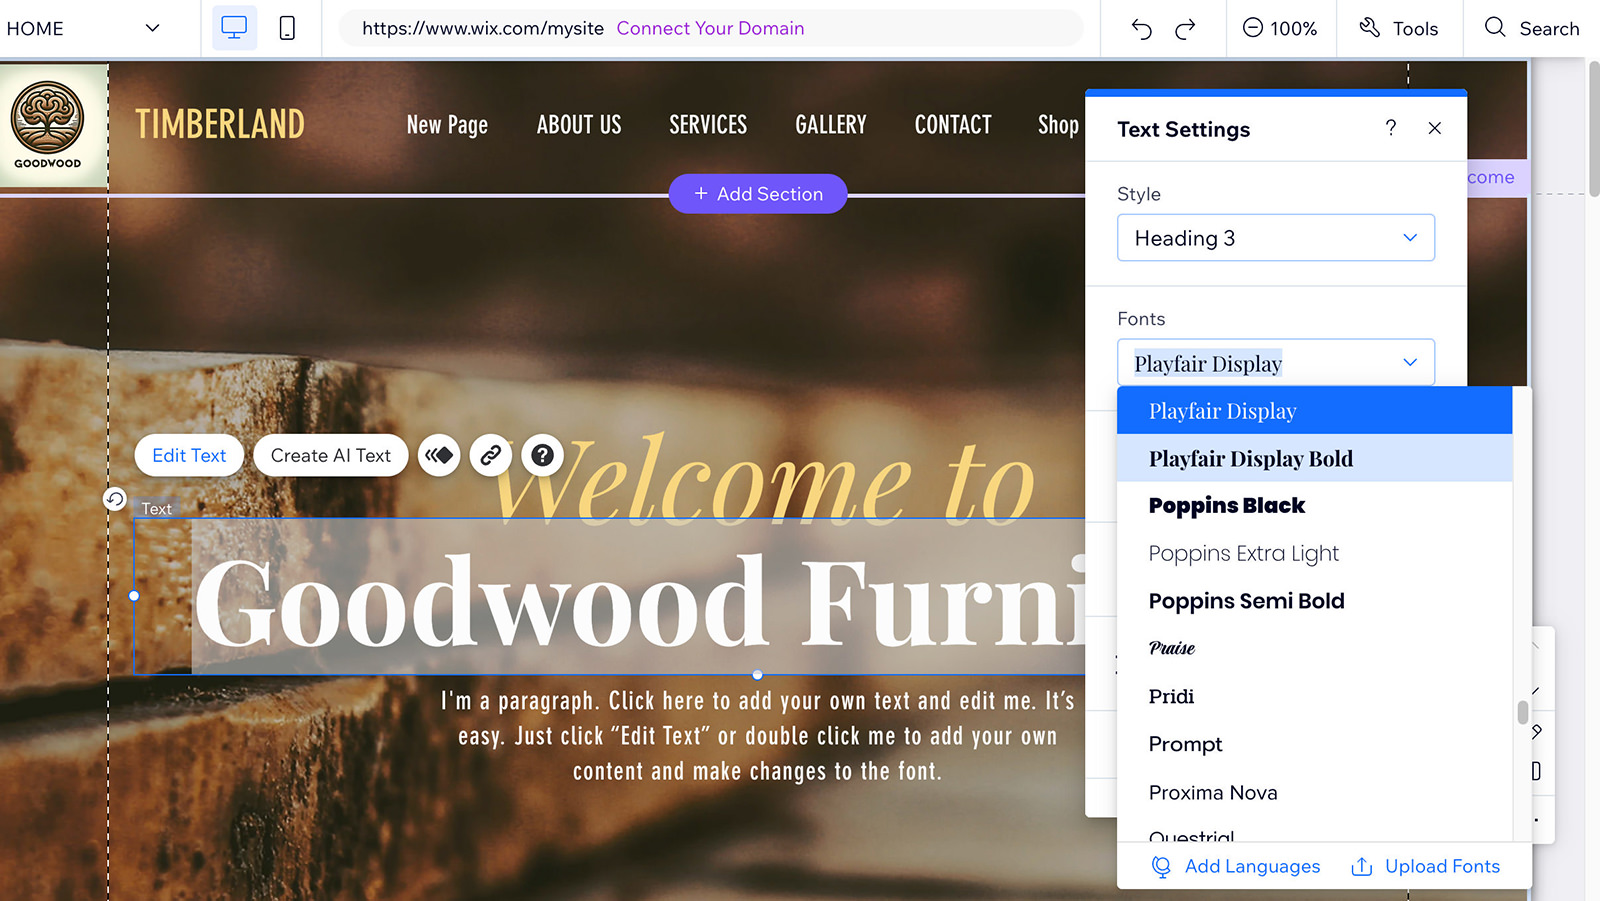
Next, let’s edit the text. Click on the text Wix has provided and select ‘Edit Text‘.

I’ll start by changing what the text says. After that, I can highlight the text to adjust the font, color, and size.
Once you’re satisfied with the text style, you can explore further customization options such as special effects, character spacing, and line spacing.
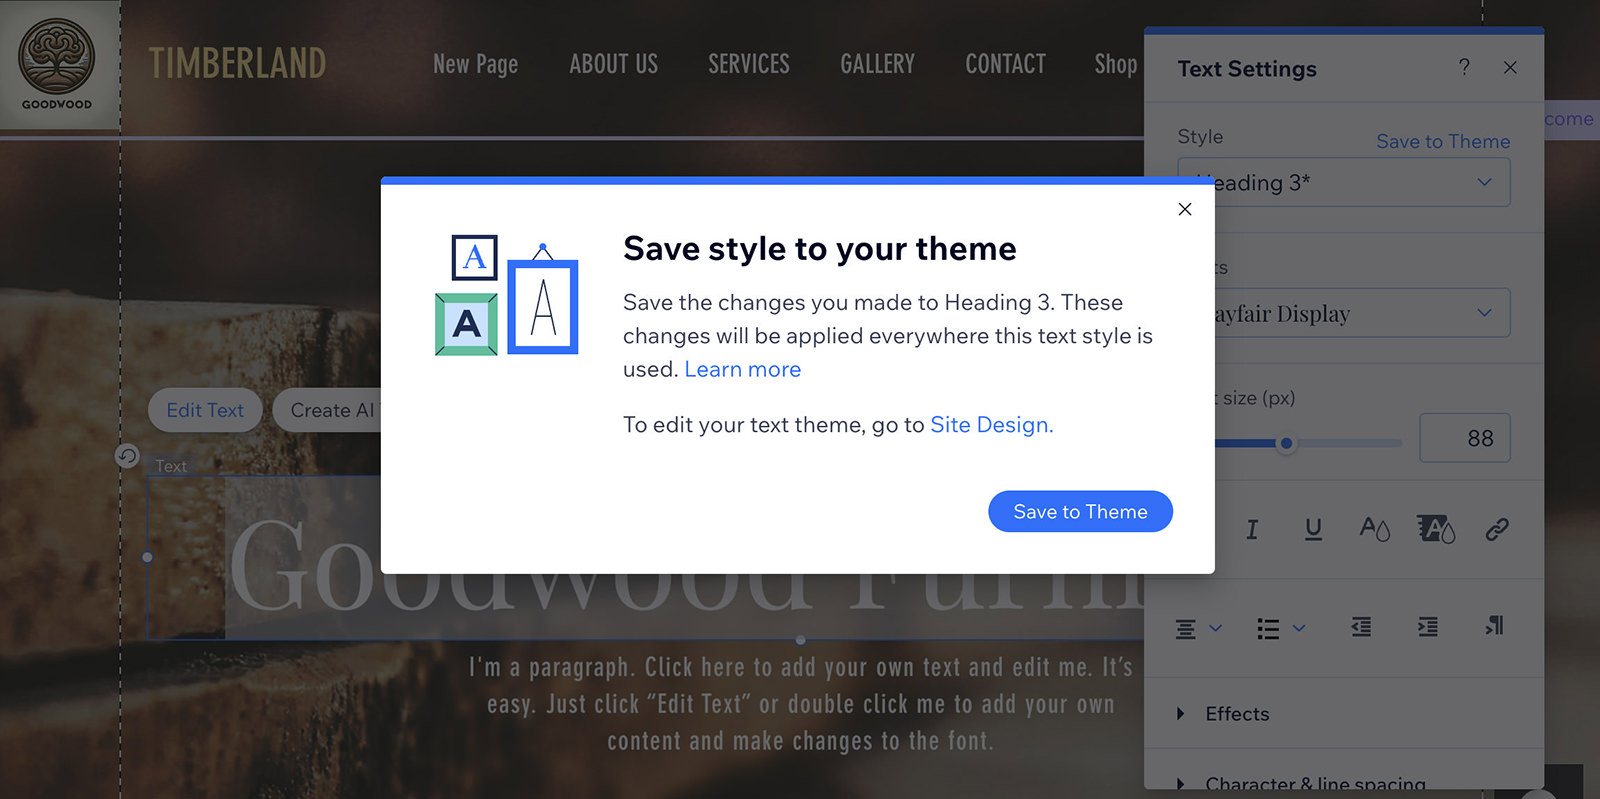
To save time and maintain consistency across different pages, consider saving your styled text to a theme. This allows you to reuse the style without having to redo it each time.
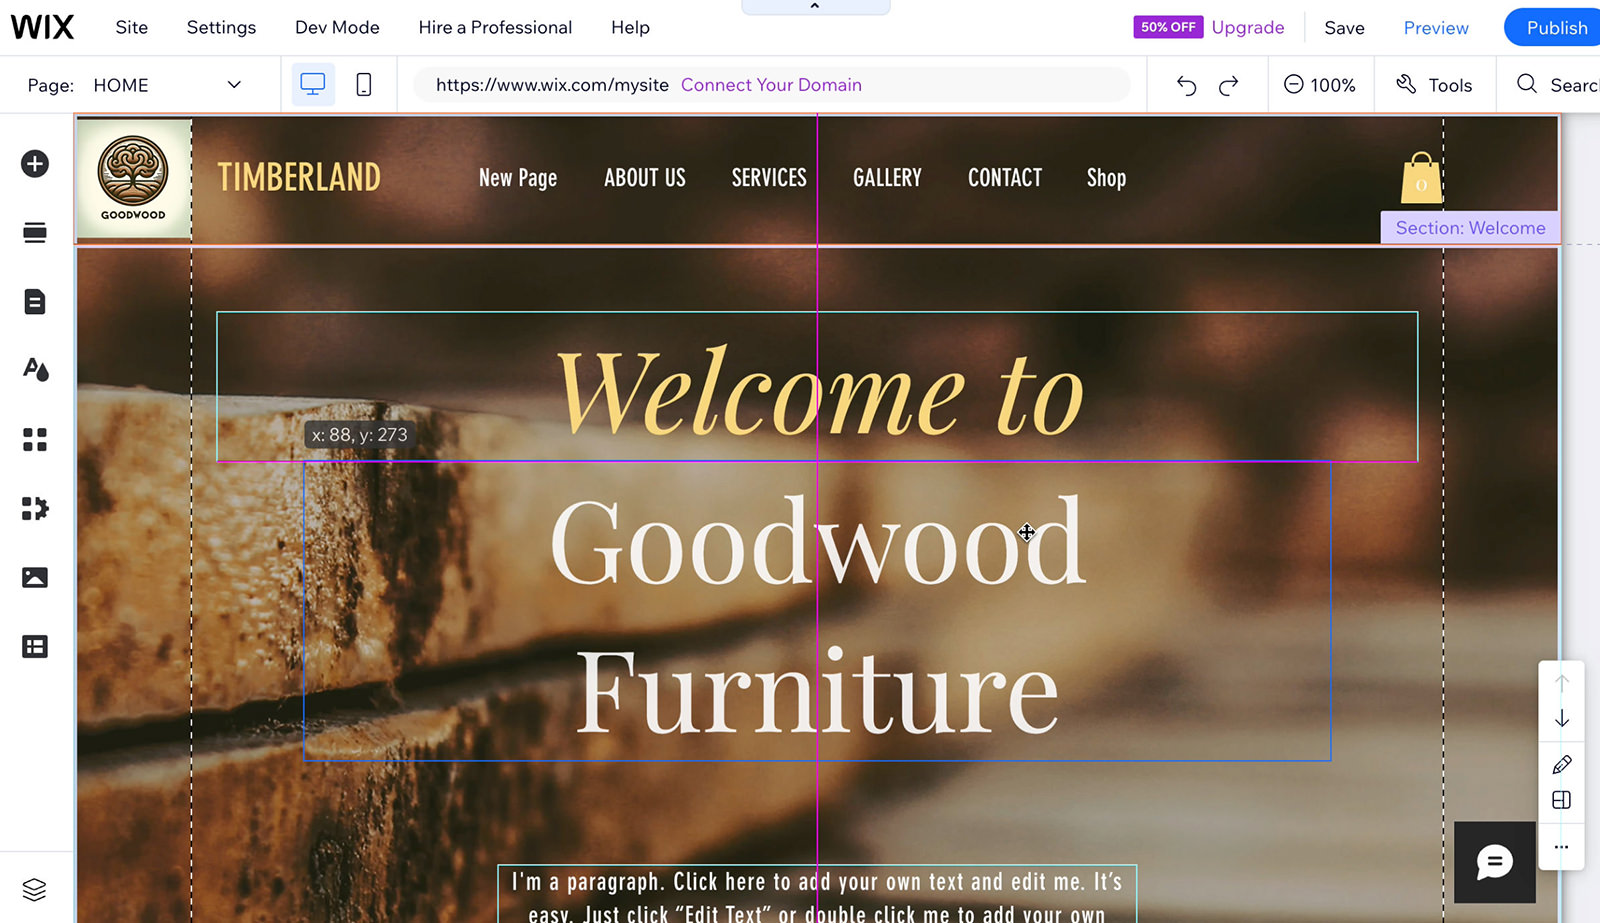
Adjusting Page Layouts and Backgrounds
After finalizing your text settings, you can adjust the text box’s position to fit your preferred location on the page. If any elements obscure the text, you can move or delete them as needed.
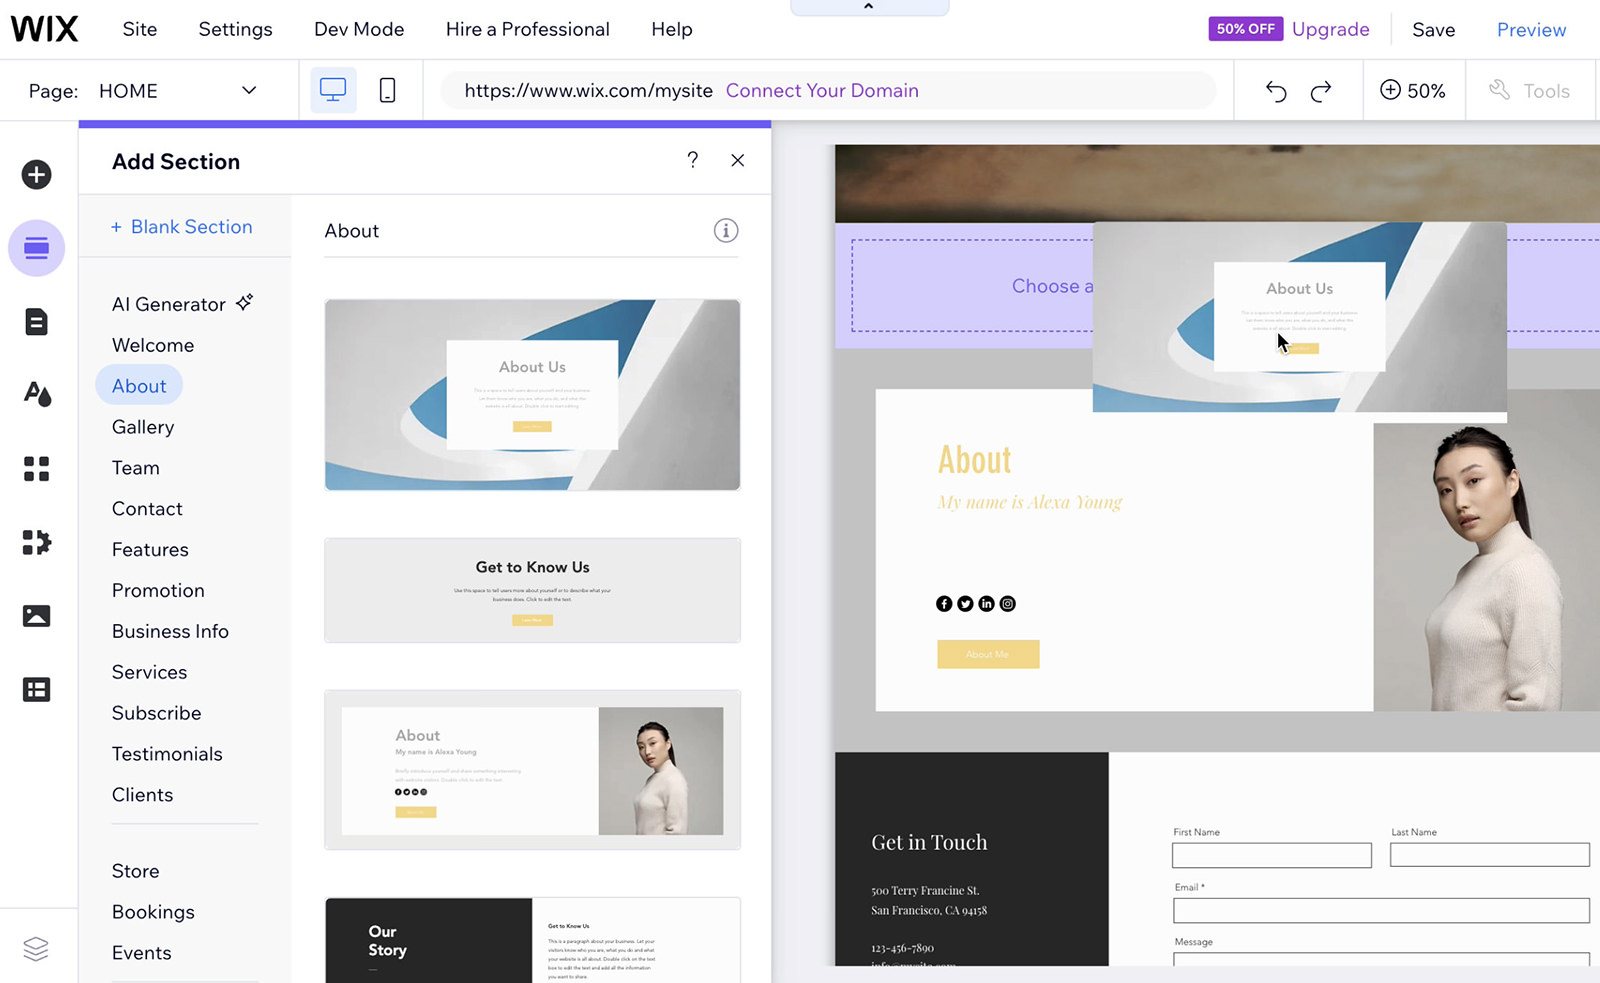
Let’s explore further down the page. Wix has an About section ready, but you might want to customize it. You can edit the text directly as we did before or replace the section entirely by choosing ‘Add Section‘ from the left-hand side menu.
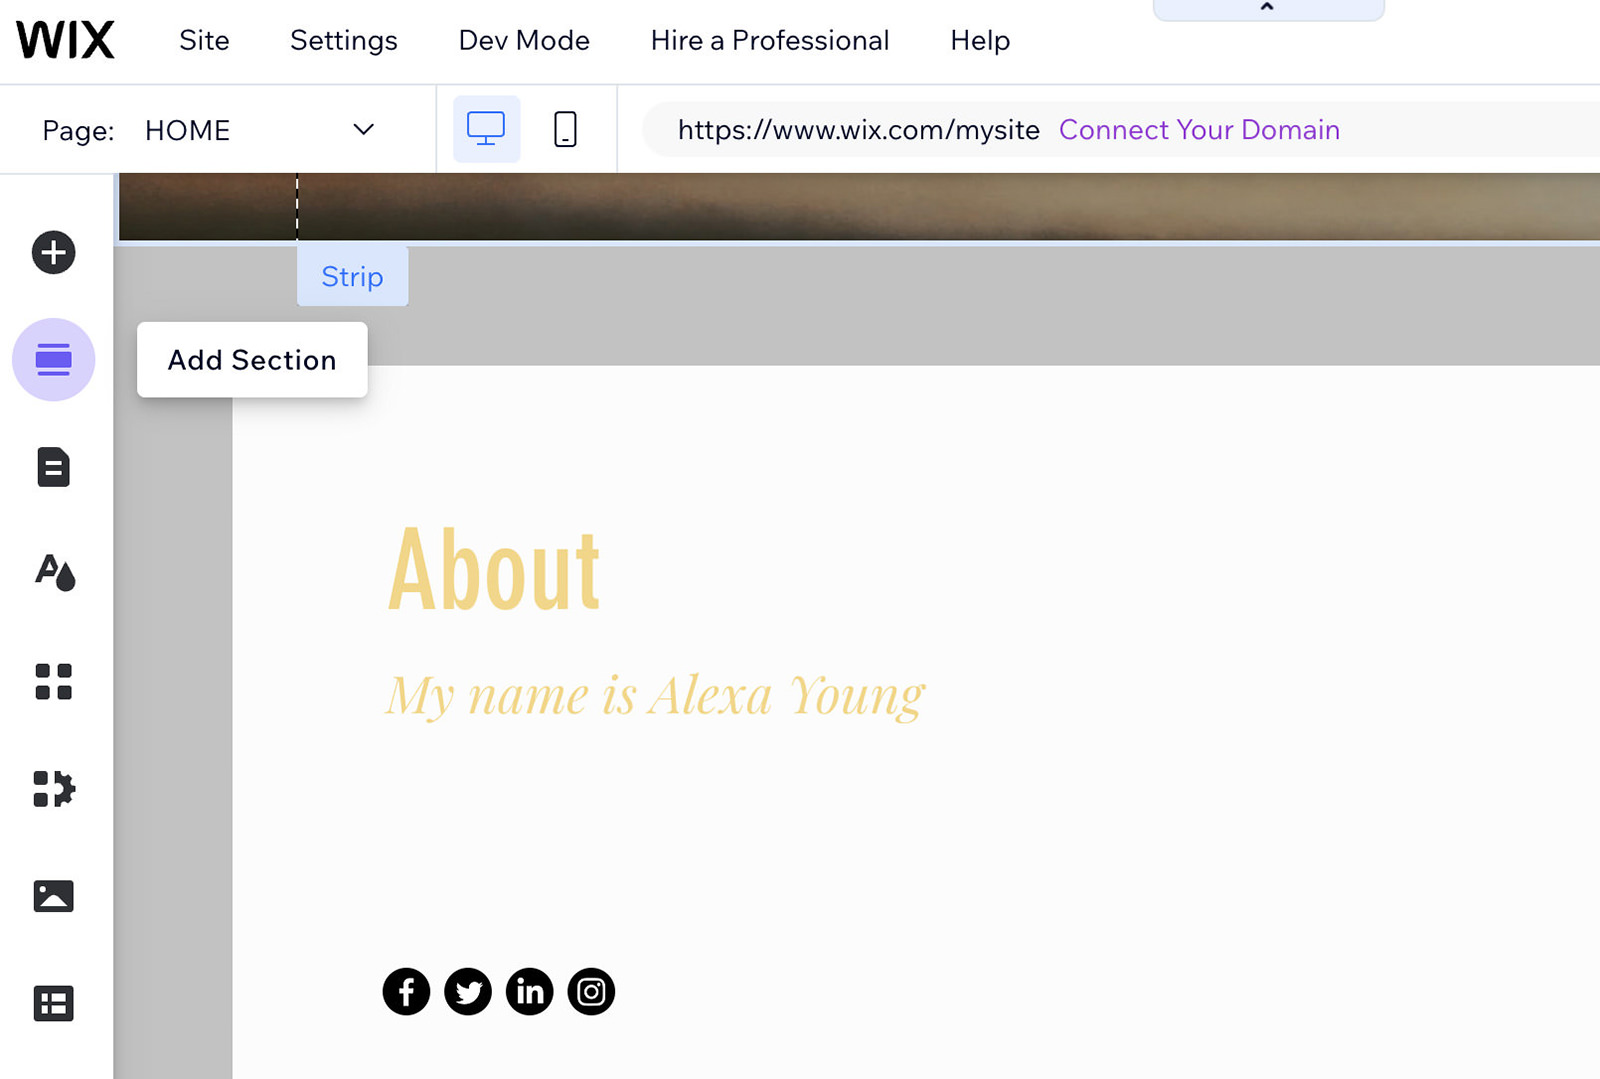
There are many section templates available on Wix. For example, if the default About section doesn’t suit your needs, you can drag a new template onto your page.
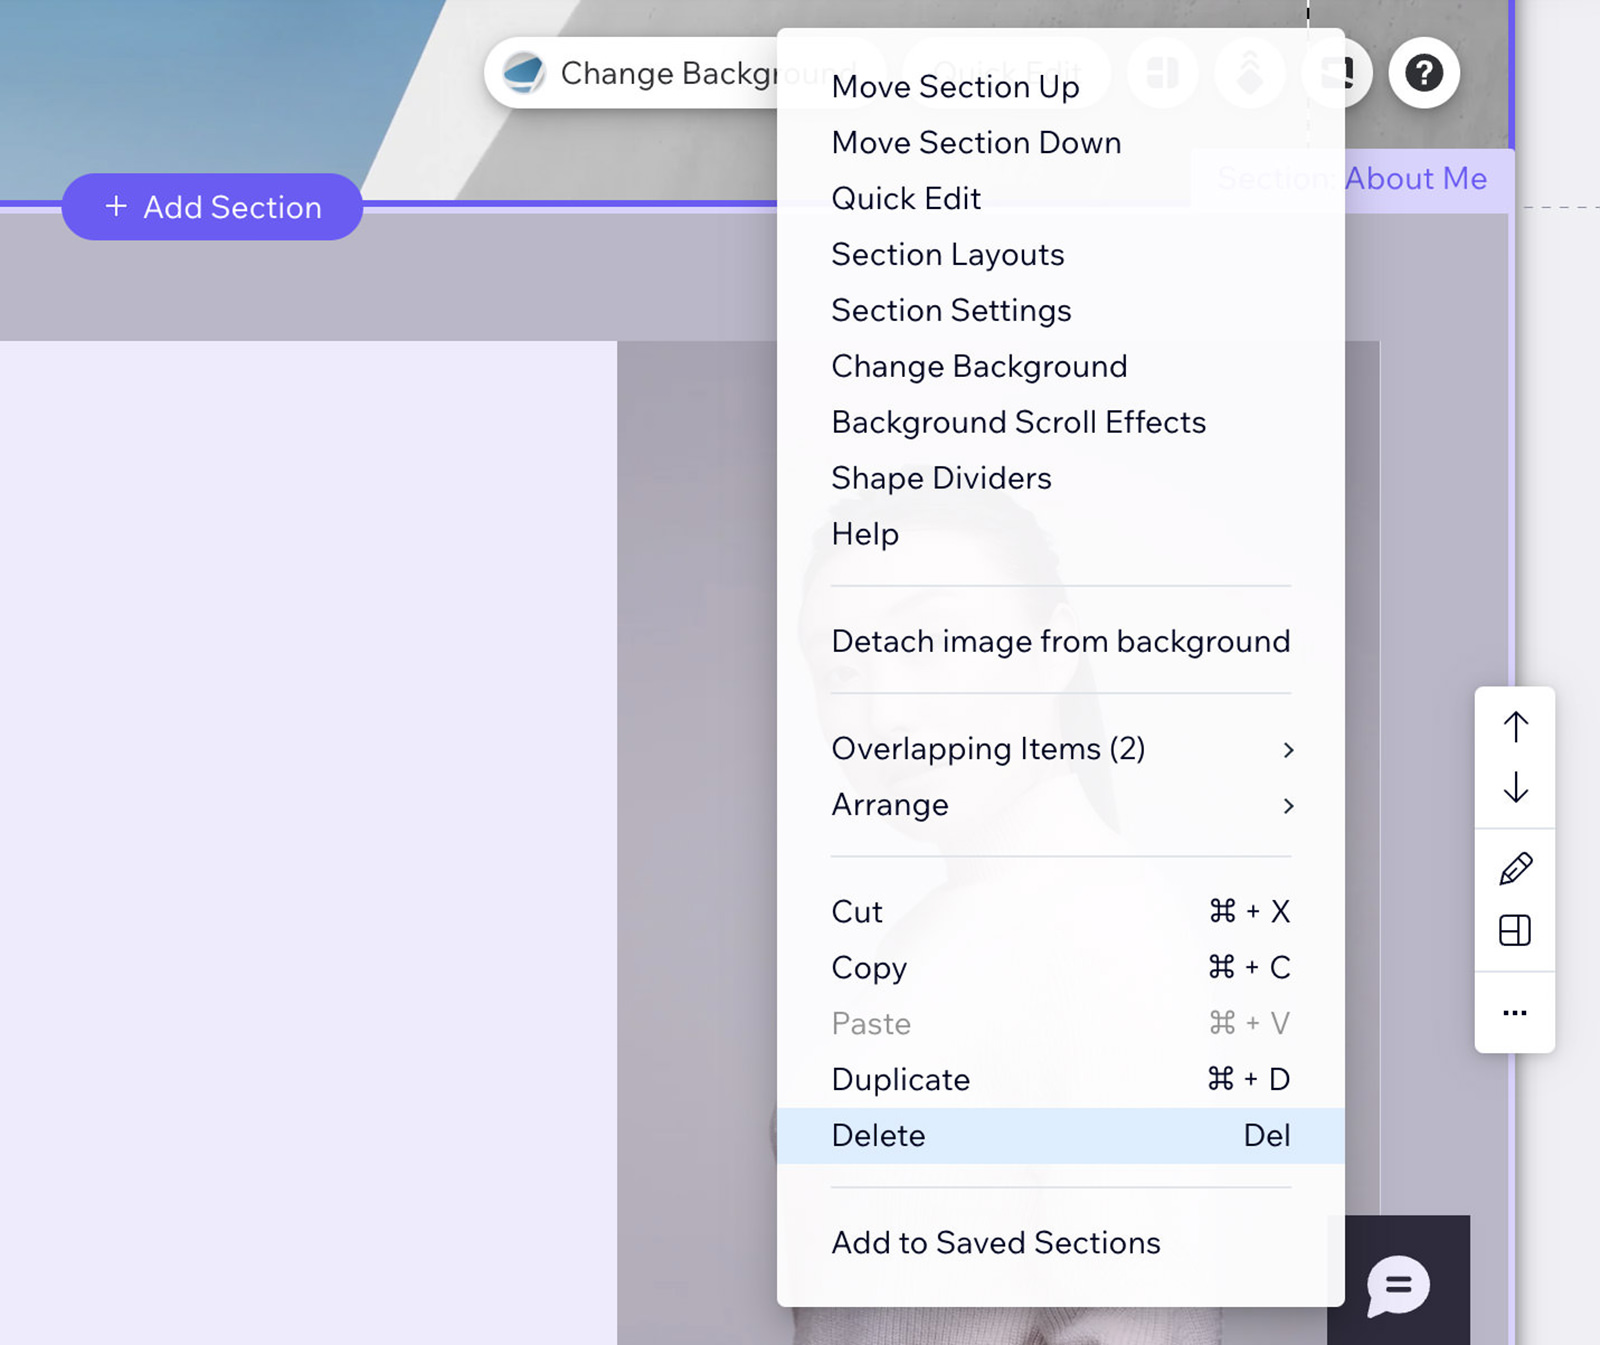
Once the new section is in place, right-click the old section and select ‘Delete‘ to remove it.
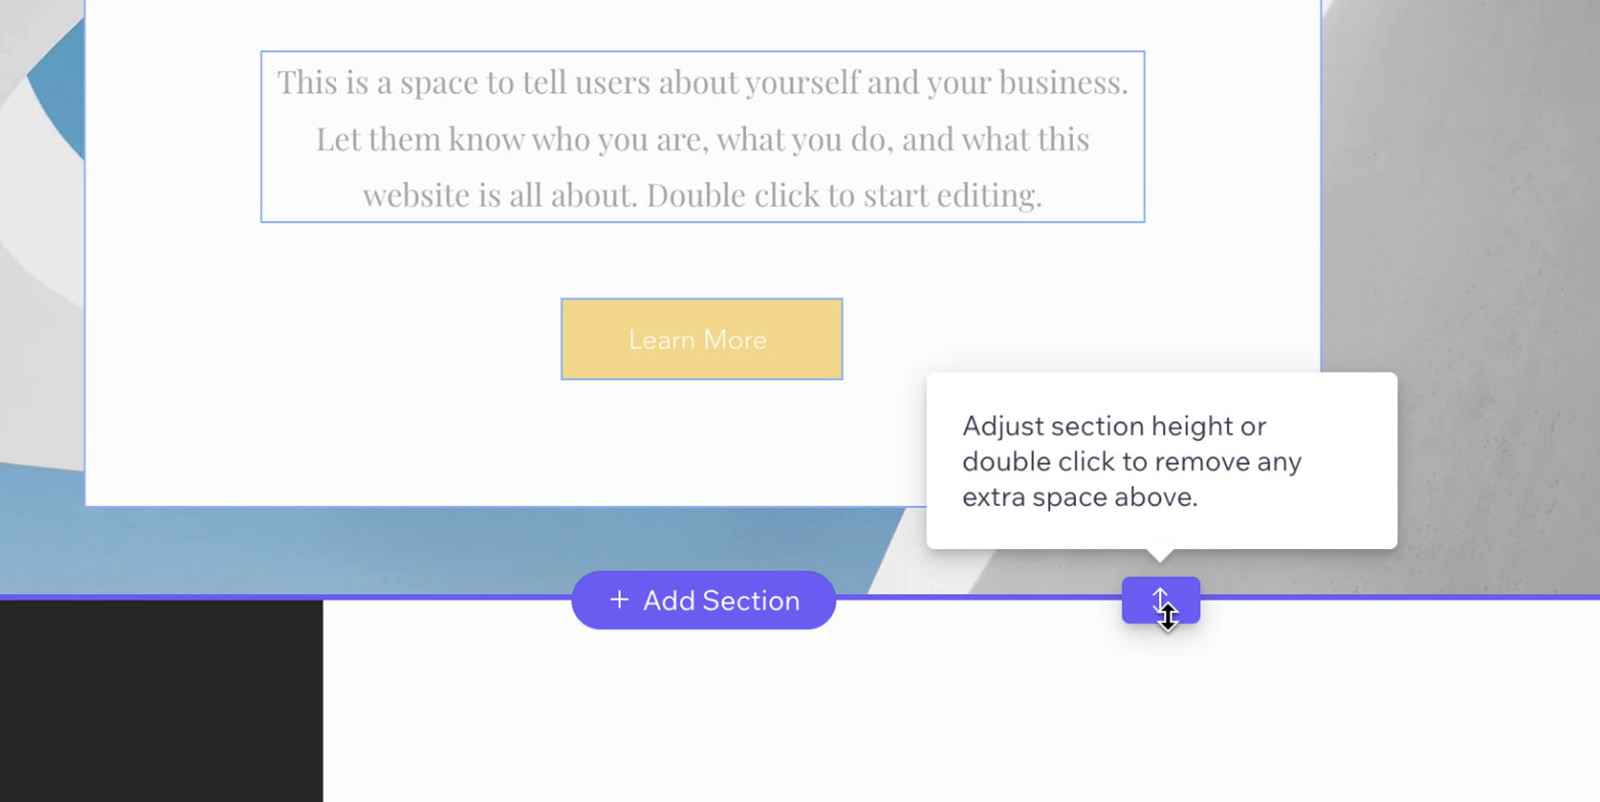
If you need to adjust the spacing around the new section, simply drag the arrows to add or reduce white space, helping you refine your site’s design.
Editing the Website Footer
We haven’t yet covered the footer, which, like the header, appears on every page of your website.

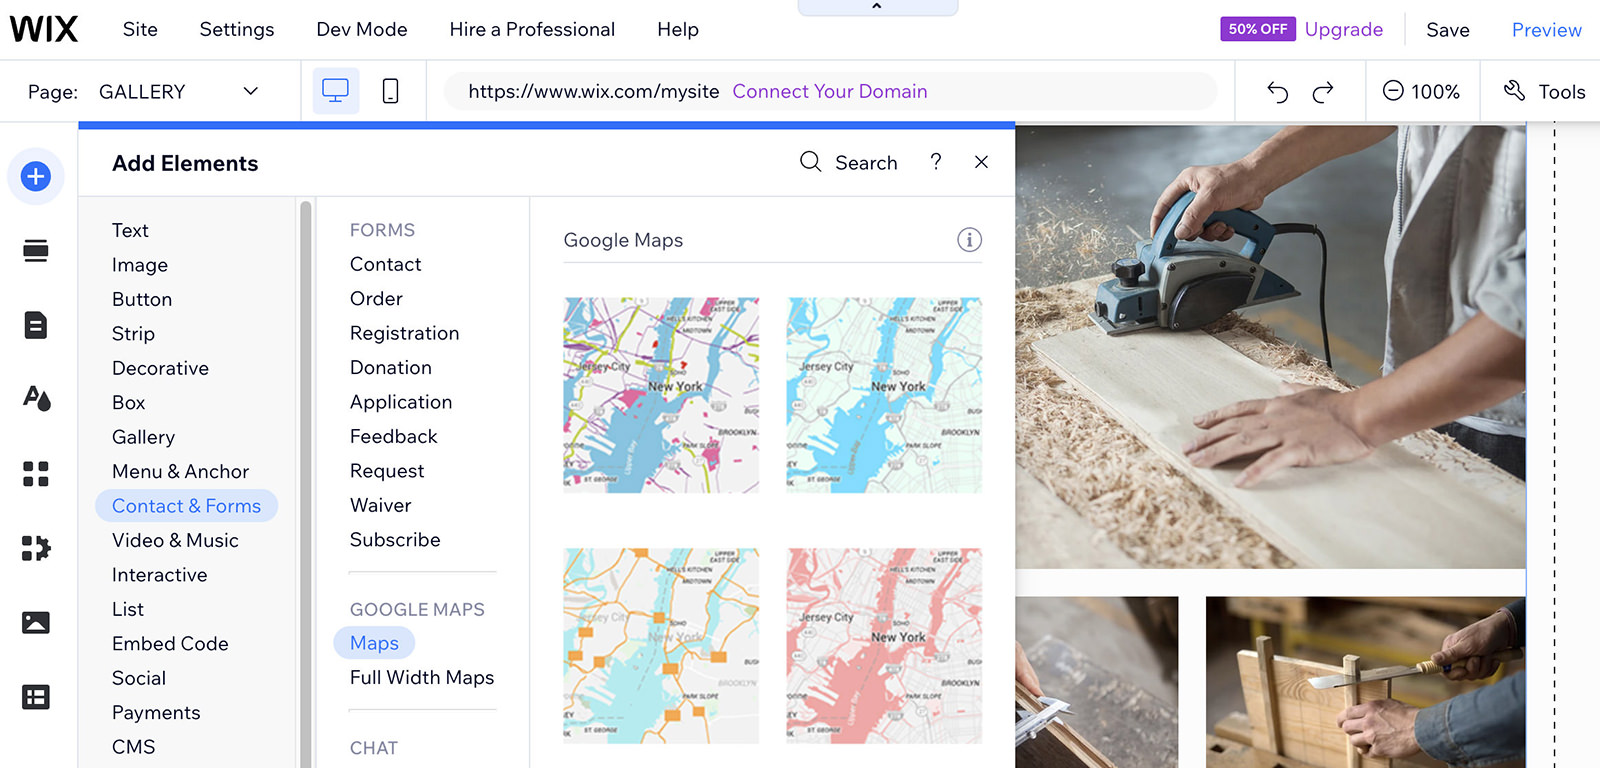
My footer is currently quite sparse, so I want to add elements that will be useful to my visitors. I’ll start by selecting ‘Add Elements‘ from the navigation bar.
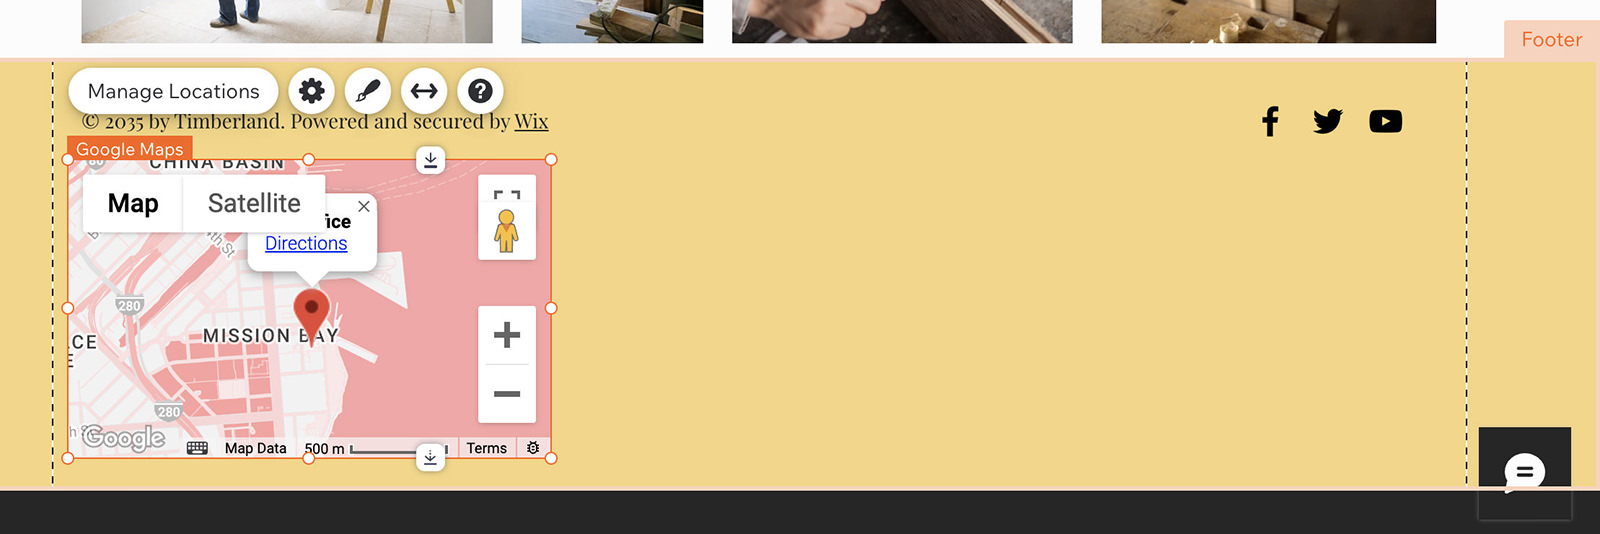
I’ve decided to include a map in the footer to appear on every page, providing location details to my customers. Under ‘Contact & Forms‘, I find the map I want and drag it into the footer.
After placing the map, I can adjust its size and position to fit neatly within the footer, ensuring all location details are correct and easily accessible.
Publishing Your Website
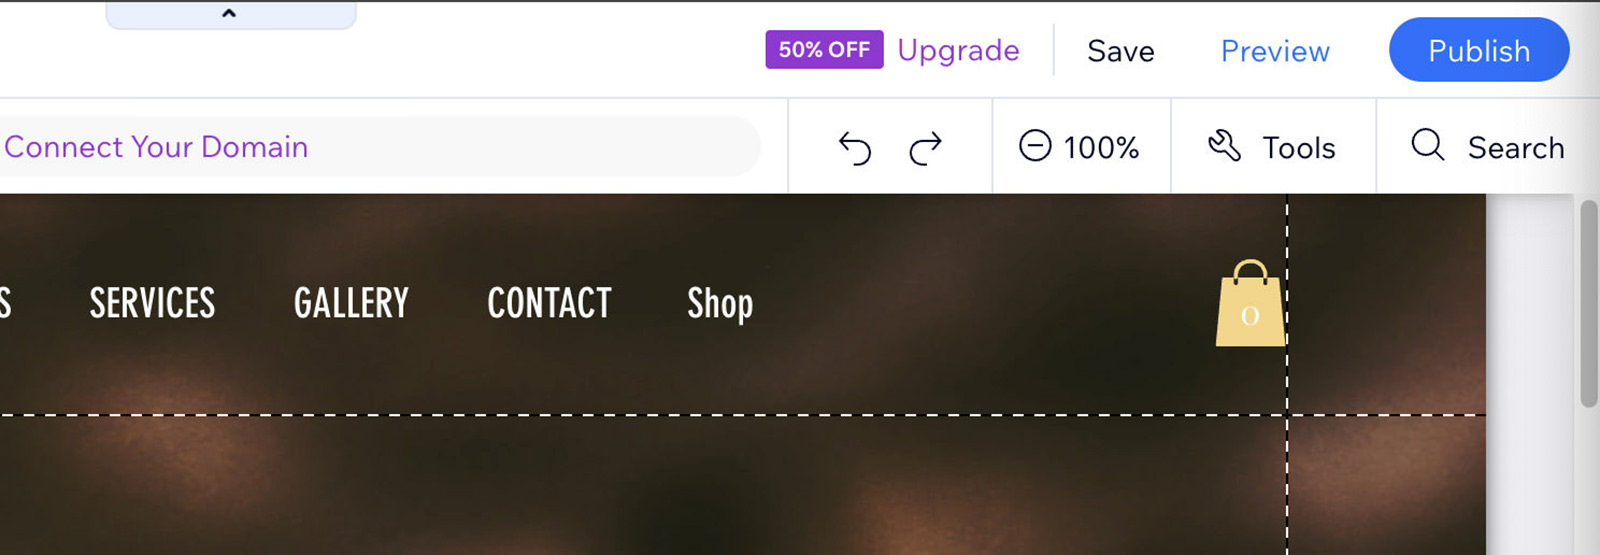
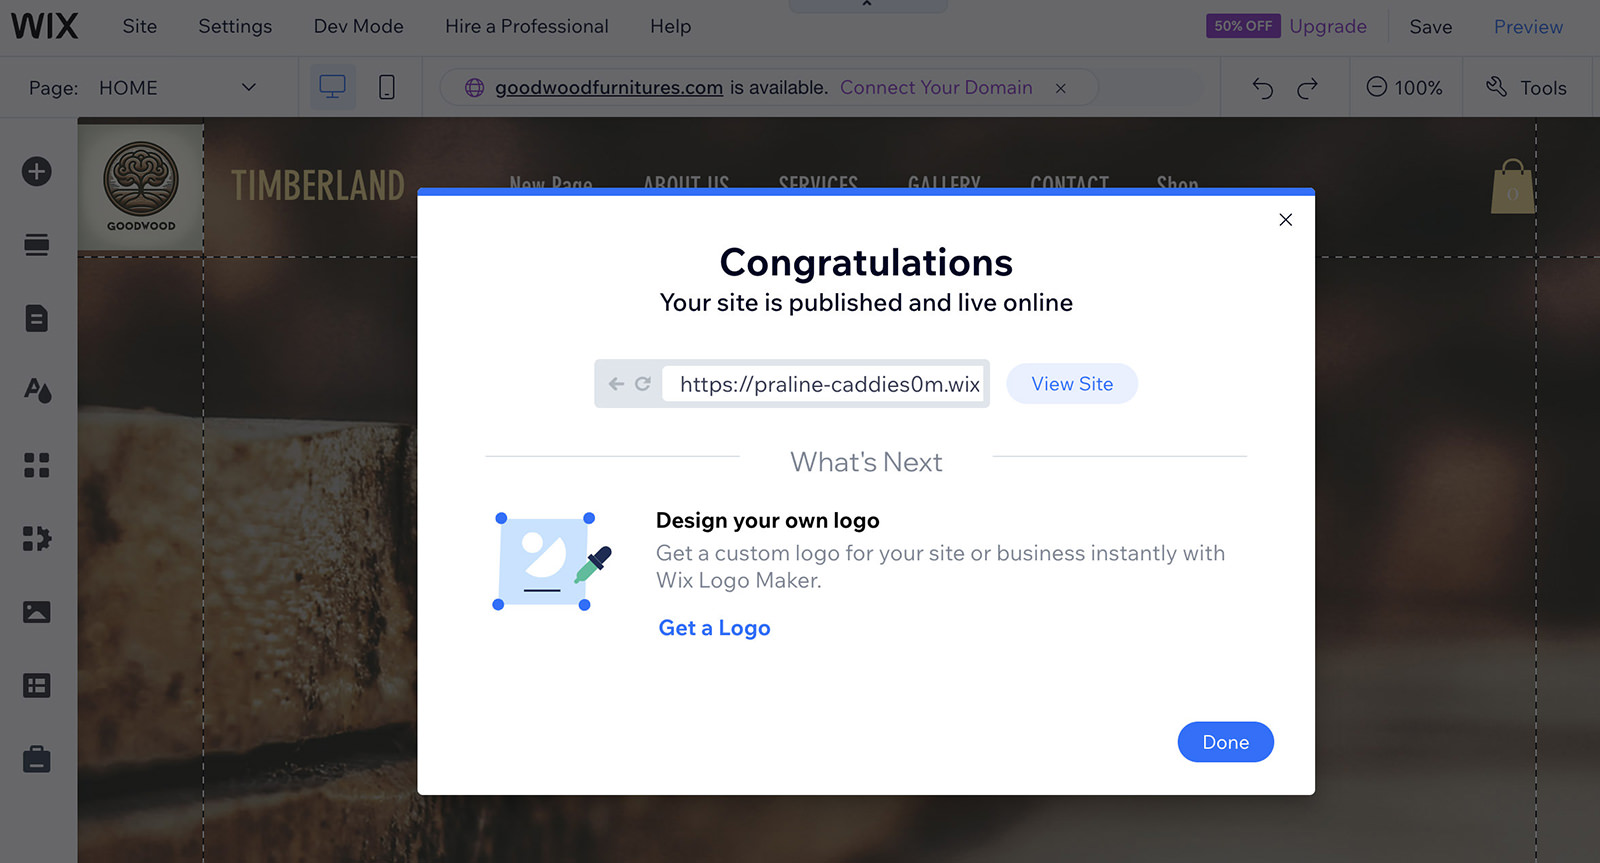
Once you’ve finished editing your website, you’re ready to go live. Simply click the ‘Publish‘ button.
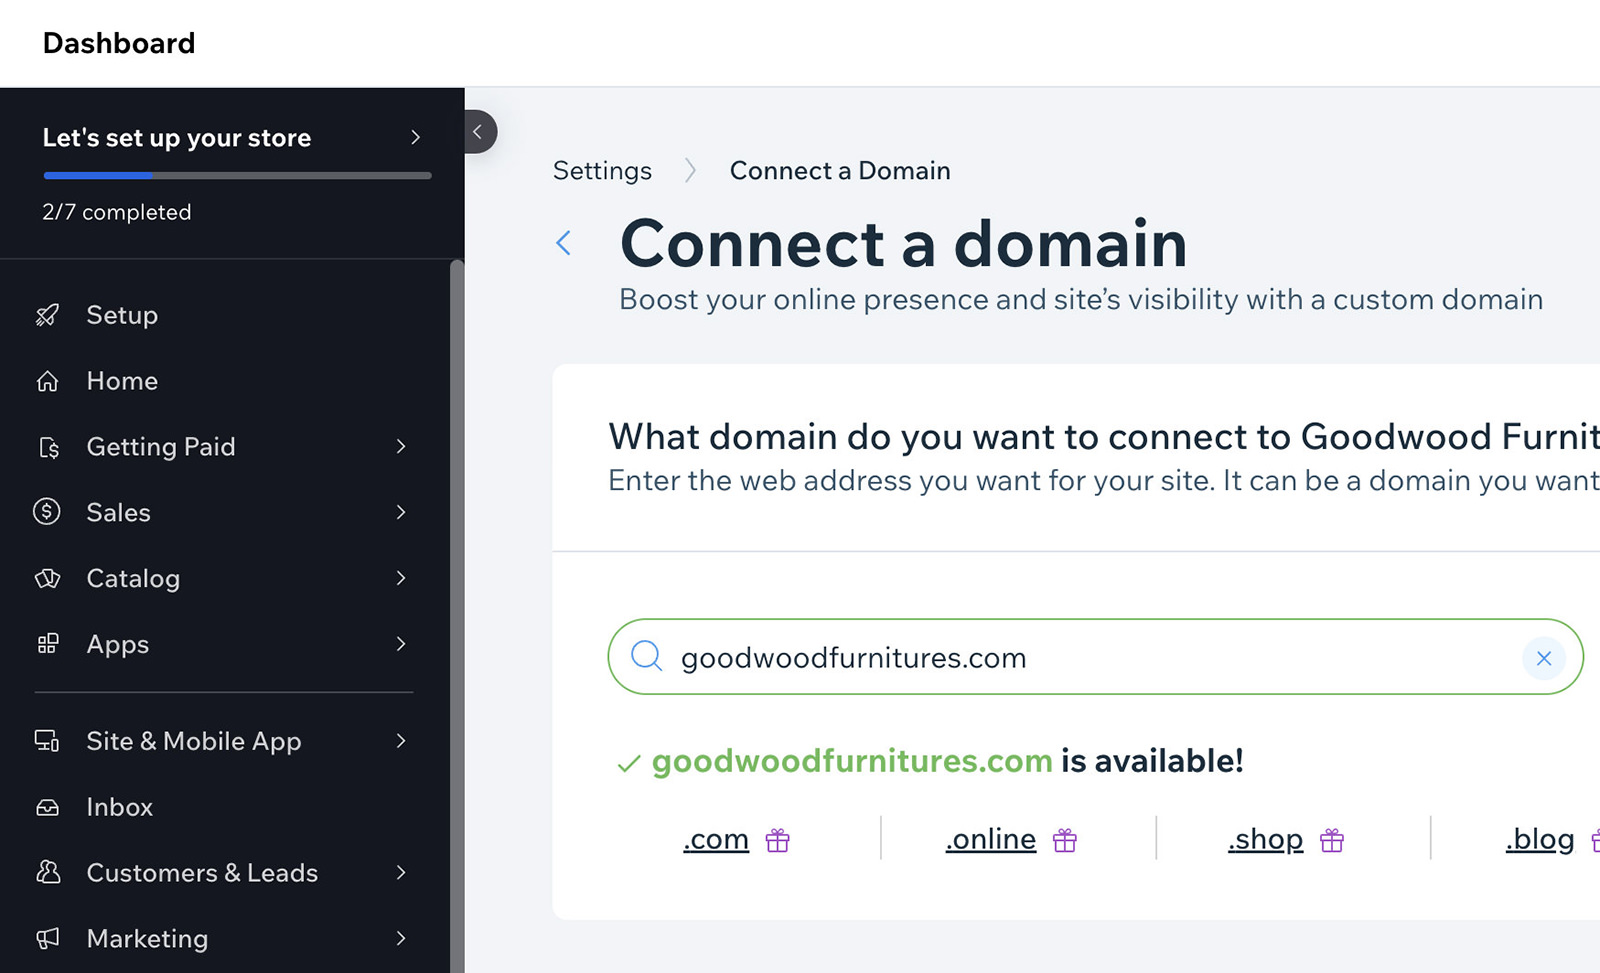
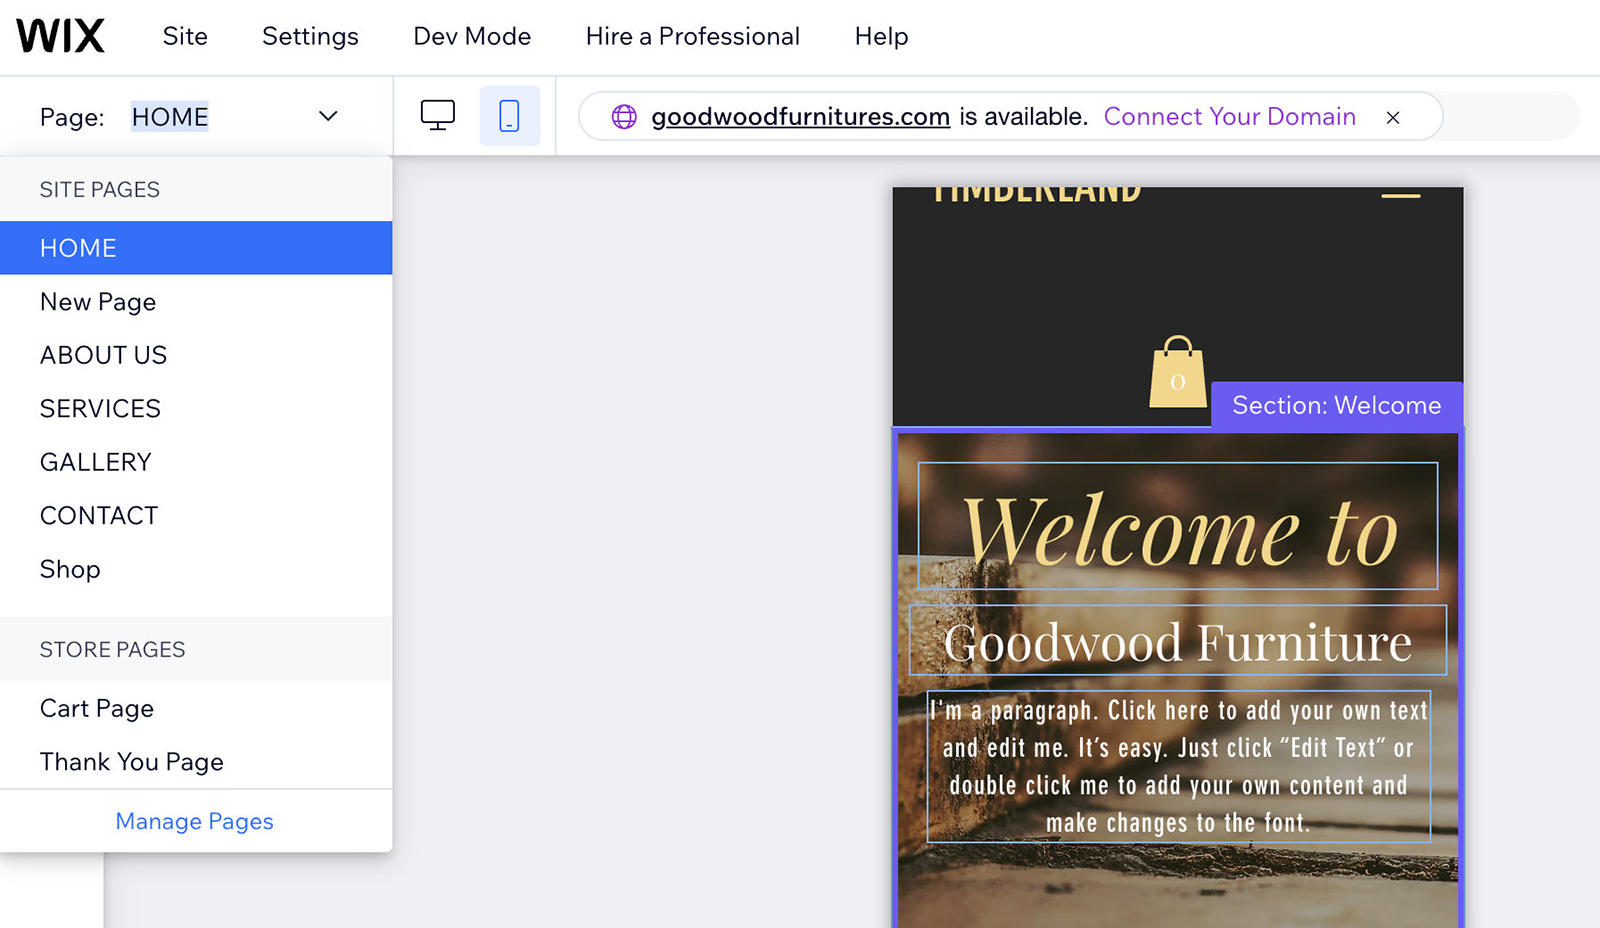
With a free Wix plan, you’ll receive a domain that includes Wix branding. If you prefer not to use the Wix-branded domain, you can connect your own custom domain by selecting ‘Connect Your Domain‘.
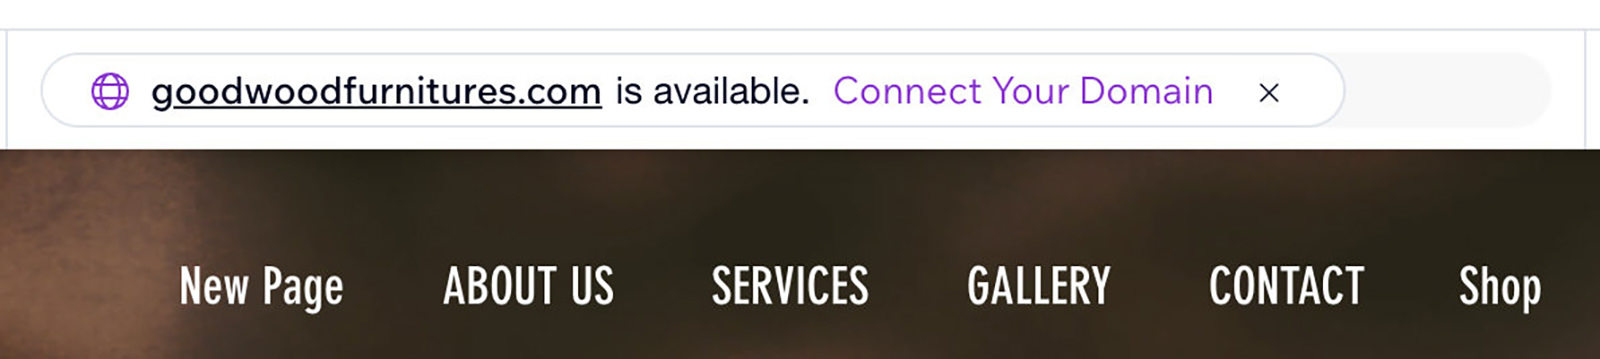
You can either link a domain you already own or find a new one to purchase. After choosing your domain, Wix will guide you through the purchase options and pricing.
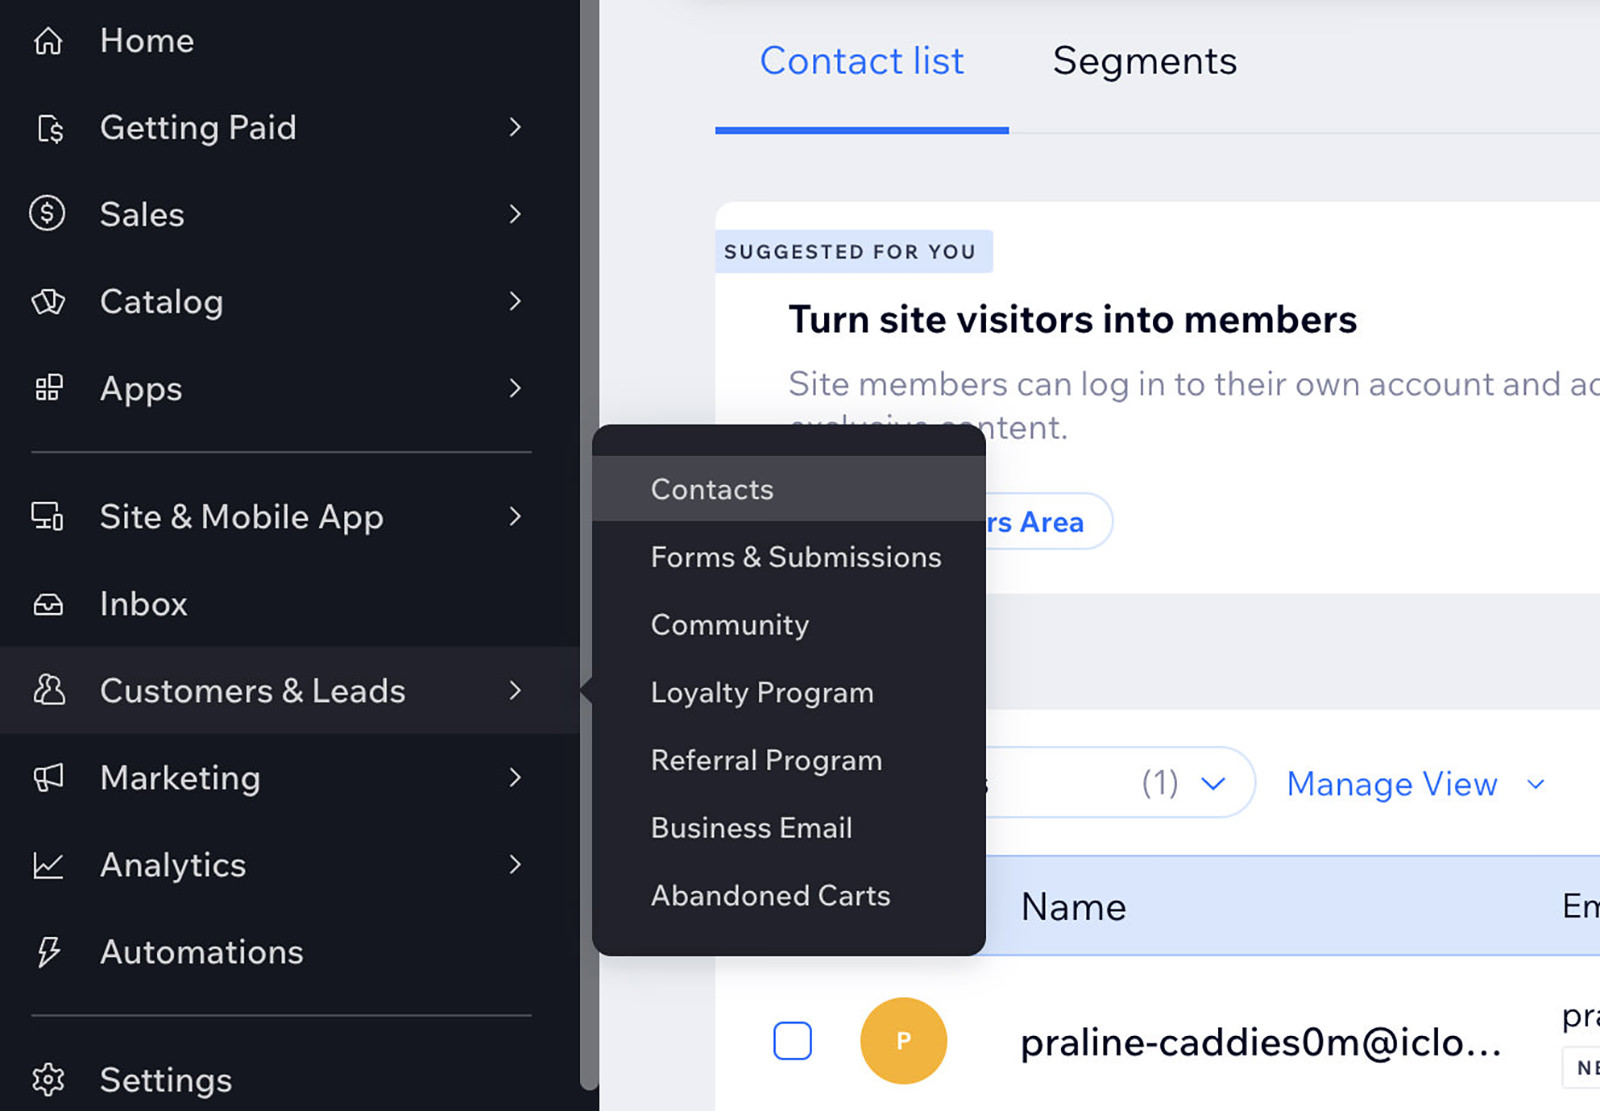
After publishing, you’ll access your business dashboard, a hub for insights on your website’s performance, including customer leads and contact details gathered through your site.
Upgrading to a premium plan offers additional features like SEM and SEO tools, and the ability to run ads on platforms like Google, Facebook, and Instagram. You’ll also gain access to detailed analytics, such as site visits and user behavior.
Some features are available with the free plan, while others require a subscription.
Optimizing Your Site for Mobile Viewing
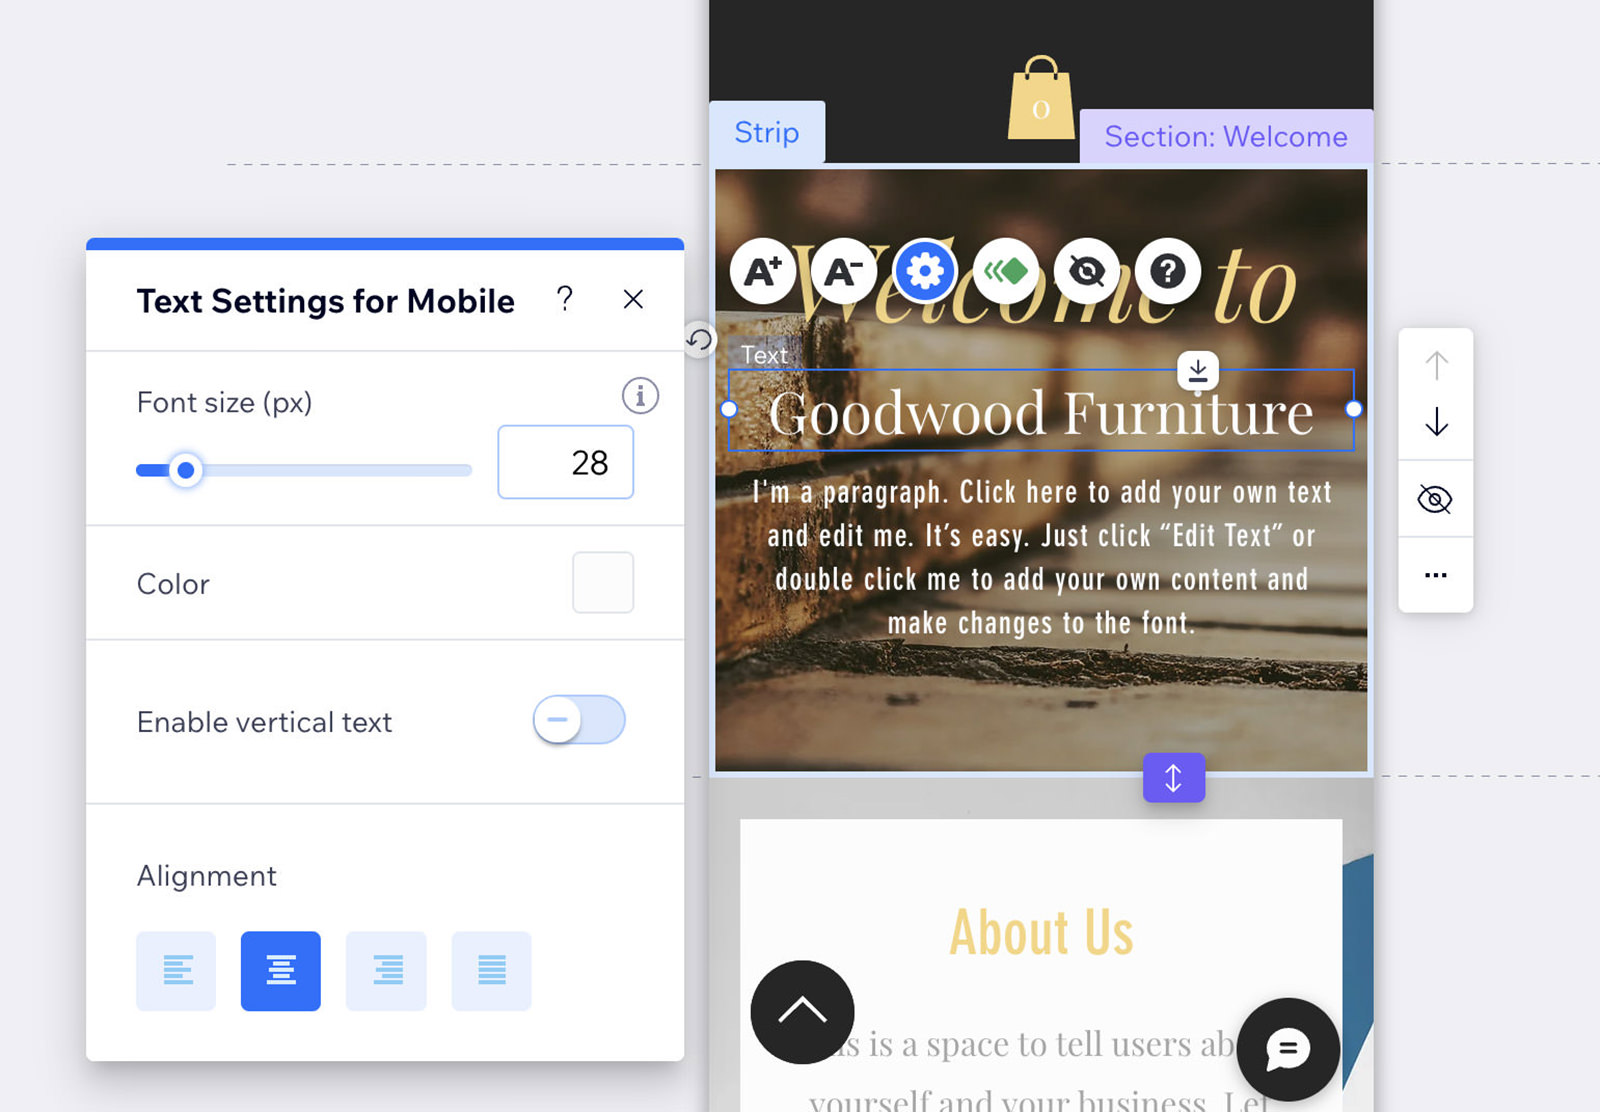
While building your website, you may have noticed the desktop icon in the upper left-hand corner. Let’s see how your site looks on mobile devices by selecting ‘Switch to Mobile’.
Wix automatically optimizes your site based on the design elements you’ve chosen. Remember, changes made in the mobile editor won’t affect the desktop version.
For instance, you might want to reduce text size for better balance on mobile screens or change images to improve load times.
To optimize other pages for mobile, navigate to the left-hand side, select the page you wish to edit, and make necessary adjustments.
After ensuring your site looks great on both mobile and desktop, you’re ready to publish.
Final Thoughts
Everything we’ve created today is available through Wix’s free plan. If you decide to upgrade to a premium plan, you’ll receive benefits like a free domain, the ability to accept online payments, manage bookings, and remove all Wix ads.
And that’s it – we’ve just created a website from scratch for free using Wix. I hope this helps!