Cricut Print Then Cut Calibration Guide for Perfect Cuts
Let’s talk about Cricut’s Print-Then-Cut calibration.
Have you ever printed a design, aligned it perfectly with your Cricut machine, only to find that it doesn’t cut accurately?
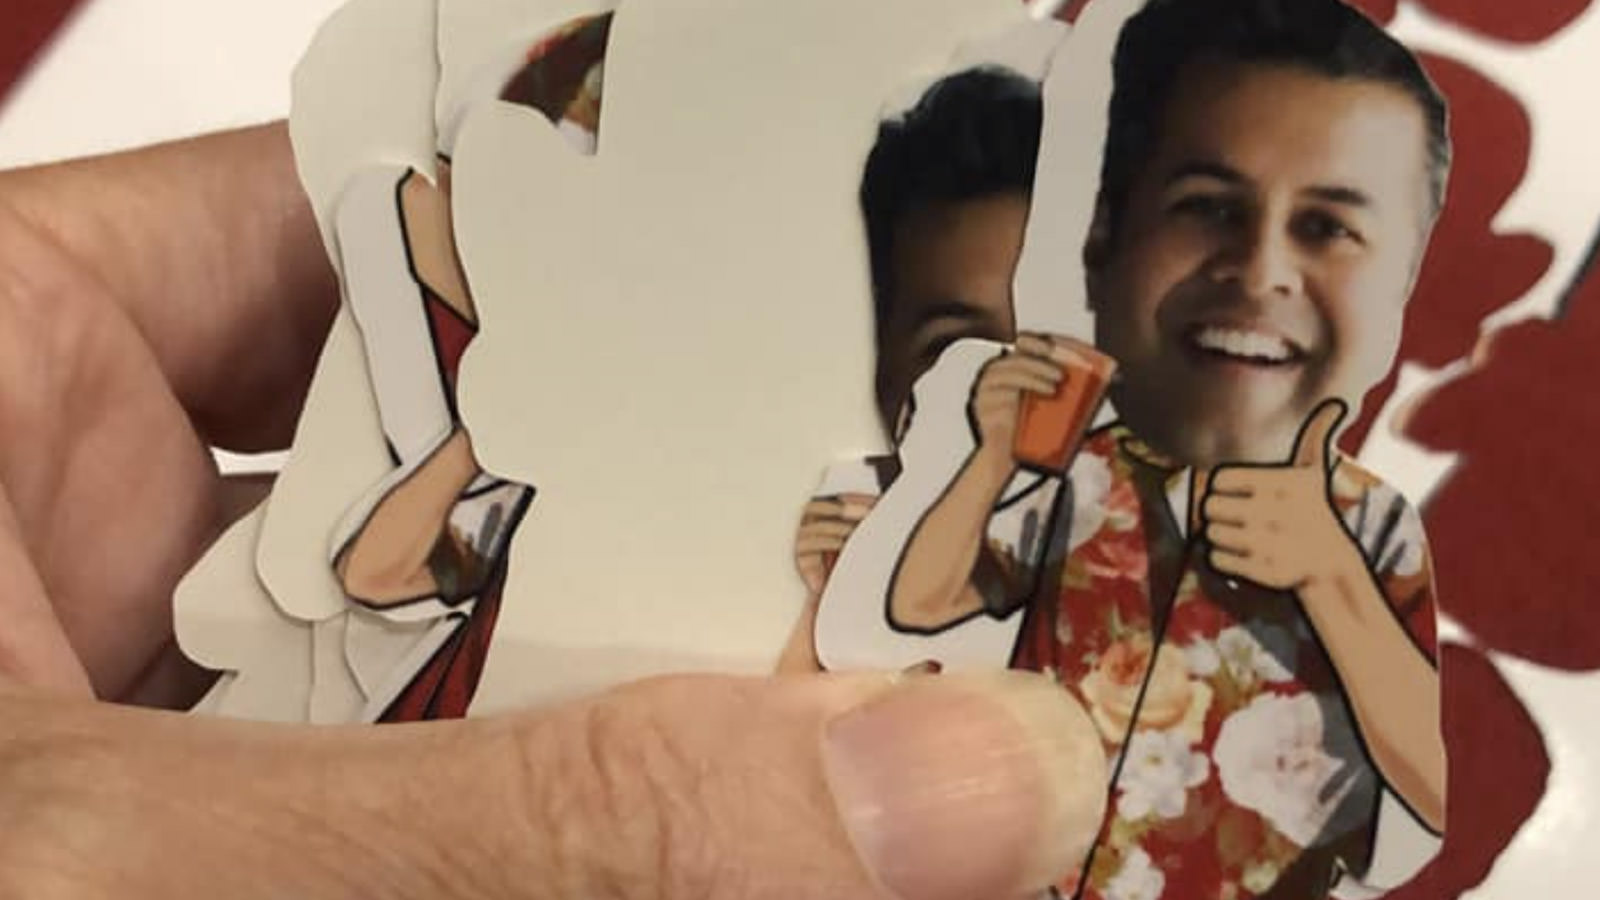
Maybe it cuts some of the design off or creates an imbalance of offsets around the corners. Or perhaps, when you try to calibrate the machine, it just won’t calibrate properly? You’re not alone.
Many Cricut crafters, including myself, face this issue. It can be frustrating, but it’s solvable. In this post, I’ll share all the possible reasons for imperfect cuts and how to resolve them based on my experience.
In this article
- 1. First, Check Your Mat
- 2. Do a Machine Calibration
- 3. Use the PDF Calibration Sheet
- 4. Cut Sensor Marks Could Be the Culprit
- 5. A Faulty Cricut Design Space Update
1. First, Check Your Mat
The first thing most of us would probably do is jump right into calibration, but I’d suggest not quite yet. First, check your mat. In fact, check the following few things, and get them right:
- Make sure you are using the correct mat size.
- Make sure you are laying your paper on the top right of the mat.
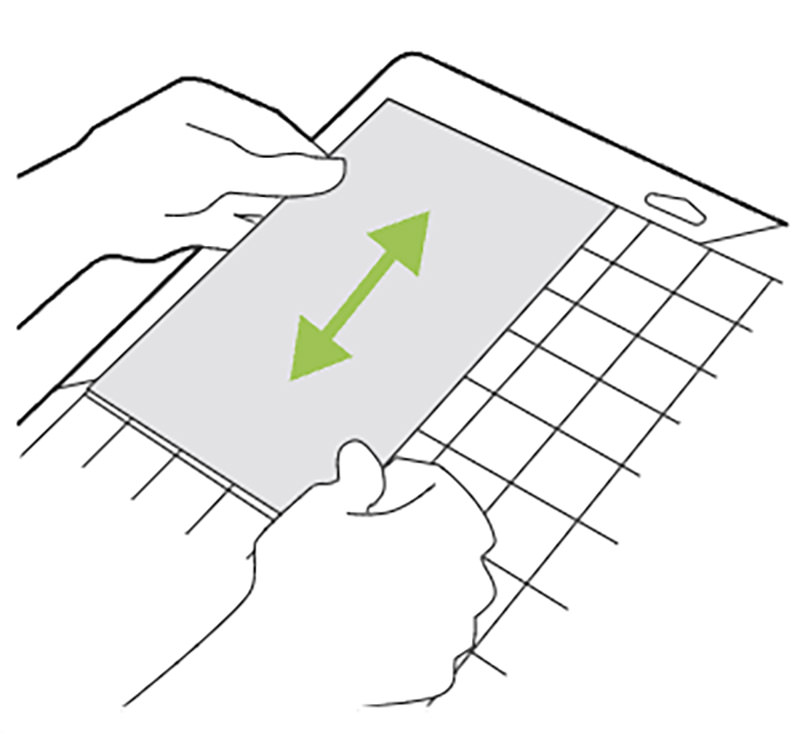
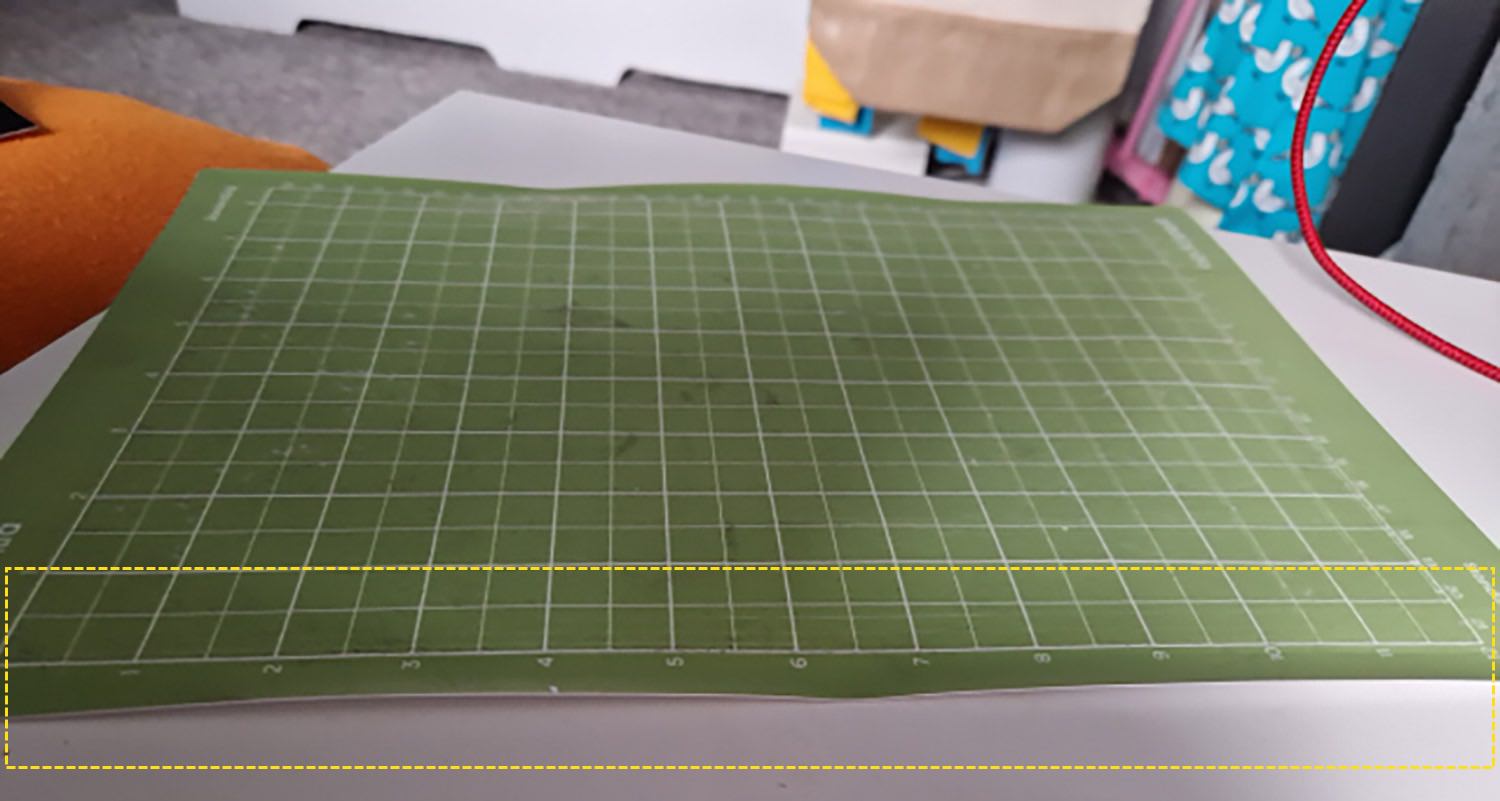
- Make sure the mat is not bent or wavy on both the left and right sides.
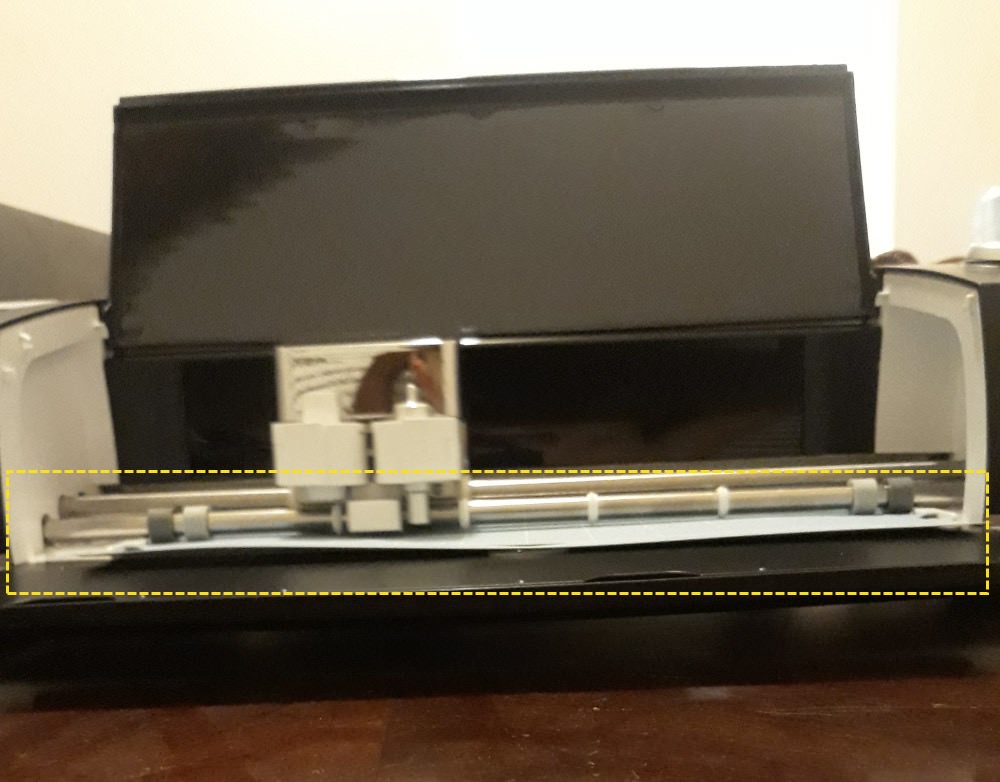
- Make sure the mat is not crooked when loaded into the Cricut machine.
Takeaway: Use the correct mat size and ensure it’s perfectly flat.
2. Do a Machine Calibration
If your mat is all okay, let’s proceed to perform a calibration. This ensures your machine cuts precisely along the edge of your printed image.
Cricut provides a detailed guide on how to calibrate your machine, so I won’t repeat the instructions here. I suggest you read and follow it to try to calibrate your machine.
The goal is to keep calibrating until everything is perfect. However, here are a few things I’d like to point out that you should take note of when doing calibration.
Understand Normal Cuts and Massive Offsets
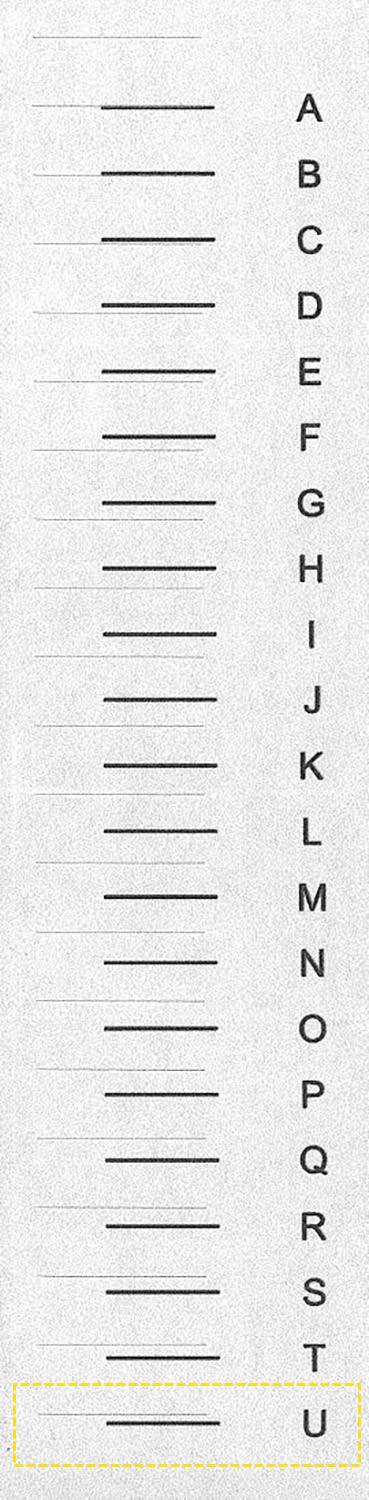
In the second step of the machine calibration, the Cricut machine will cut vertical and horizontal lines on the numbers 1-21 and A-U. You are supposed to find which cut line falls directly on or closest to the printed line.
But before you do that, here’s one thing you need to take note of: you need to know if the cut lines are normal cuts or massive offset cuts.
Normal Cuts
A normal cut means it meets the following conditions:
- The first cut is before 1, and the last cut is after 21.
- The first cut is before A, and the last cut is after U.
If these conditions are not met, it is considered a massive offset cut. Read below to learn more about massive offset cuts.
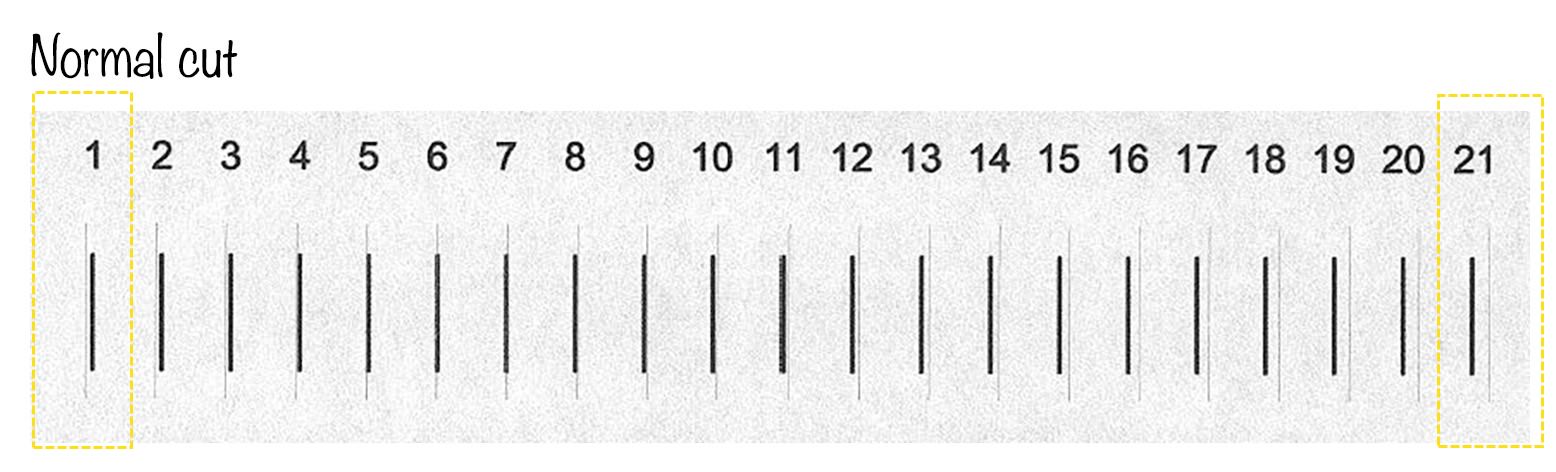

If you are getting a normal cut, then go ahead and figure out which lines fall most centered on the printed line and input them in the dialogue box in the calibration process in your design space.
Massive Offset Cuts
If the cuts are not within the boundary of normal cuts, then they are probably massive offset cuts. Massive offset cuts can occur in any of the following scenarios:
- The first cut is after 1.
- The last cut is before 21.
- The first cut is after A.
- The last cut is before U.
Here are some examples of massive offset cuts:

What to Do with Massive Offset Cuts?
It’s important that if any of these scenarios occur, you do not choose which lines fall most centered on the printed line.
Instead, for each of these scenarios, choose the following as your answer, and then repeat calibration:
- First horizontal cut is after 1 – Choose 1.
- Last horizontal cut is before 21 – Choose 21.
- First vertical cut is after A – Choose A.
- Last vertical cut is before U – Choose U.
Repeat the calibration process. You might need to do it a few times, possibly more than 5-8 times, until it is perfectly calibrated. This is normal. If this does not work, continue reading below.
Takeaway: Understand cut types, calibrate repeatedly, use the PDF sheet if needed, and print at 100% scale.
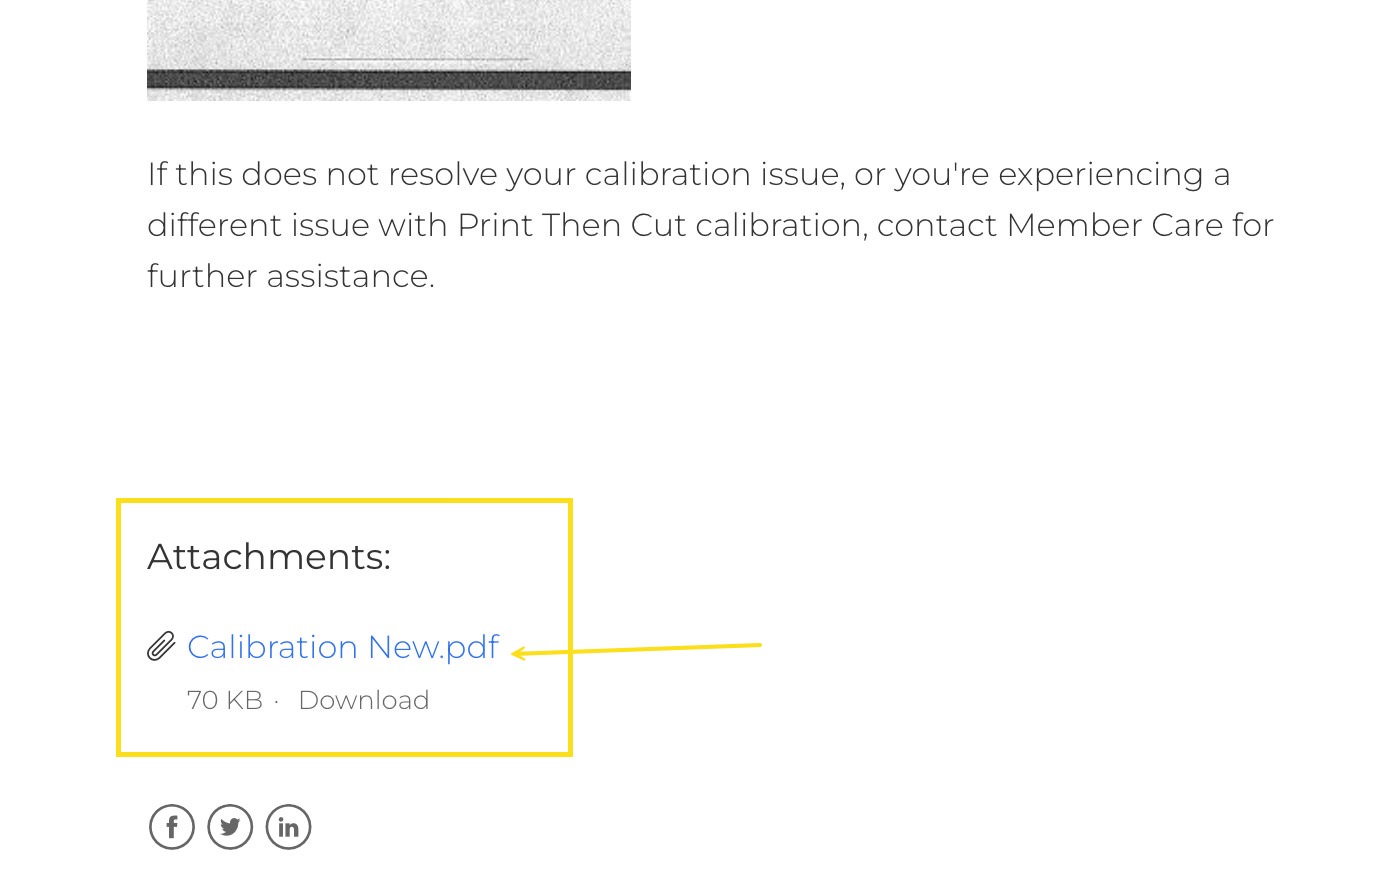
3. Use the PDF Calibration Sheet
The new calibration sheet look something like the image below:
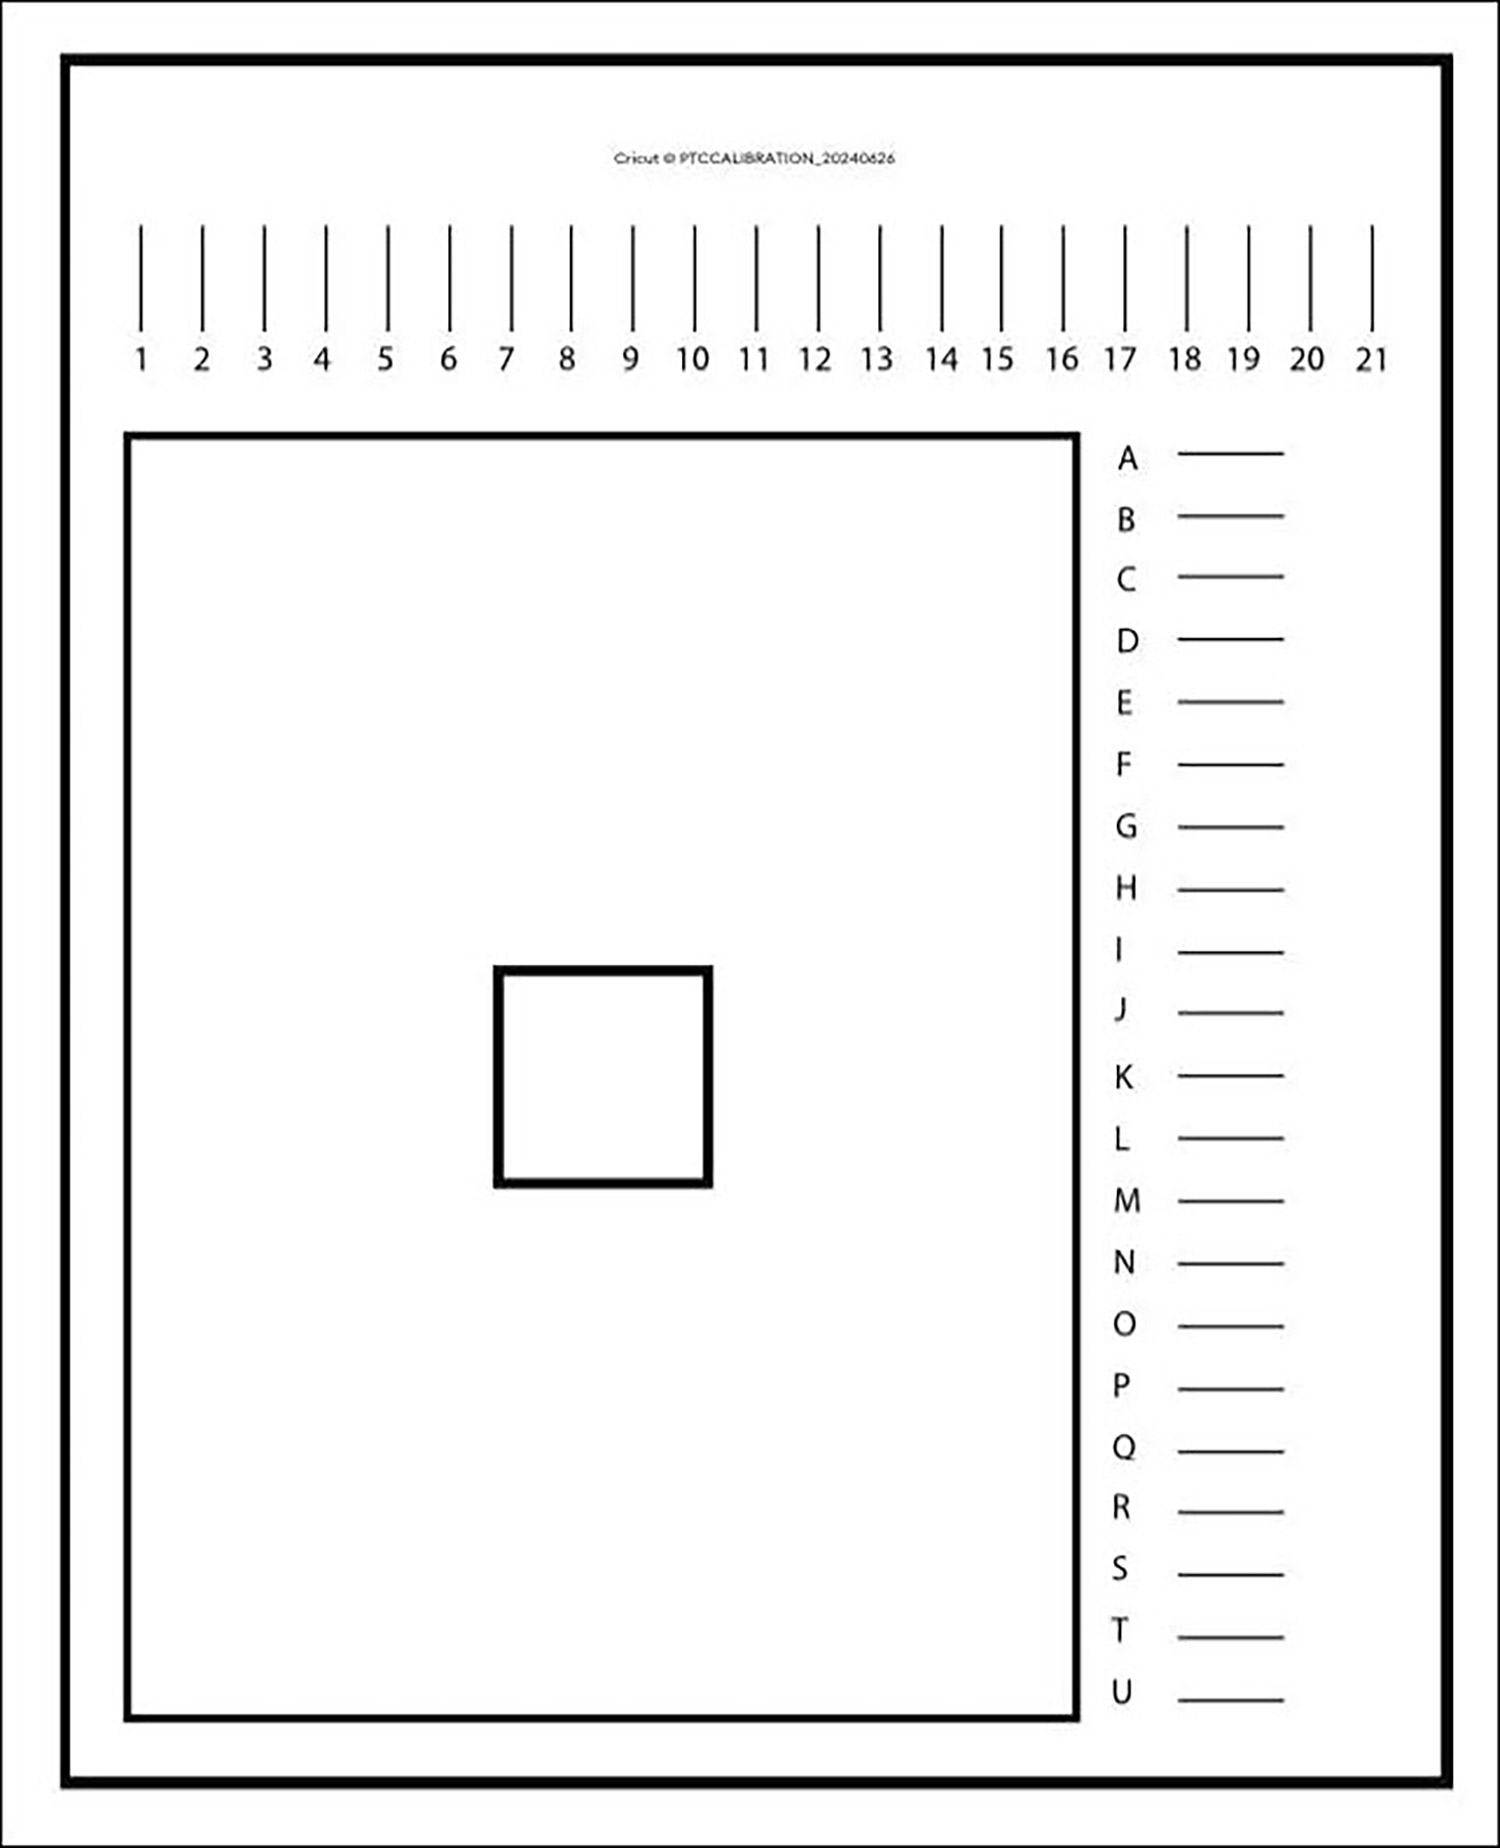
When you do calibration, you are asked by Cricut Design Space right in the app to print the calibration sheet. However, many have reported that the calibration sheet directly printed from Design Space isn’t exactly accurate, at least when compared to the PDF version downloaded and printed manually.
Here’s an image of a user comparing calibration sheets directly printed from Cricut Design Space and the other from the PDF version.
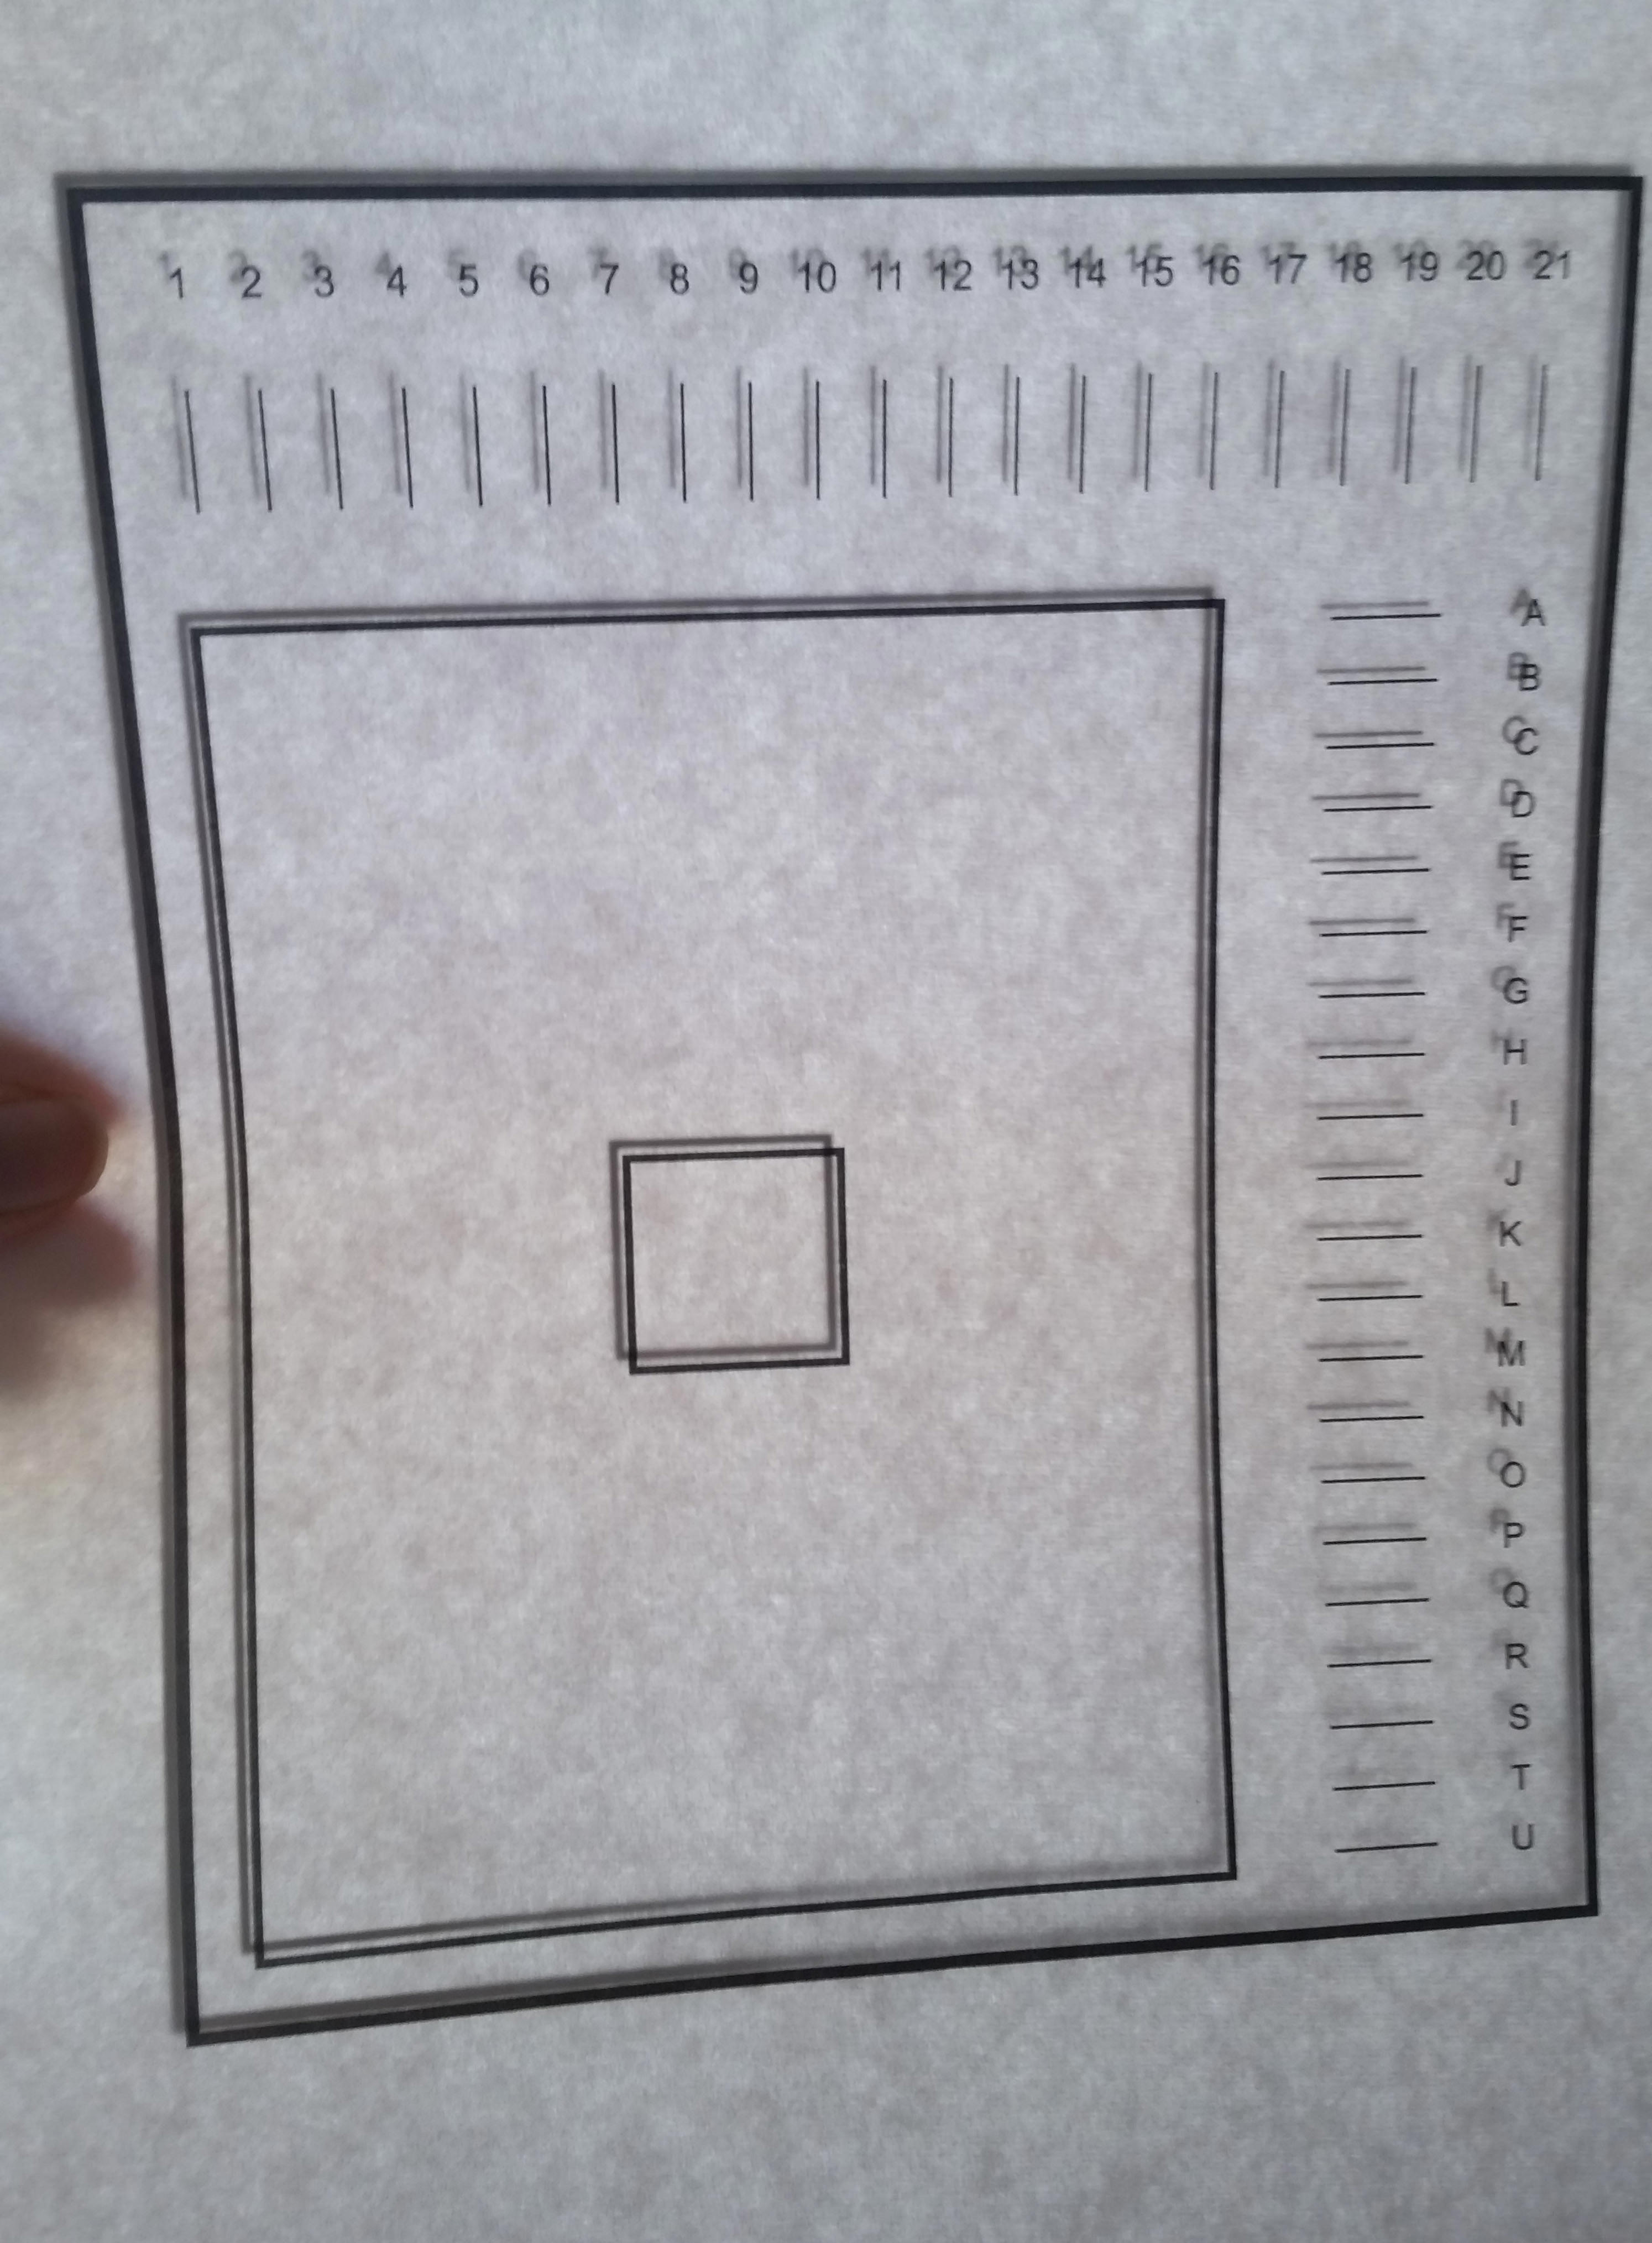
As you can tell, there’s some difference between the two. So if calibration isn’t working for you, you may want to try going to the official Cricut help guide, scroll all the way down to the end of the article, and download the PDF version of the calibration sheet.
Remember, in your printing settings dialogue, always choose to print at 100% scale and never print to fit.
Takeaway: The PDF calibration sheet may differ slightly in size from the one printed directly from Cricut, which can cause imperfect cuts.
4. Cut Sensor Marks Could Be the Culprit
If all the above don’t work, the next thing you should consider is perhaps the cut sensor marks are not properly read by the machine. These are the marks/lines deliberately printed by Design Space for the Cricut machine to read to know the exact position of where to cut accurately.
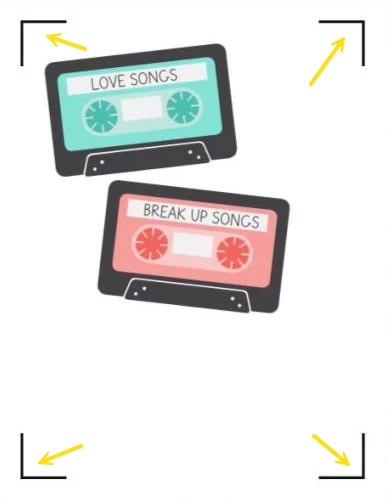
If the machine fails to read part or the entire cut sensor marks, it will not cut accurately.
Here are a couple of things that may interfere with the machine’s ability to read the sensor marks properly:
Check Ambience and Lighting
Direct sunlight, overhead reading lamps, or glare directed towards the sensor may interfere with the machine’s sensor light. To ensure there’s no interference, you could do the following when the machine’s sensor is scanning for the cut sensor mark:
- Close the Cricut machine’s lid.
- Turn off any lights that may interfere.
Is the Machine’s Sensor Light Blocked or Dirty?
Make sure that the cut sensor light of the machine is clean, or else it will also affect its ability to detect the cut sensor mark. To clean the cut sensor light on your Cricut Explore or Cricut Maker machine, sweep gently with a small, clean, dry watercolor paintbrush.
Check the Sensor Marks on Printed Paper
If you are cutting stickers with paper that has a glossy film or other types of film on it, that may affect the accuracy of the machine reading the sensor mark as well. It is best to ensure the film does not cover the sensor mark or use matte transparent Scotch tape on the sensor marks.
Takeaway: Ensure the Cricut machine’s sensor light can properly read the sensor marks on your paper for accurate cutting.
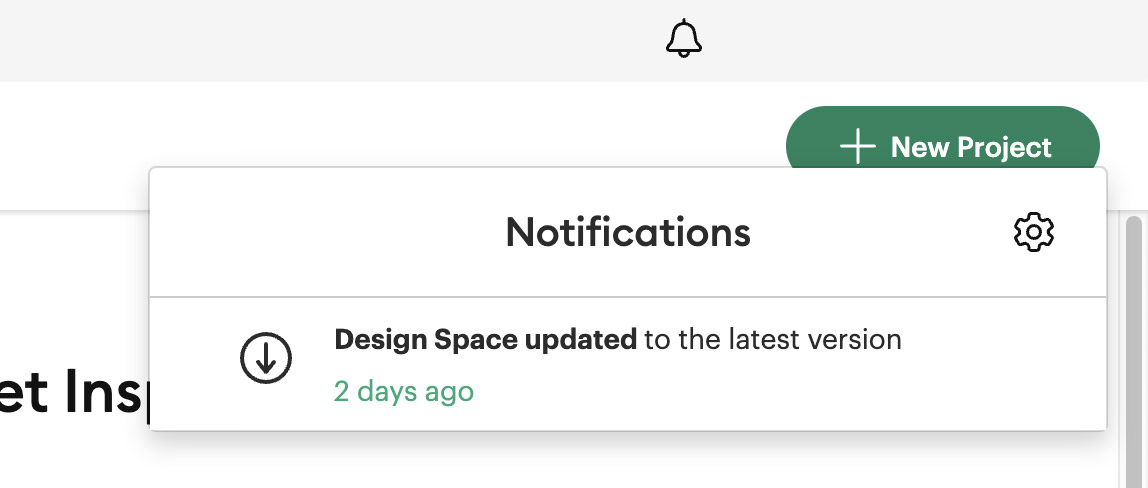
5. A Faulty Cricut Design Space Update
The Cricut Design Space app gets auto-updated all the time. If your cuts were perfect and suddenly they are not, it might not be your fault. There’s a chance that a Cricut Design Space update is the culprit. This is something I’ve experienced personally.
What Happened?
My machine was cutting perfectly, then out of nowhere, it became inconsistent. Sometimes it cut well, other times it didn’t.
I tried all the calibration methods mentioned earlier, but nothing worked—it was always hit or miss. I noticed this started happening after an update to the Cricut Design Space app. While I was still troubleshooting, another update came through, and suddenly, everything was back to normal.
I believe the inconsistency was due to the update, and a quick search on X (formerlly twitter), i found few cricut users sharing similar experrience.
there’s a global error where the Print Then Cut feature in Cricut Design Space is inaccurate. No amount of calibration will fix it. talked to customer support for 6 hrs and its something to do with their software engineer team pushing out an update that made Print&Cut inaccurate
— POGGY ✿ Shop Launch July 16th!! 4/16 pogpals.com (@pogpals) September 23, 2020
i swear cricut has an update every week and ruins my calibration -_-;;
— Phiphi ʕ·ᴥ·ʔ (@misoandtofuu) April 12, 2022
WAH I’VE BEEN FRUSTRATED AT MY CRICUT BUT TURNS OUT THE CALIBRATION WAS OFF BC I HAD THE “BAD VERSION” UPDATES WHERE THEY MOVED THE REGISTRATION MARKS UGHHHHHH
— birb ᓚá˜Âᗢ (@birbyatta) August 17, 2023
@cricut Your latest update wrecked the calibration on my cricut maker, and recalibration isn’t fixing it. This is not the first time this has happened. Please get your stuff together, I have customer orders to fill.
— JuniCat Designs (@JuniCat81) August 10, 2023
Takeaway: If cuts suddenly become imperfect, check if the app has been updated recently. Contact Cricut support or wait for the next update.
Final Thoughts
So there you go, the possible reasons why your machine is not calibrating well or not cutting perfectly. Calibration is the key to perfection, but the most important thing is to make sure everything is in the right place before you start calibrating. This includes ensuring the mat is flat and nothing is affecting the machine’s ability to read the registration marks.
Calibration usually needs to be done a few times, or possibly more than 8-10 times. If all else fails, contact Cricut support for help. Good luck and happy crafting!