Drawing Spiderman Logo in Photoshop
In this tutorial, we’ll take a look at how to create the logo of one of the most anticipated movie coming to screen this season – Spiderman 3.
First and foremost, download the 1979 font and have it installed in your font folder.
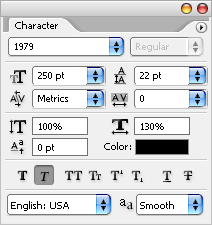
Create a new canvas with White Background, say about 400×300 pixels. Choose Font Type 1979, type in "3", set font size to 250pt, set horizontally scale of 130% and enable Faux Italic.

Adjust the "3" to the middle of the screen, call up Blending Options and let’s make a realistic Spiderman 3 font.

Tweak this following styles in Blending Options.
- Drop Shadow: Opacity [38%] , Distance [0px], Spread [0%], Size [10px]
- Inner Shadow: Distance [0px], Choke [0%], Size [10px]
- Bevel and Emboss: Style [Inner Bevel], Technique [Chisel Hard], Depth [100%], Direction [Up], Size [3px], Soften [0px], Gloss Contour [Ring]
- Gradient Overlay :
- Color stop: Color [#535b5e], Location [0%]
- Color stop: Color [#ffffff], Location [25%]
- Color stop: Color [#ffffff], Location [75%]
- Color stop: Color [#535b5e], Location [100%]
Upon completion of the Blending Option tweak, you should get something like this.

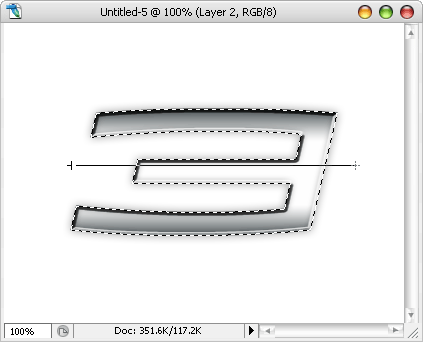
Hold CTRL + left click on the text’s Layer Thumbnail to highlight its text. With the selection highlighted, Create a new layer, Choose Gradient Tool.

Go all the way to the top, Click on Arrow next to the Gradient Editor, then click on the Rounded Arrow and choose Metal from the drop down. Click OK to replace.

Choose Silver from the Gradient Editor. Make sure you are still selecting the Gradient Tool and the selection is still highlighted, drag a line across the "3" like the image below.

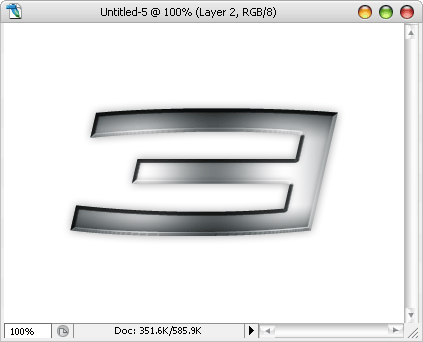
It should filled the selection with metal gradient. Select Multiply from Layer drop down and give it an opacity of 75%.

And you are done! Your very own Spiderman 3 logo.
