How to Fix the Thin Line Issue During Cricut Print and Cut Process
Here’s an unbelievably annoying problem that occurs during the Cricut Print and Cut process – a thin line or border appears around the design you create, even when you’re certain there’s no border in the design.
When you send the design to print in Cricut, this thin line magically appears during the Print Setup stage.
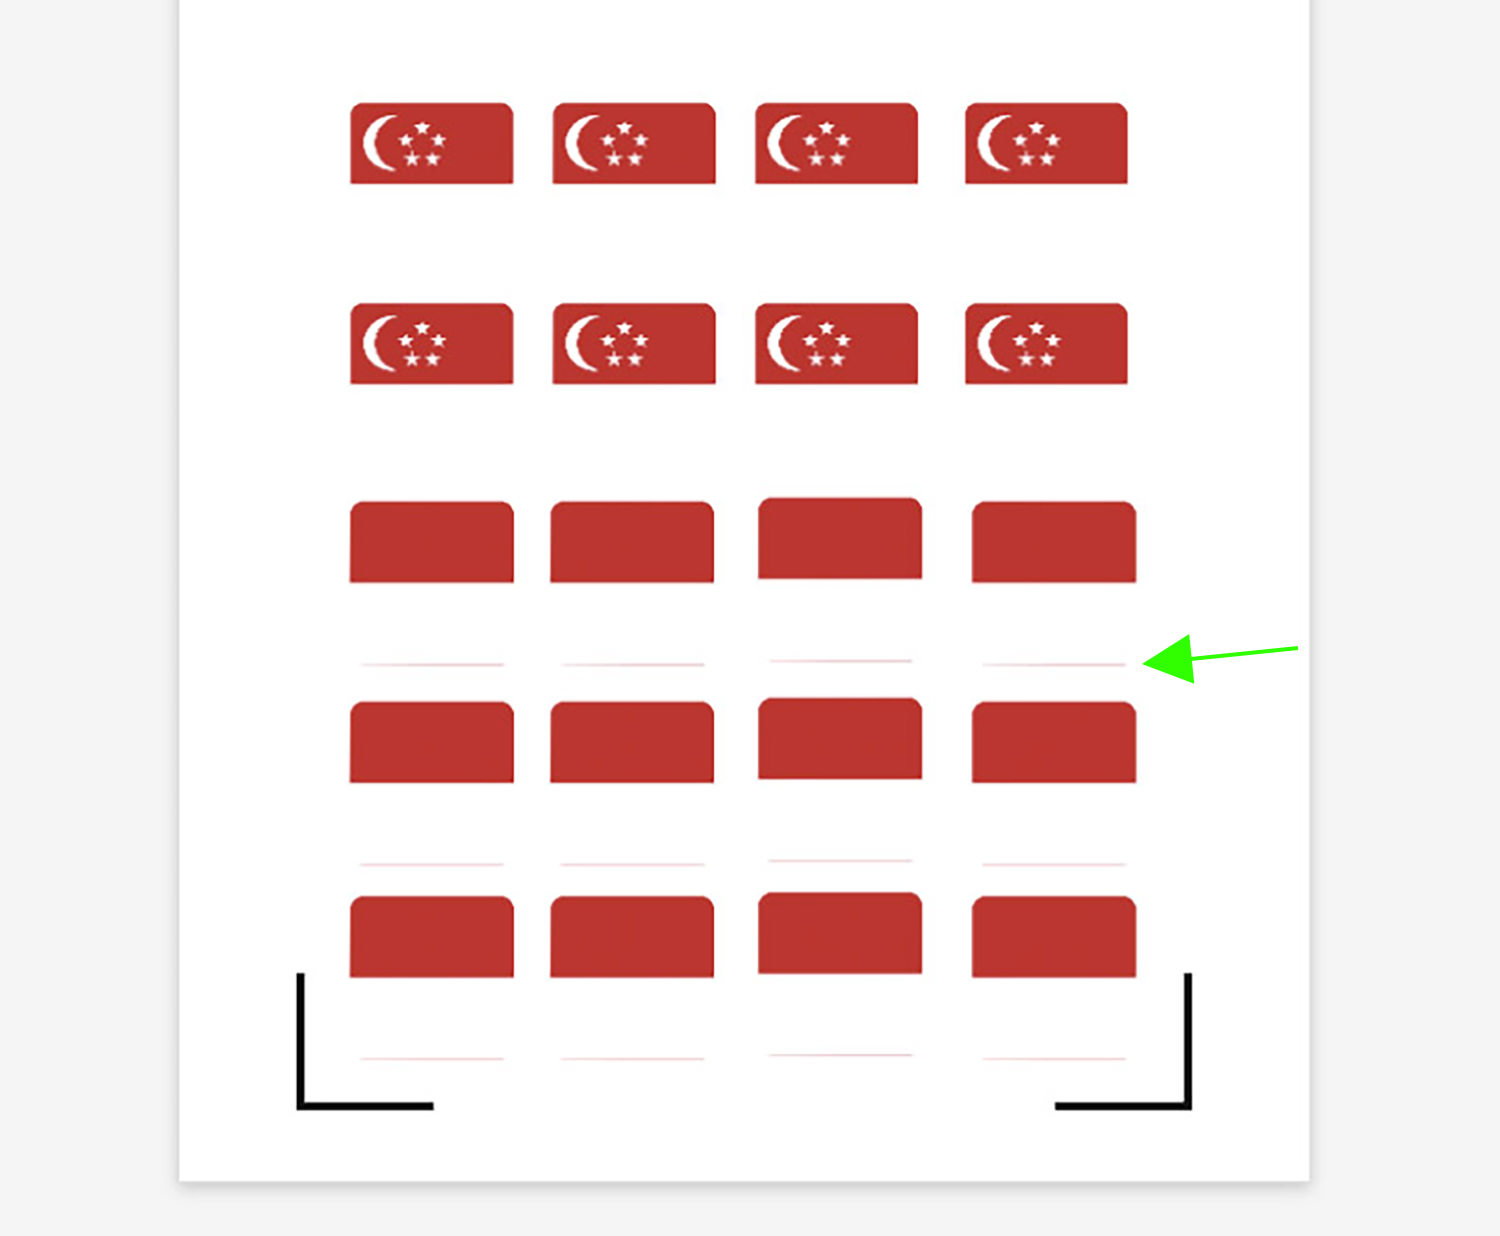
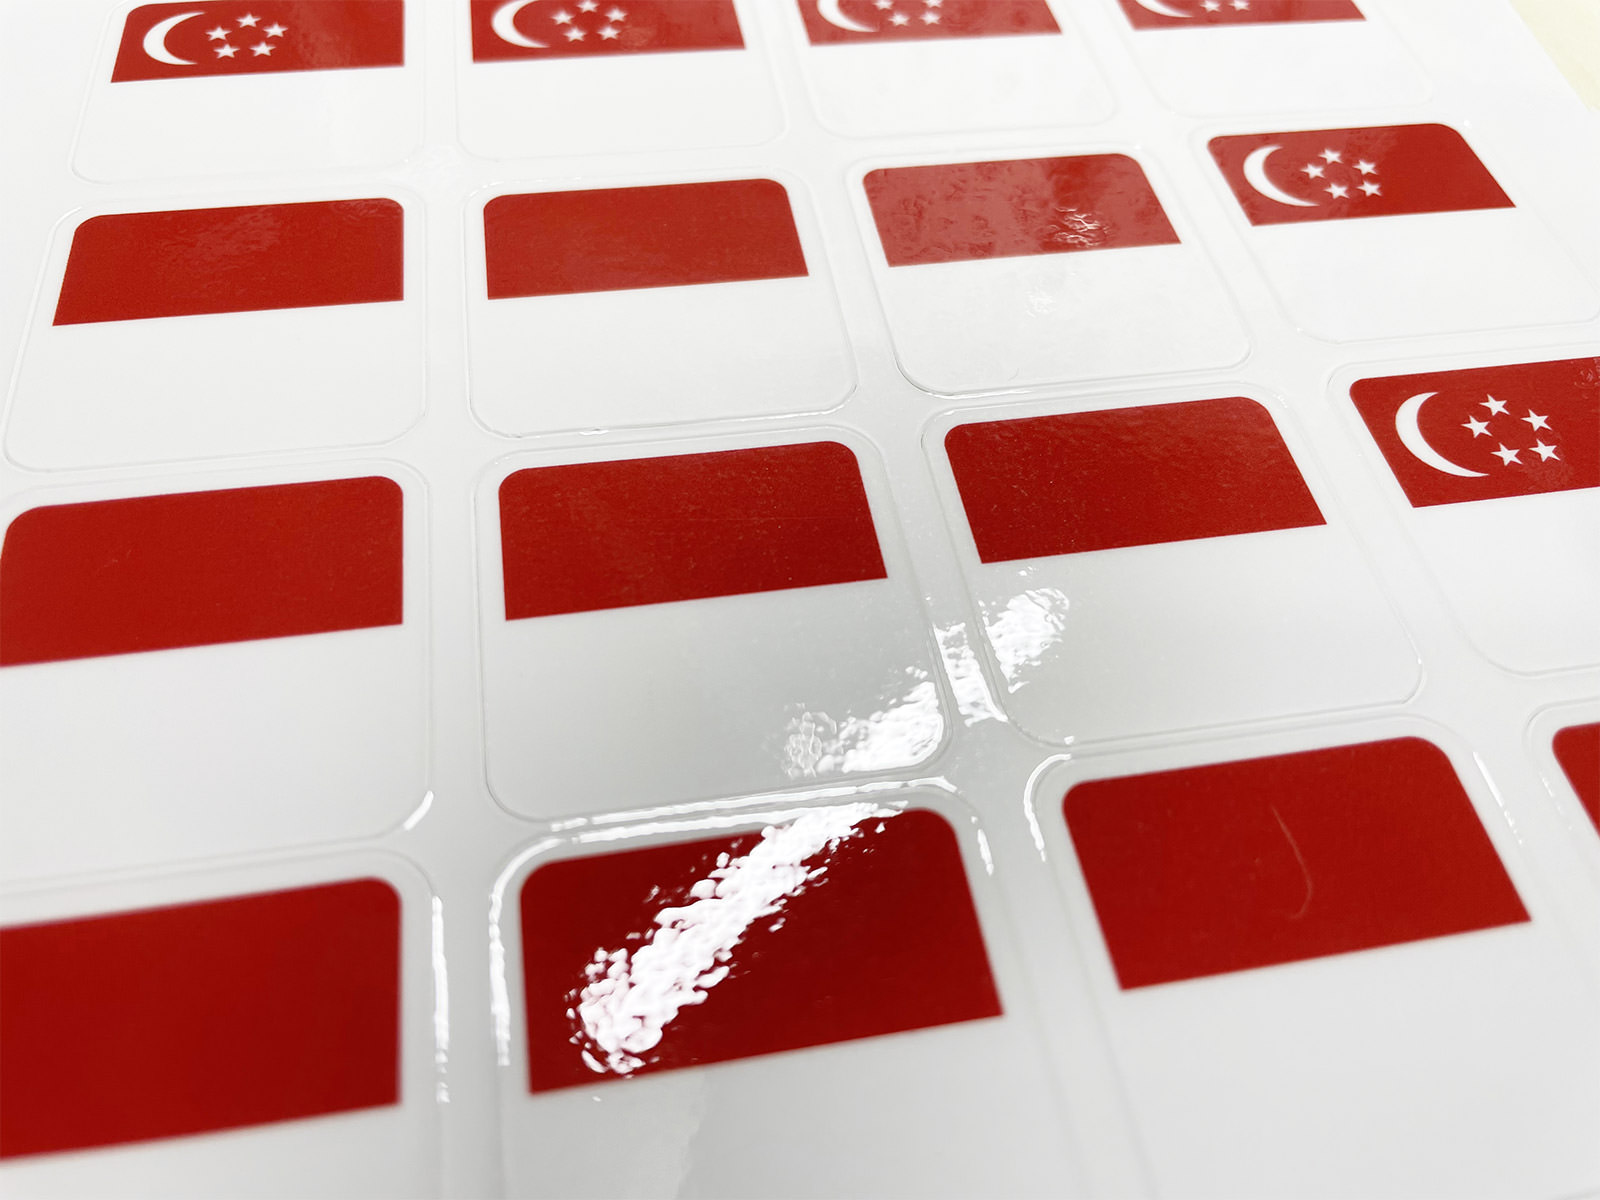
If you go ahead with the print and cut, this unwanted thin line remains, which looks like this:
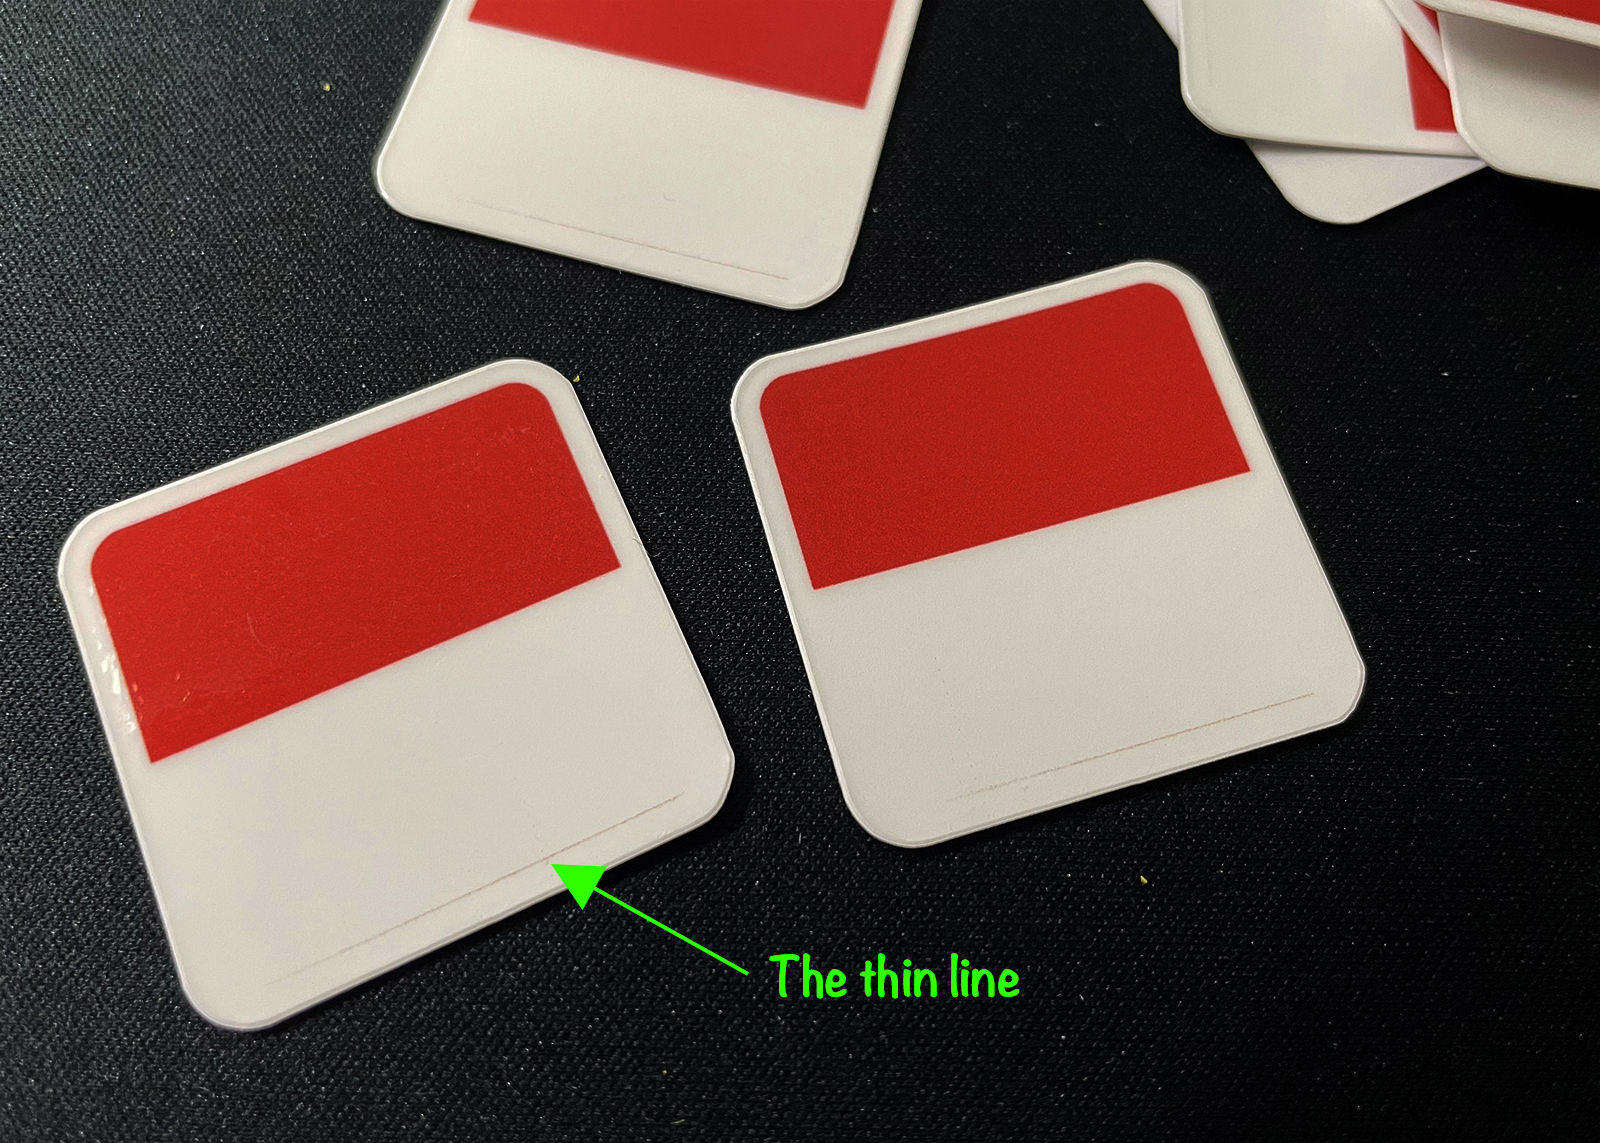
Despite multiple checks to ensure no lines exist in my design, the issue persists. I’ve tried various methods to remove this problem, but nothing worked. The thin red line I encountered seems to come from the top part of the design.
After numerous experiments, I believe I’ve found a solution. I’ll skip the failed attempts and get straight to how you can solve this problem. If you’re also experiencing a similar issue, follow the solutions below.
First, you’ll need an image editing app, like Adobe Photoshop.
Open the image and save it as a .PNG file. This step is essential.
Next, add a thin white border around the image.
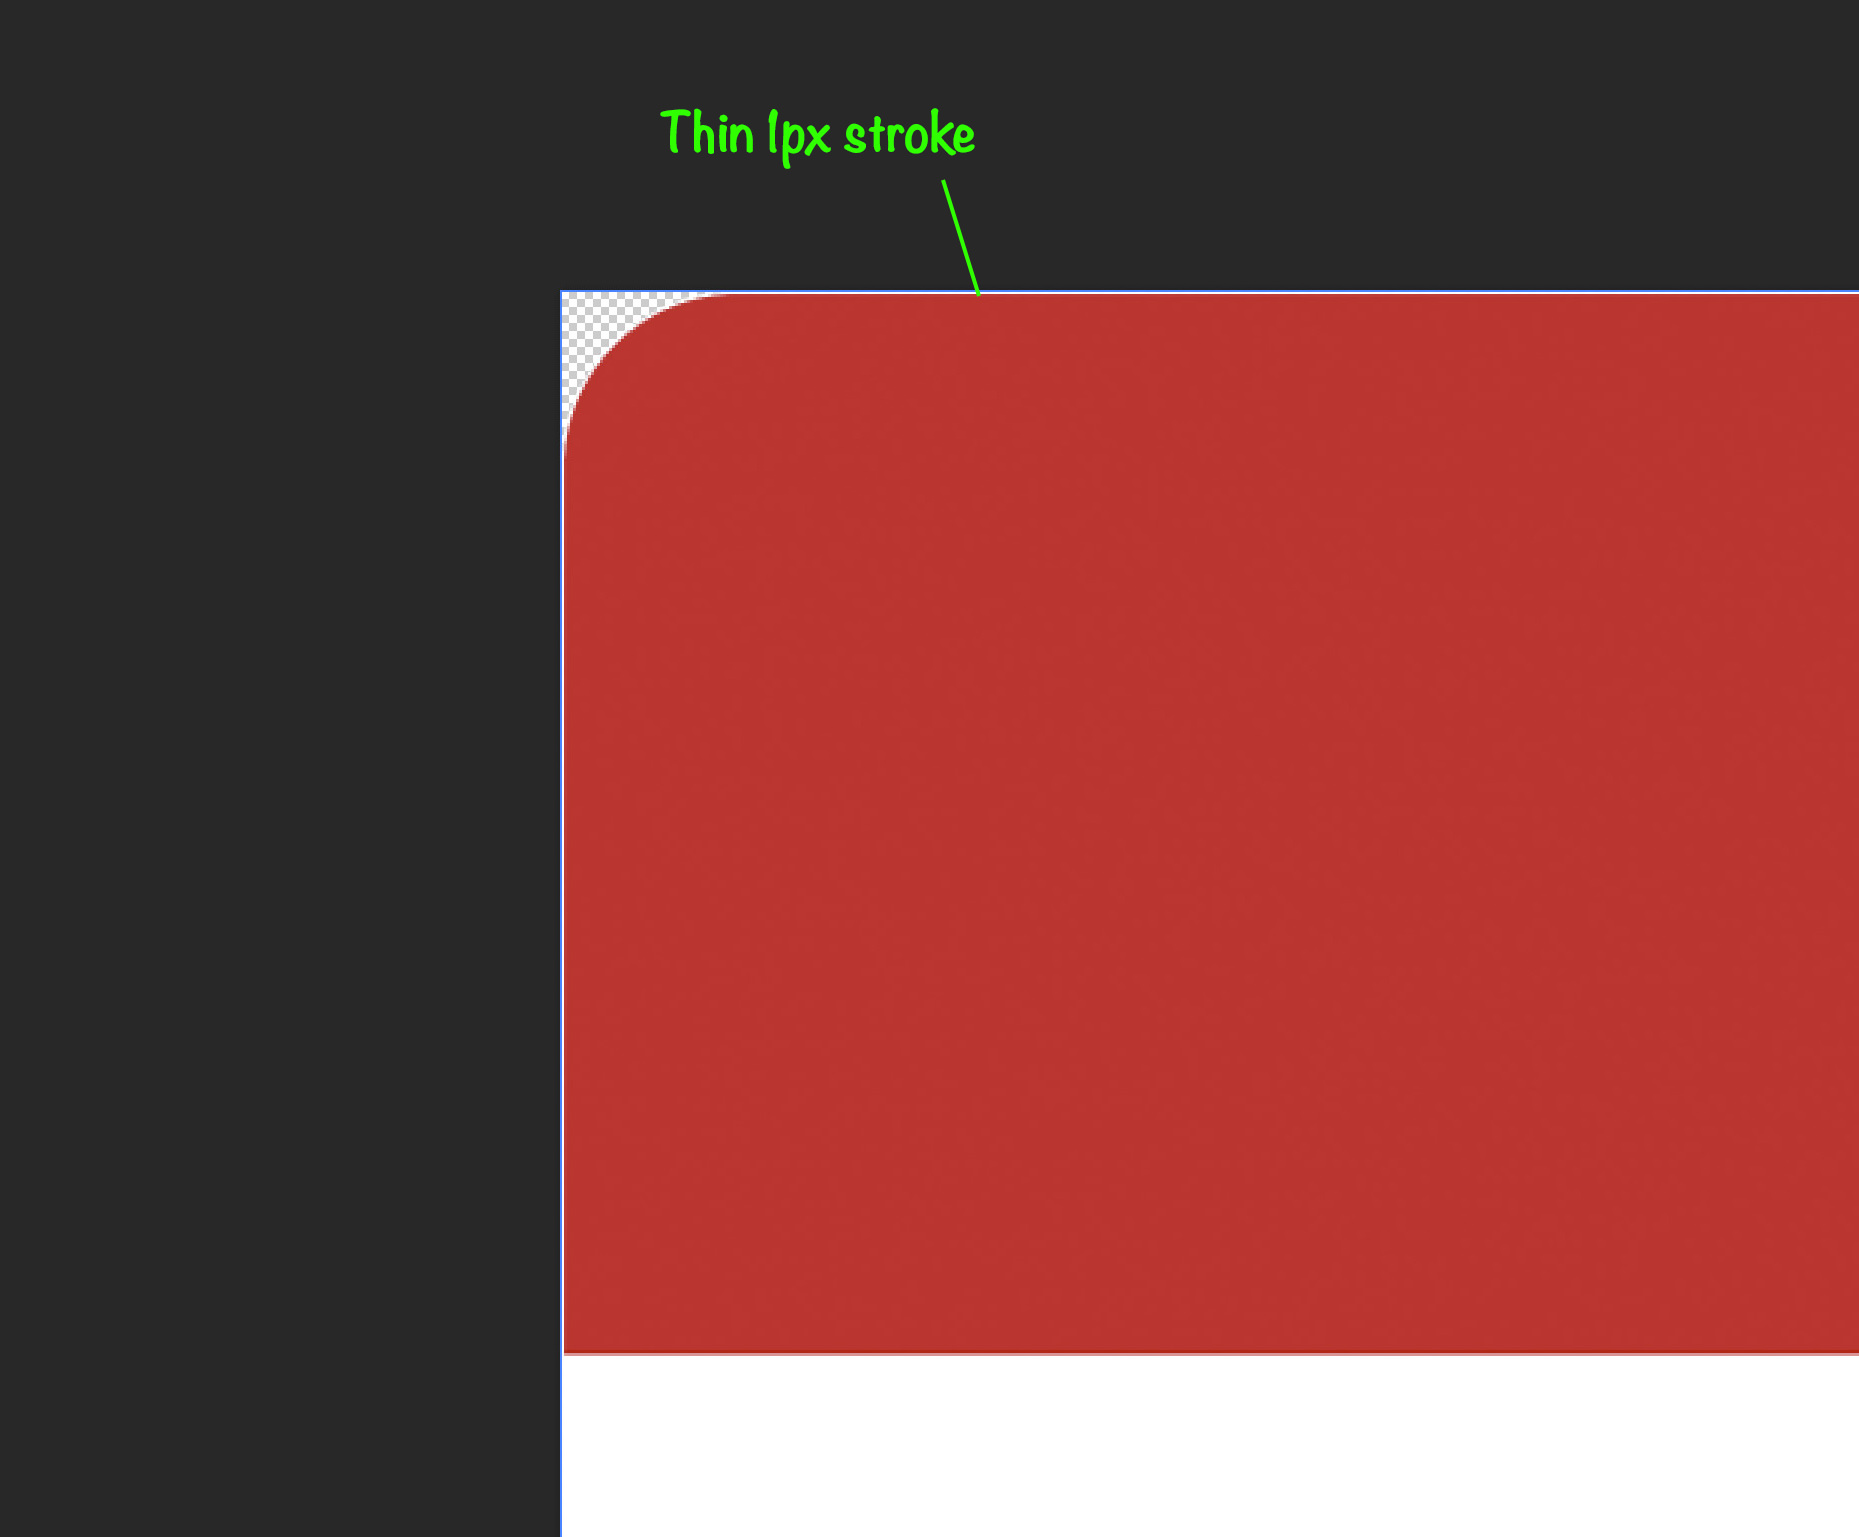
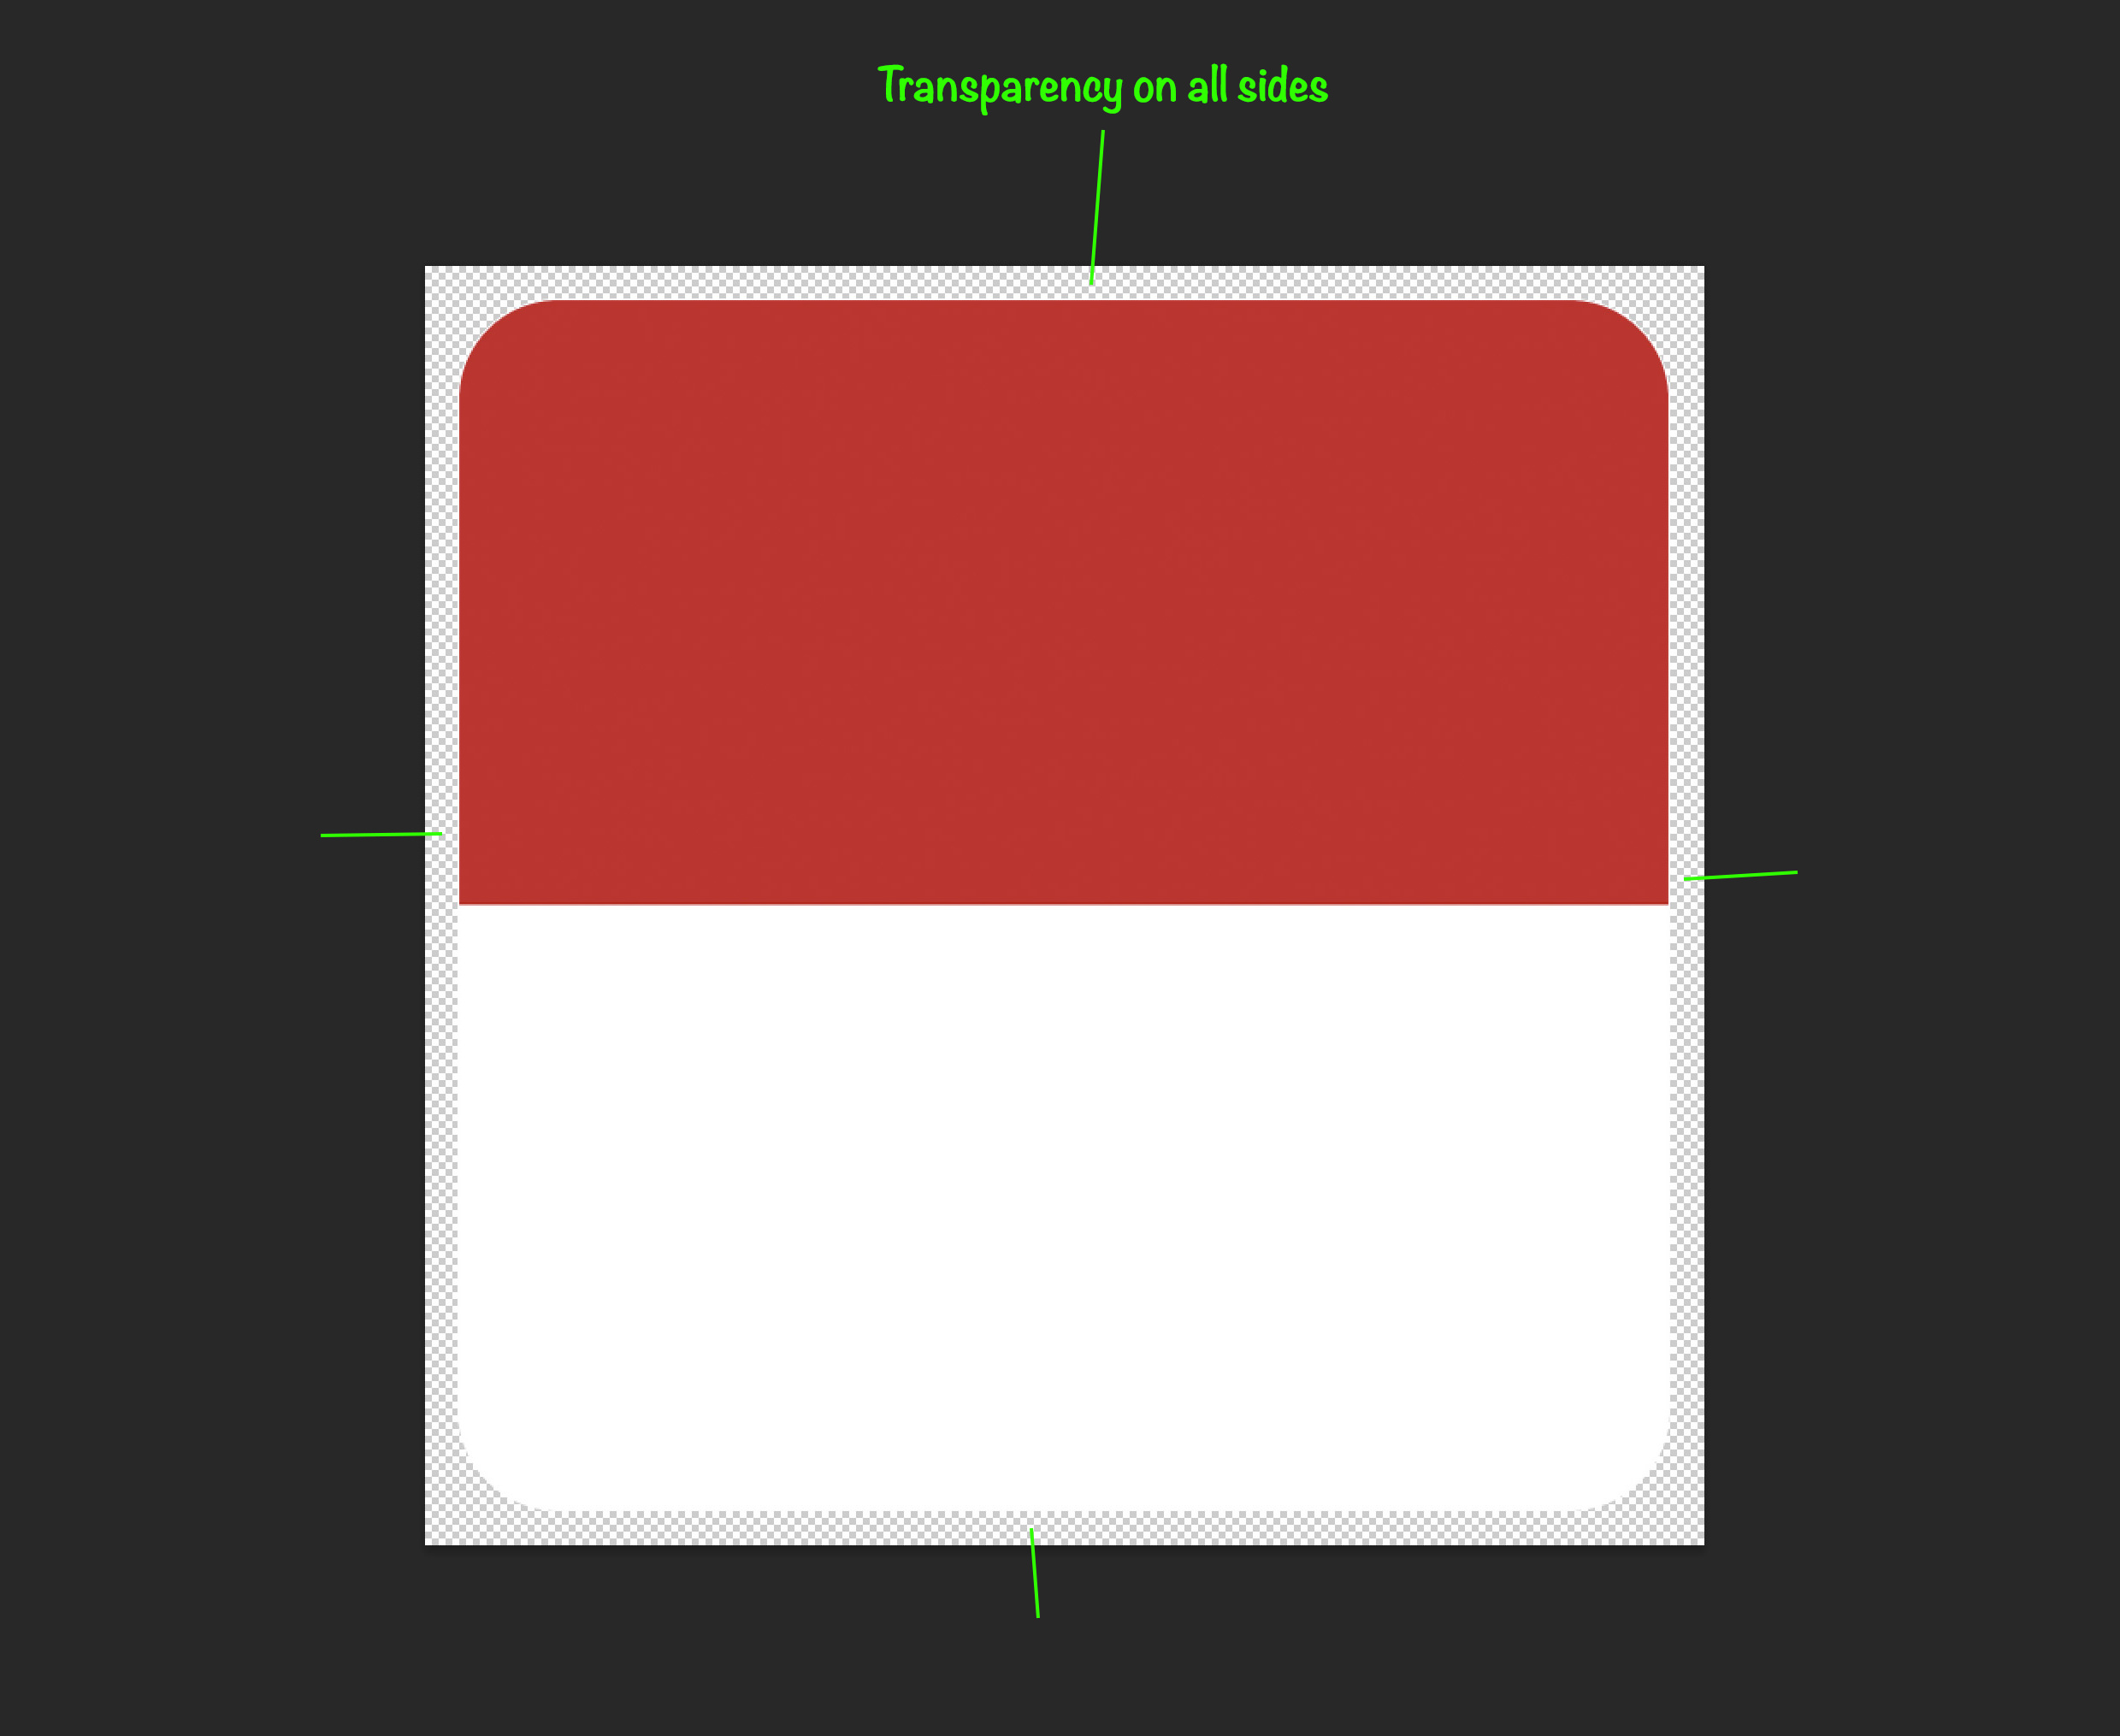
Then, expand the image slightly to add transparency all around, like this:
Now, export the new image as a PNG file and bring it back into Cricut. Proceed with the Print and Cut process as usual. You’ll notice the thin white lines are gone in the Print Setup.
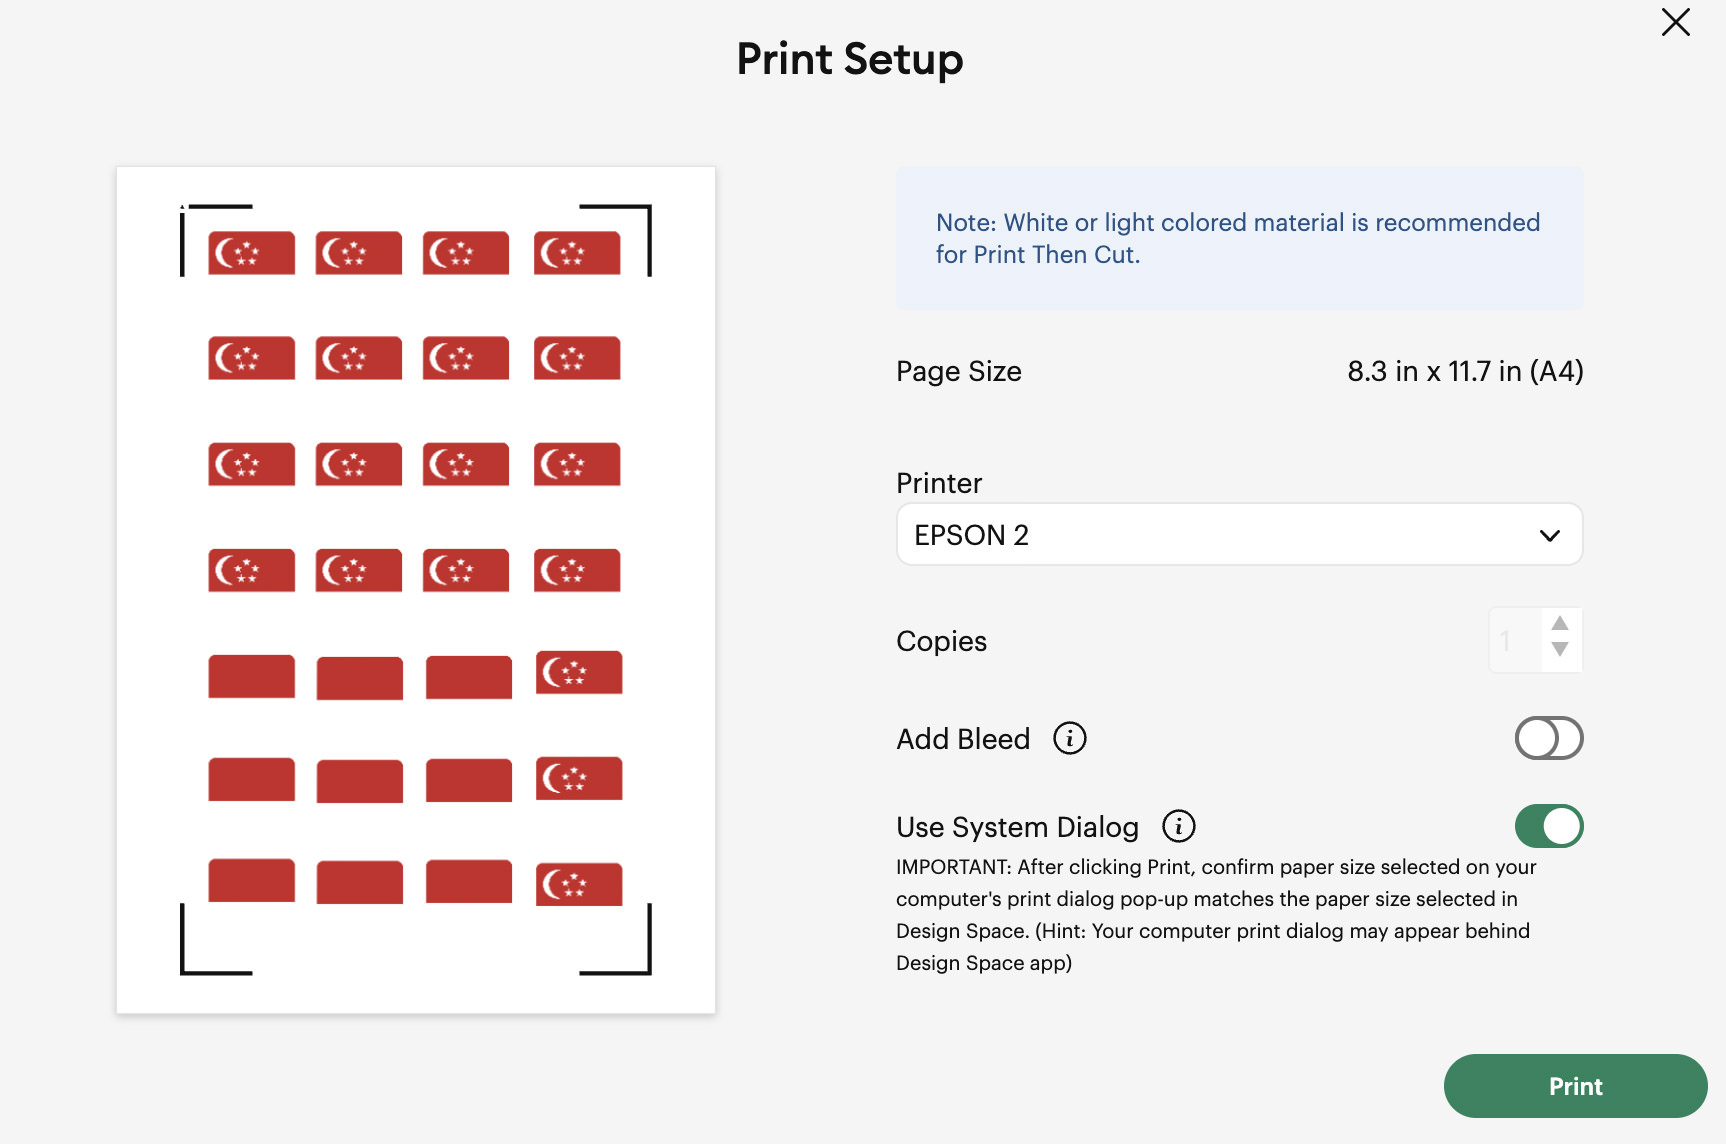
The unwanted lines will also not appear after printing, as shown below. If you’re experiencing a similar problem, try this method – hope it helps!