How to Install Extensions in Microsoft Edge
Windows 10 Anniversary Update has brought some pretty useful extensions to its browser – Edge. However, if you haven’t installed the update already, then follow the below procedure:
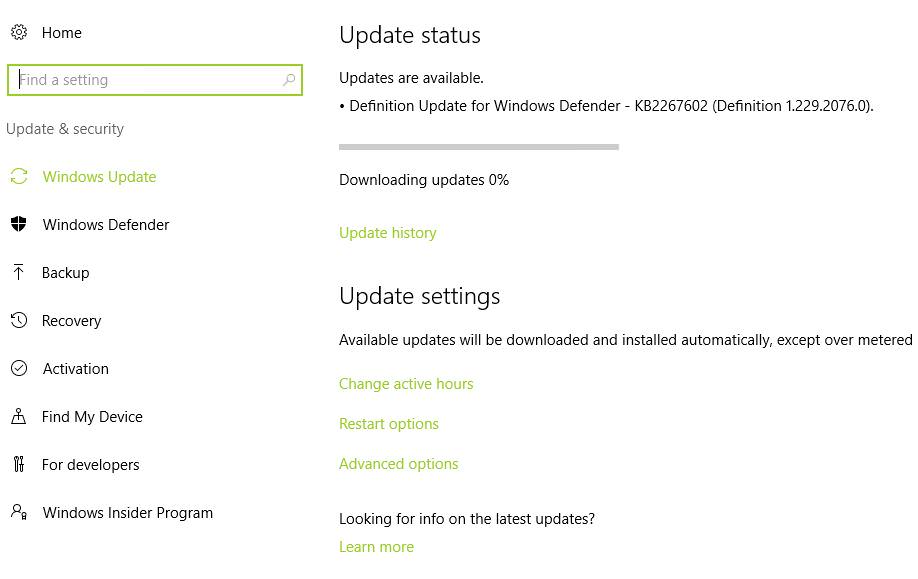
- Open Settings and head over to Update & security.
- Windows Update will automatically start searching for available updates and if not, then click on Search for updates to do the same.
- Once it finishes searching, click the Download button to download and install the available update(s), and restart your system, if asked.
After you’re done installing the Windows 10 Anniversary Update, follow these steps to install extensions in Microsoft Edge:
- Open Microsoft Edge in your system.
- Click the More (…) button on top-right and choose Extensions.
- Click the Get extensions from the Store link in the visible sidebar.
- Windows Store will open showing the Extensions for Microsoft Edge.
- Click on the desired extension and then click Free button to install it.
- After the extension is downloaded and installed, switch back to Edge.
- Upon opening, Edge will ask for your permission to enable the extension.
- Click on Turn it on if you wish to enable it, otherwise click Keep it off.


It’s done — you have successfully installed an extension to your Microsoft Edge, and you can now use it to enhance your overall experience with the browser.
Read Also: 10 Best Free Extensions for Microsoft Edge