Create Long Shadows in Photoshop with this Long Shadow Generator
Long shadow design is still popular amongst designers. Previously, we’ve showcased how to create your own long shadow design in Photoshop using different layers. It’s handy, of course, but if you’re a Photoshop enthusiast looking for an easier way to get the long shadow design that you want, we’ve found a free Photoshop extension you could use.
The Long Shadow Generator is an easy-to-use tool that lets you create the long shadow effect with just a single click. It only works with Adobe Photoshop CS6 and Photoshop CC compatibility though — an upgrade is required to fully utilize this.
Effortlessly Create Long Shadow Effects with Generator
If you have data in multiple cloud storage accounts, managing it becomes difficult. You have to switch between... Read more
Installation
Long Shadow Generator is available to download for Photoshop CS6 here and Photoshop CC here.
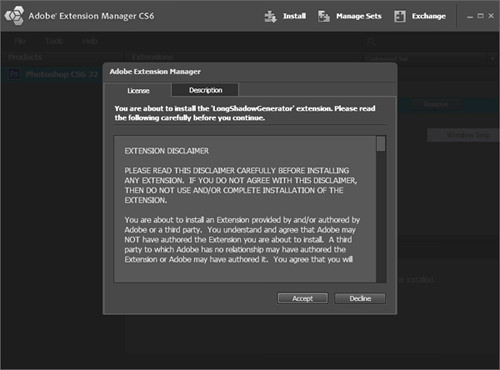
After the file is saved to your computer, double click the file to begin the installation process in Adobe Extension Manager. All you have to do is just follow the instructions until you’re done.

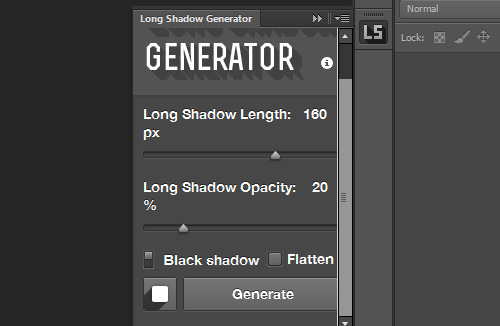
Before we continue, navigate to Window > Extensions > Long Shadow Generator in your Photoshop to open the panel as per the following screenshot:

Options And Features
Long Shadow Generator provides you with 2 options you can customize to meet your needs:
1. Long Shadow Length, which customizes the length of the shadow created. The length is measured in pixels and is only available in predefined sizes: 10, 20, 40, 80, 160 and 320 pixels. The default size is 40 pixels.
2. Long Shadow Opacity, which affects the transparency of the shadow. By default, the opacity is in 20%.The resulting shadow comes in black shadow and white shadow. So, this will make it easier for you if you’re working with light or dark backgrounds.
As this plugin follows the flat design trend, its shadow has no gradient or lighting effect, an option checked by default. If you prefer not to apply it, simply uncheck the Flatten option.
Lastly, you’ll be given 4 different shadow directions: bottom right, bottom left, top right and top left. To change the direction, just hit the square button beside the Generate button until you get what you want.
Usage Demo
Let’s see the plugin in action using this Office icon from Martin.

This plugin works by creating a bunch of layers according to the shadow length. The longer the length, the more layers created. Those layers are then merged into one as the shadow layer.
If the image has a merged background, do a little masking to separate them as this plugin applies long shadow by detecting image shape.
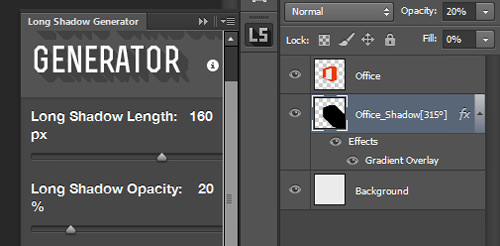
Now, let’s give our icon a long shadow effect. In the Long Shadow Generator panel, change the default shadow length to 160 pixels and uncheck the flatten option, like so.

Before clicking the Generate button, make sure you have selected a layer you want to add the effect to. It should only be 1 layer. Now hit the Generate button and wait.
When it’s done, a new layer will appear with the same name as the selected layer, plus a suffix. If you checked the flatten option before, this new layer won’t have the Gradient Overlay effect.

And that’s it. Here is the Office icon with a beautiful long shadow effect generated from a simple plugin.
