How to Run LLM from External Hard Drive with Ollama
Want to run generative AI right on your Mac? There’s where Ollama comes in. But there’s a problem – modern LLMs can eat up anywhere from 4GB to 40GB each, quickly filling up your internal drive.
That’s where this guide comes in – I’ll show you how to install and run Ollama on your external drive, with all the LLMs you download stored right on your external drive so they don’t take up space on your Mac’s internal hard drive.
In this step-by-step guide, I’ll walk you through everything from installing Ollama to moving it to your external drive. Let’s get started!
Installing Homebrew
First, let’s get Homebrew installed (skip this if you already have it).
Homebrew makes installing Ollama super easy, plus it’s handy if you ever want to uninstall Ollama later.
- Open Terminal (hit Cmd + Space, type “Terminal,” press Enter)
- Copy and paste this command:
/bin/bash -c "$(curl -fsSL https://raw.githubusercontent.com/Homebrew/install/HEAD/install.sh)" - Check if it worked:
brew --version
Installing Ollama
Now that we have Homebrew ready, installing Ollama is just two commands away:
- Install it:
brew install ollama - Verify it’s installed:
ollama --version
Note: If you see a message saying “Warning: could not connect to a running Ollama instance” – don’t worry! That’s normal since we haven’t started Ollama yet. As long as you see something like “client version 0.5.7“, you’re good to go.

Setting Up Ollama on Your External Drive
By default, Ollama stores everything in a ~/.ollama folder on your Mac’s internal drive. Let’s move it to your external drive instead:
- Connect your external drive to your Mac
- Create an Ollama folder on your external drive:
mkdir /Volumes/YourDriveName/.ollamaFor example, if your drive is named “MyDrive”:
mkdir /Volumes/MyDrive/.ollama - Move existing Ollama files to external drive:
mv ~/.ollama /Volumes/YourDriveName/.ollama - Create a link so Ollama knows where to look:
ln -s /Volumes/YourDriveName/.ollama ~/.ollama
Download and Run Your First LLM
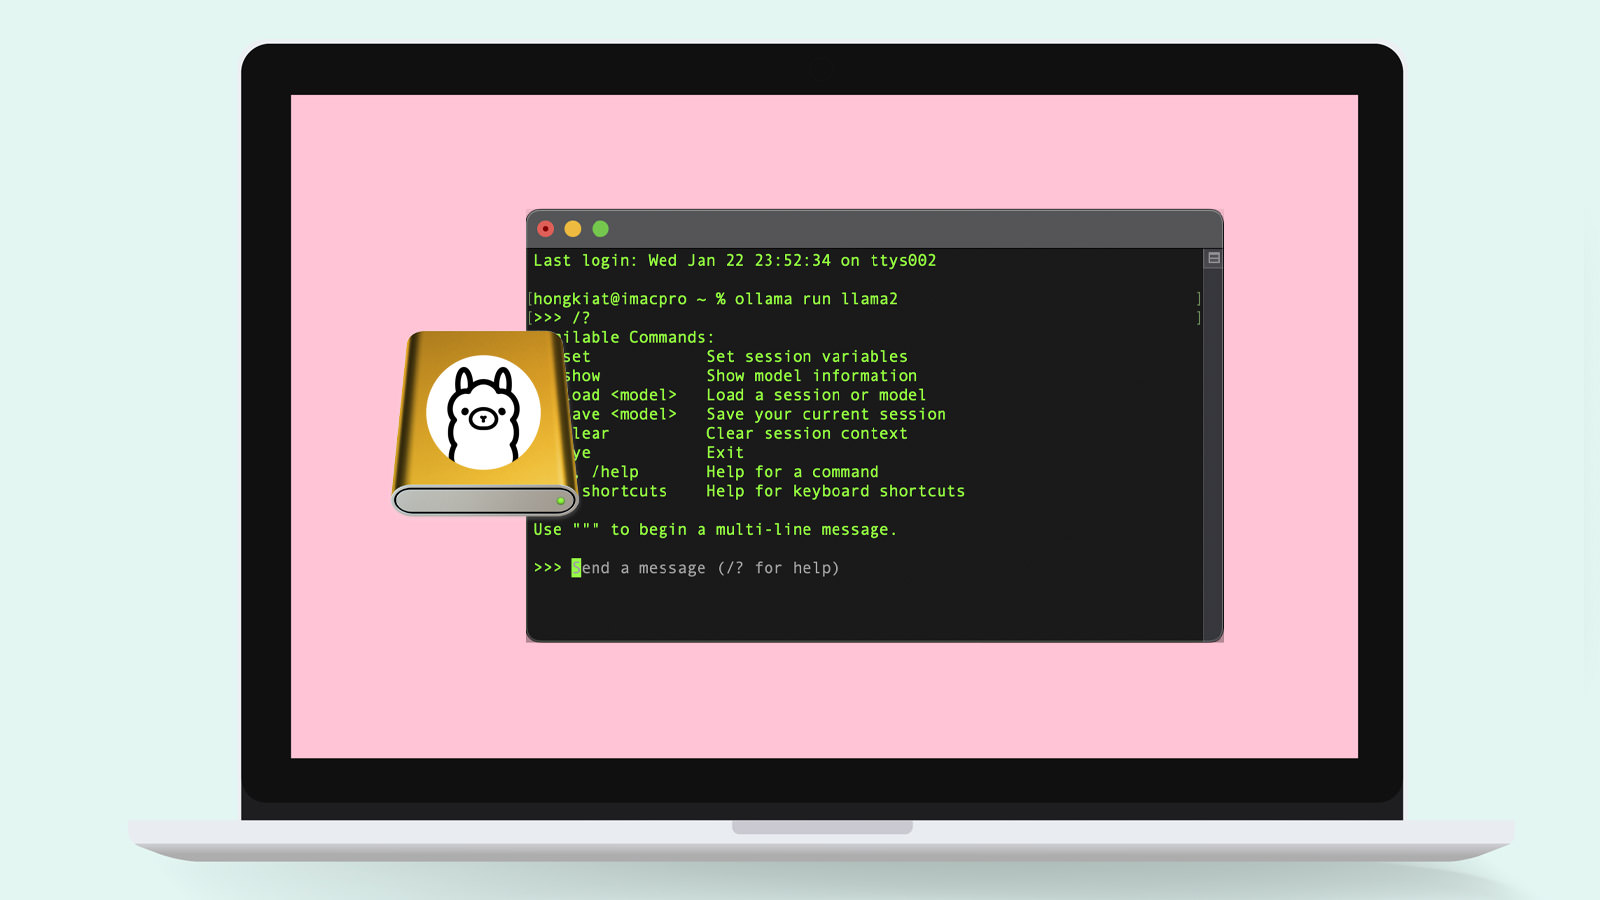
Time to get your first LLM running! Open Terminal and:
- Start Ollama:
ollama serve - Open a new Terminal window and download an LLM (let’s try Llama 2):
ollama pull llama2The download will take a while since LLMs are pretty big files – could be several minutes or longer depending on your internet speed.

- Once downloaded, run it:
ollama run llama2
That’s it! You can now start chatting with Llama 2 via Ollama, all running from your external drive.
FAQ
How do I check where my Ollama files are on the external drive?
Everything’s stored in your /Volumes/YourDriveName/.ollama folder. Models are in the models/blobs subfolder.
Type ls /Volumes/YourDriveName/.ollama/models/blobs/ in Terminal to see all your downloaded models.
How do I uninstall Ollama?
Since we installed via Homebrew, just run:
brew uninstall ollamaThen delete the .ollama folder from your external drive.
How do I install more LLMs?
Find more LLM you can download on Ollama’s library page, then use the pull command:
ollama pull modelnameFor example: ollama pull deepseek-r1 or ollama pull llama3.3
How do I see all LLMs I’ve downloaded?
Run this command:
ollama listThis shows all your installed models with their sizes.
How do I delete an LLM I don’t use anymore?
Use the remove command:
ollama rm modelnameFor example: ollama rm llama2
Can I use my external drive with Ollama on another Mac?
Yes. Follow the steps above to install Ollama on the other Mac, then create the symbolic link pointing to your external drive’s .ollama folder and connect your external drive. Your models will be ready to use without downloading them again.