How to Automate Scraping LinkedIn Data into Your CRM
Want to save time by collecting data from LinkedIn profiles without lifting a finger? This guide will teach you how to automatically scrape information from LinkedIn profiles, enter it into a web form, and send it straight to your CRM. This means you can keep track of important contacts without any manual effort.
By the end of this guide, you’ll have an automated bot that can:
- Visit any LinkedIn profile you choose.
- Pick out the profile’s name and website link.
- Transfer that data to a ClickUp form and submit it for you.
All the details it gathers will be neatly stored in your ClickUp CRM account, ready for when you need them.
What You’ll Need to Get Started
Before diving into the automated process, make sure you have the following essentials ready:
1. A LinkedIn Account
To view someone’s LinkedIn profile, you need to be logged into your own LinkedIn account.
2. A ClickUp Form
You’ll need a ClickUp form that’s open to the public, featuring fields for the ‘Name’, ‘Website URL’, and a ‘Submit’ button. This is where the scraped LinkedIn data will go.
Related: How to create a ClickUp form.
3. Google Chrome and the Axiom.ai Extension
Axiom is the tool where we’ll build our automation. With a free account, you get two hours of automation run time, which should be plenty for our needs.
Start by downloading the Axiom.ai Chrome extension and creating a free account.
Transferring Data from LinkedIn to a ClickUp Form
Start by opening the LinkedIn profile you’re interested in on Chrome. Then, click on the Axiom.io Chrome extension icon.

Create a new automation by clicking “+ New Automation“, and name it “LinkedIn to ClickUp“.
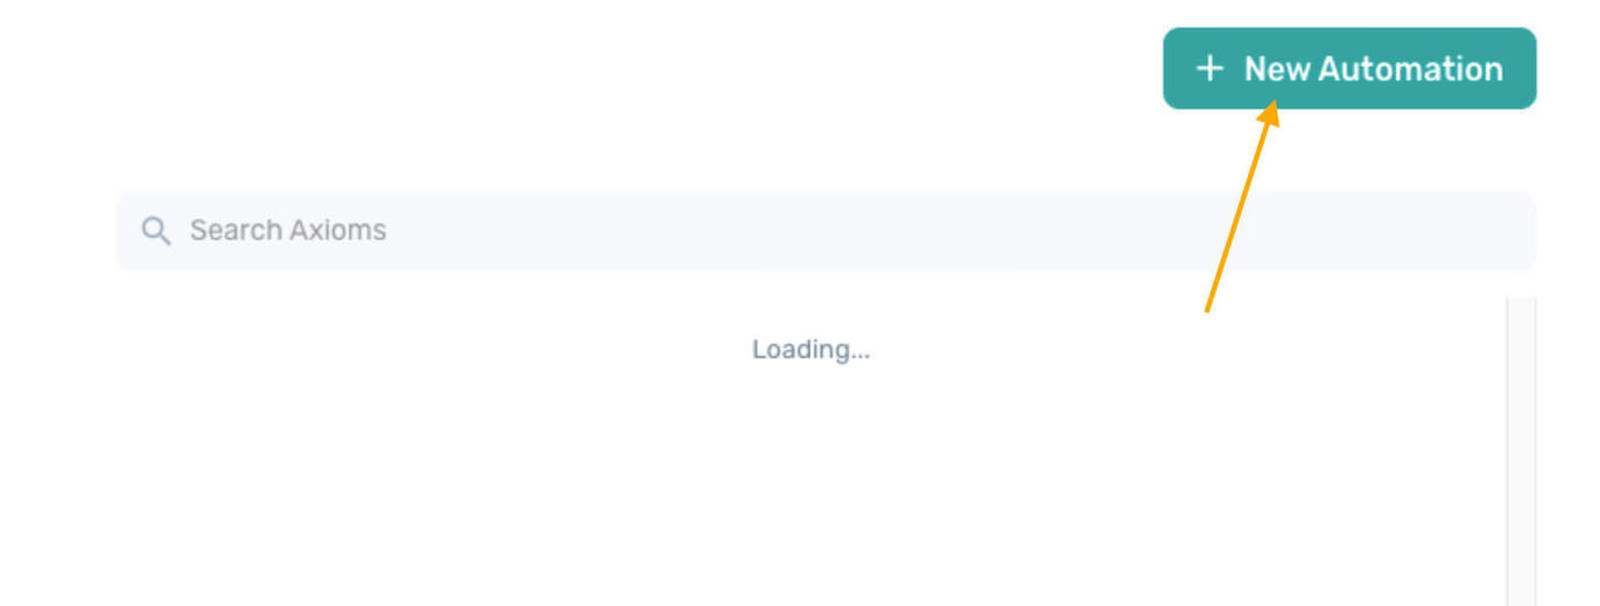
Step 1: Create a New Automation
Click “+ Create New Automation“.

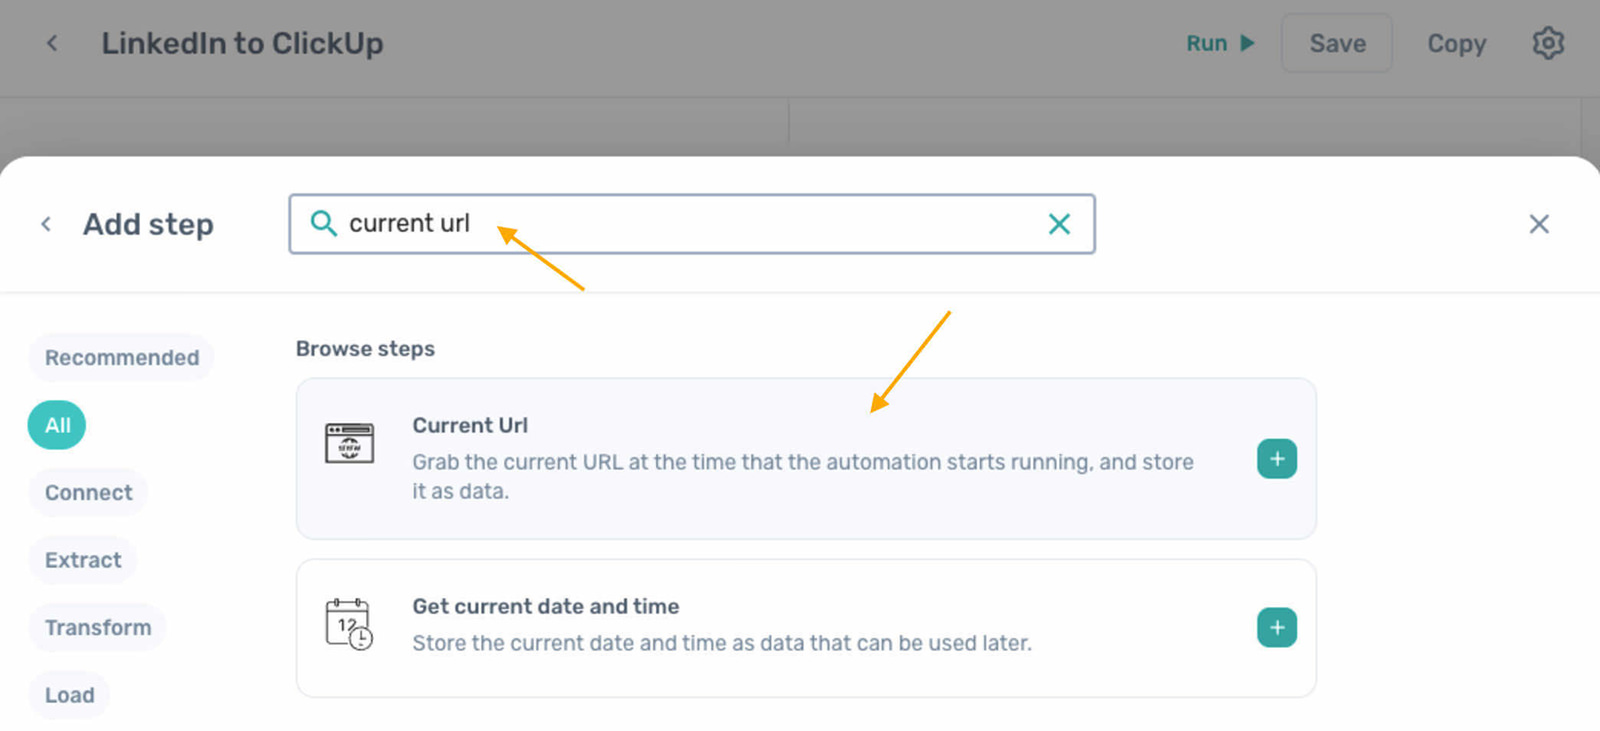
Next, in the ‘Add step’ section, look for “Current URL” and add the first option that appears.
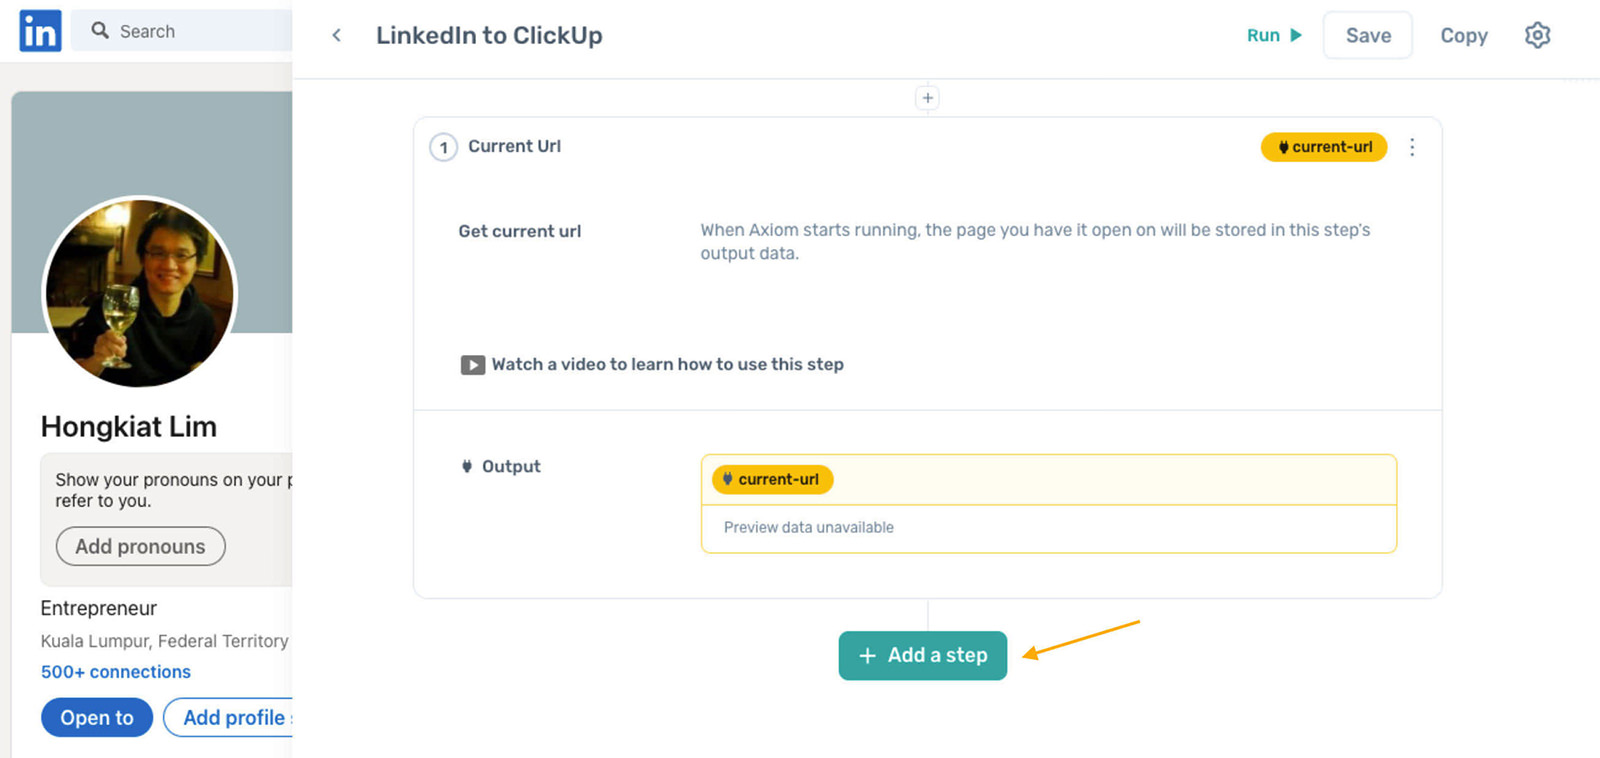
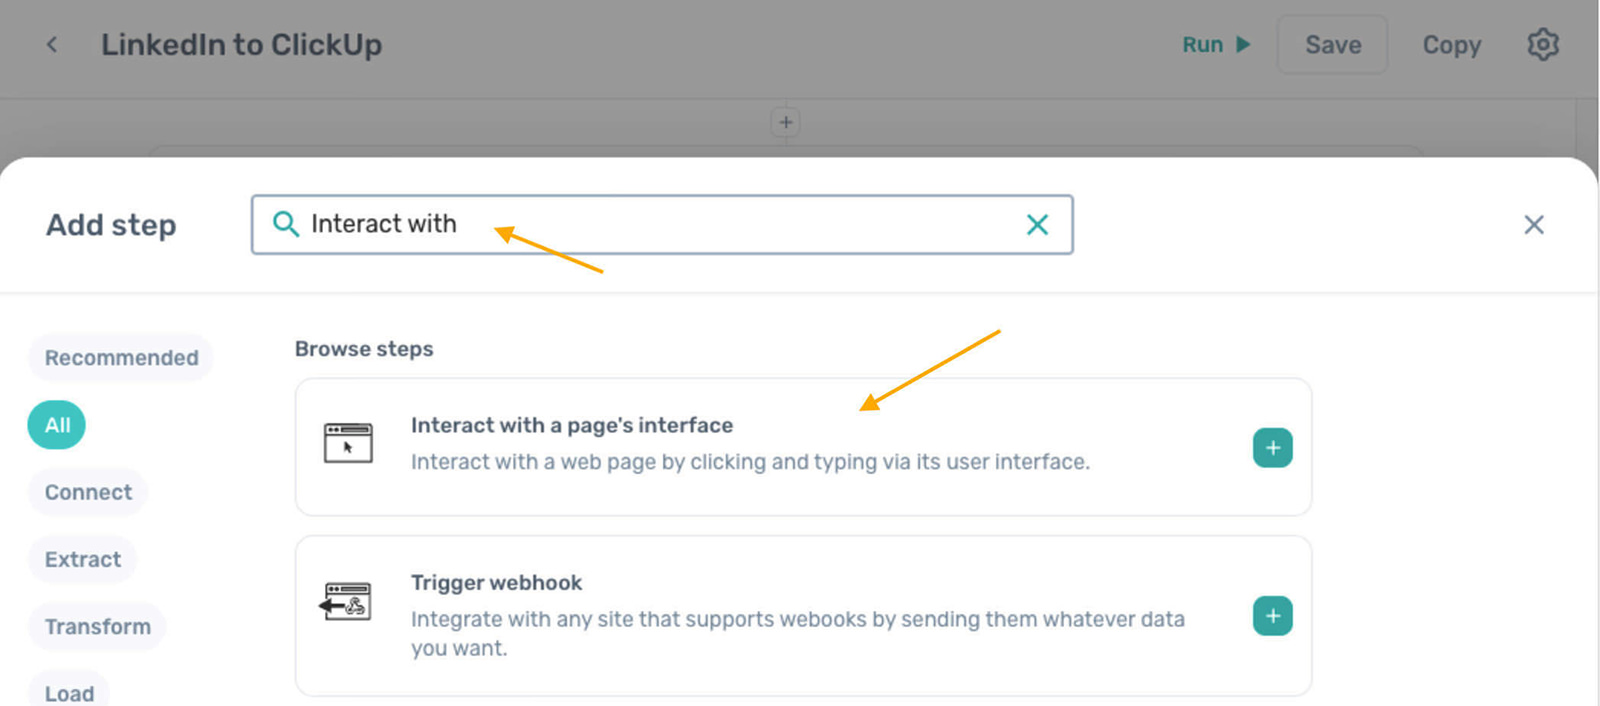
Step 2: Interacting with the Page
Add another step by clicking “+ Add a step“.
Look up “Interact with a page’s interface” in the search bar, and make it the next step in your automation.
Choose “Insert Data” and then select “[current-url]]” from the options provided.
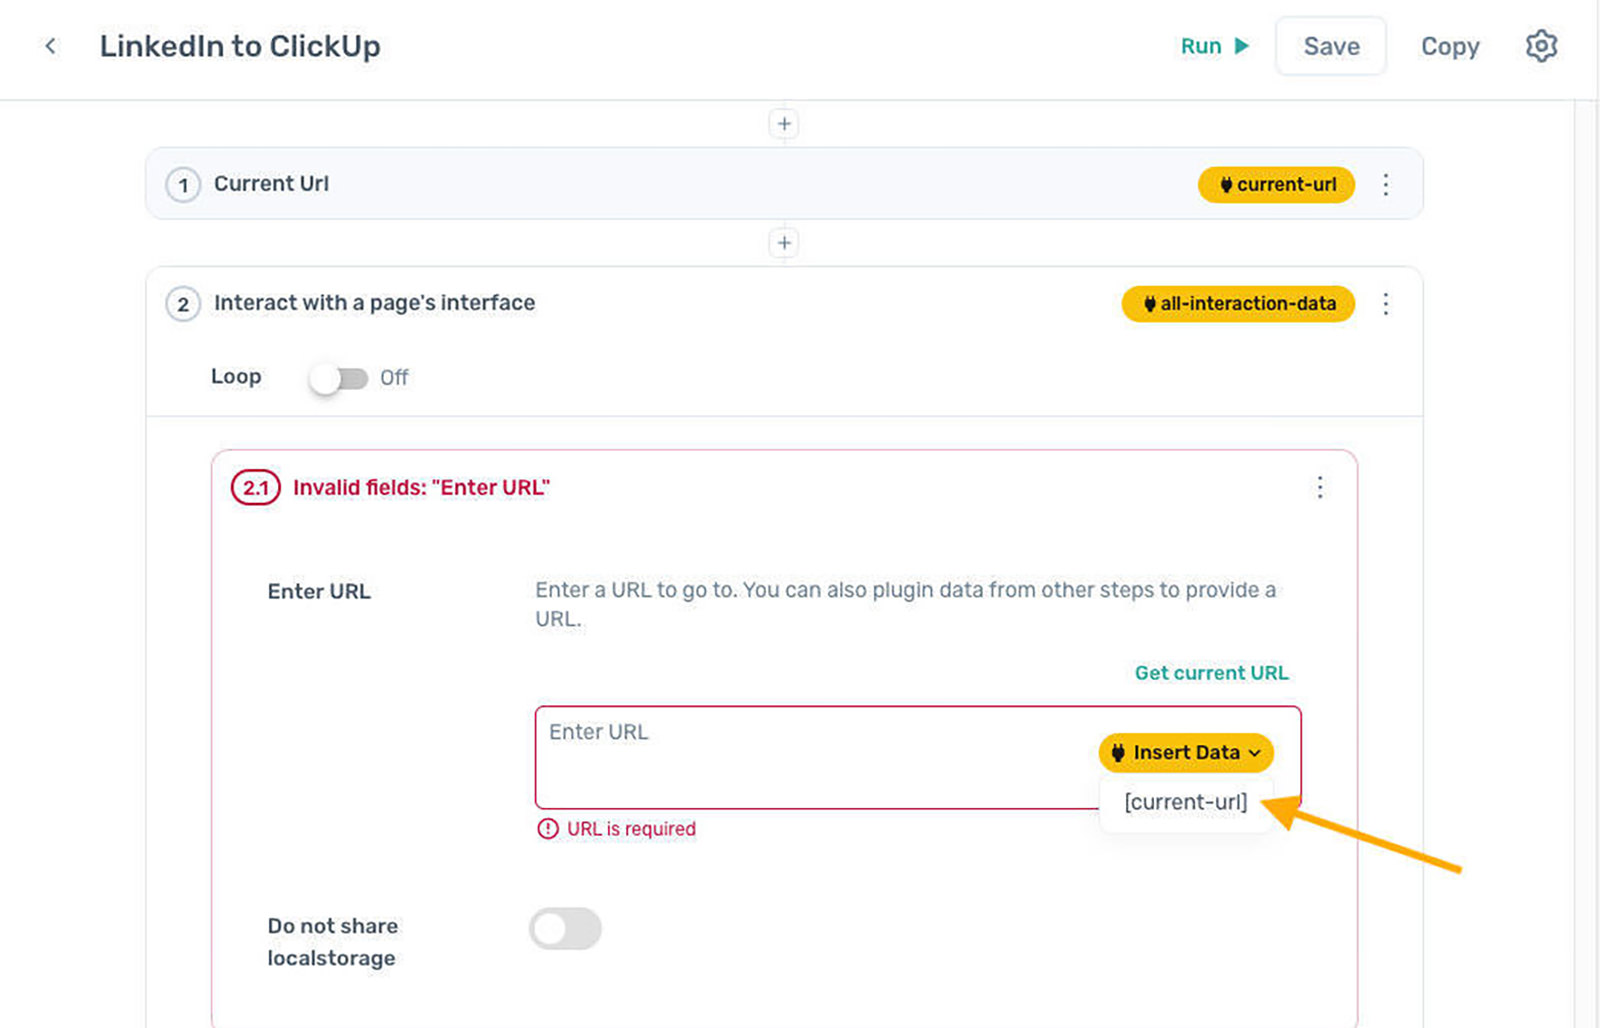
With the target page specified, we’re now ready to tell the bot what data to collect.
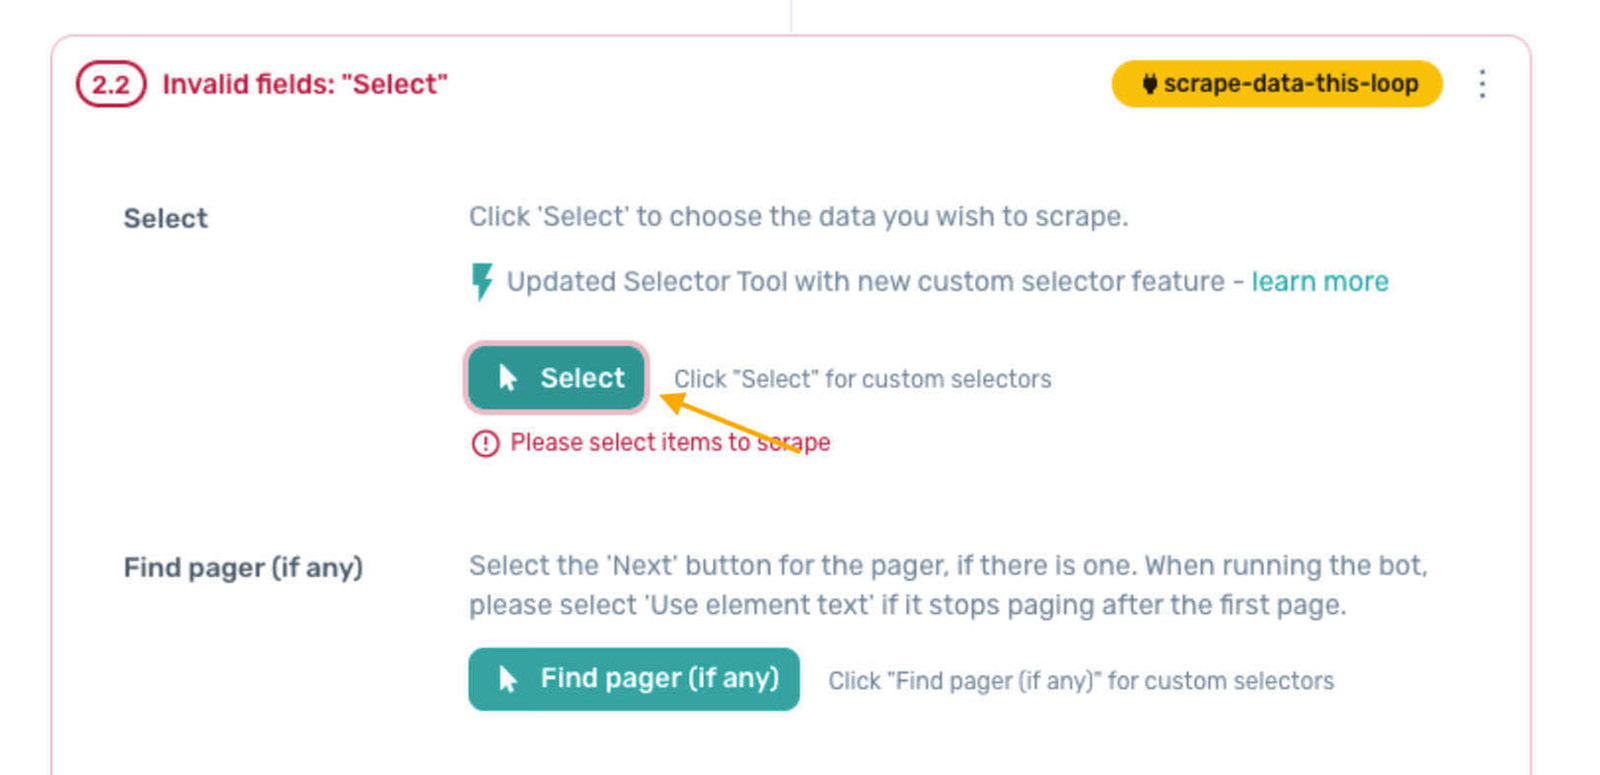
Step 2.2: Extracting the Data
Now, let’s add a sub-step. Click “+ Add a sub step“, search for and add “Get data from a webpage“.

Hit the “Select” button to proceed.
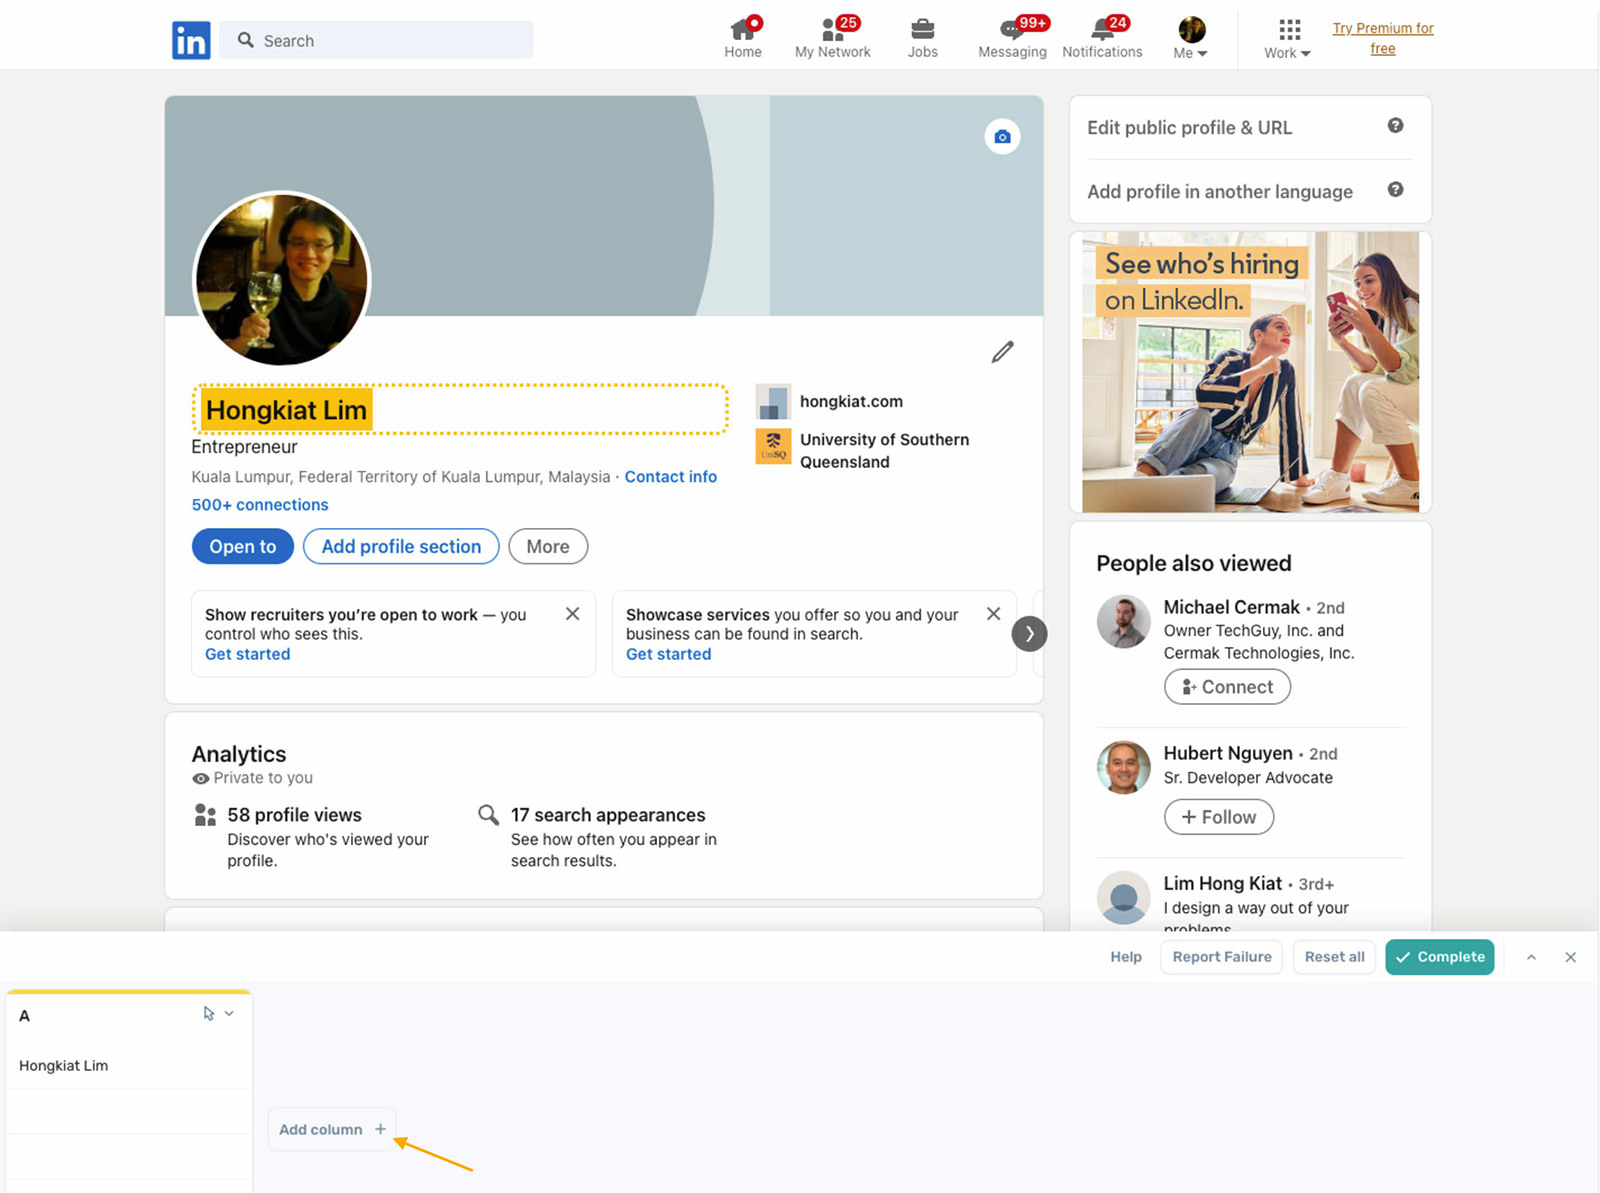
On the LinkedIn profile, click on the name field once to select it.
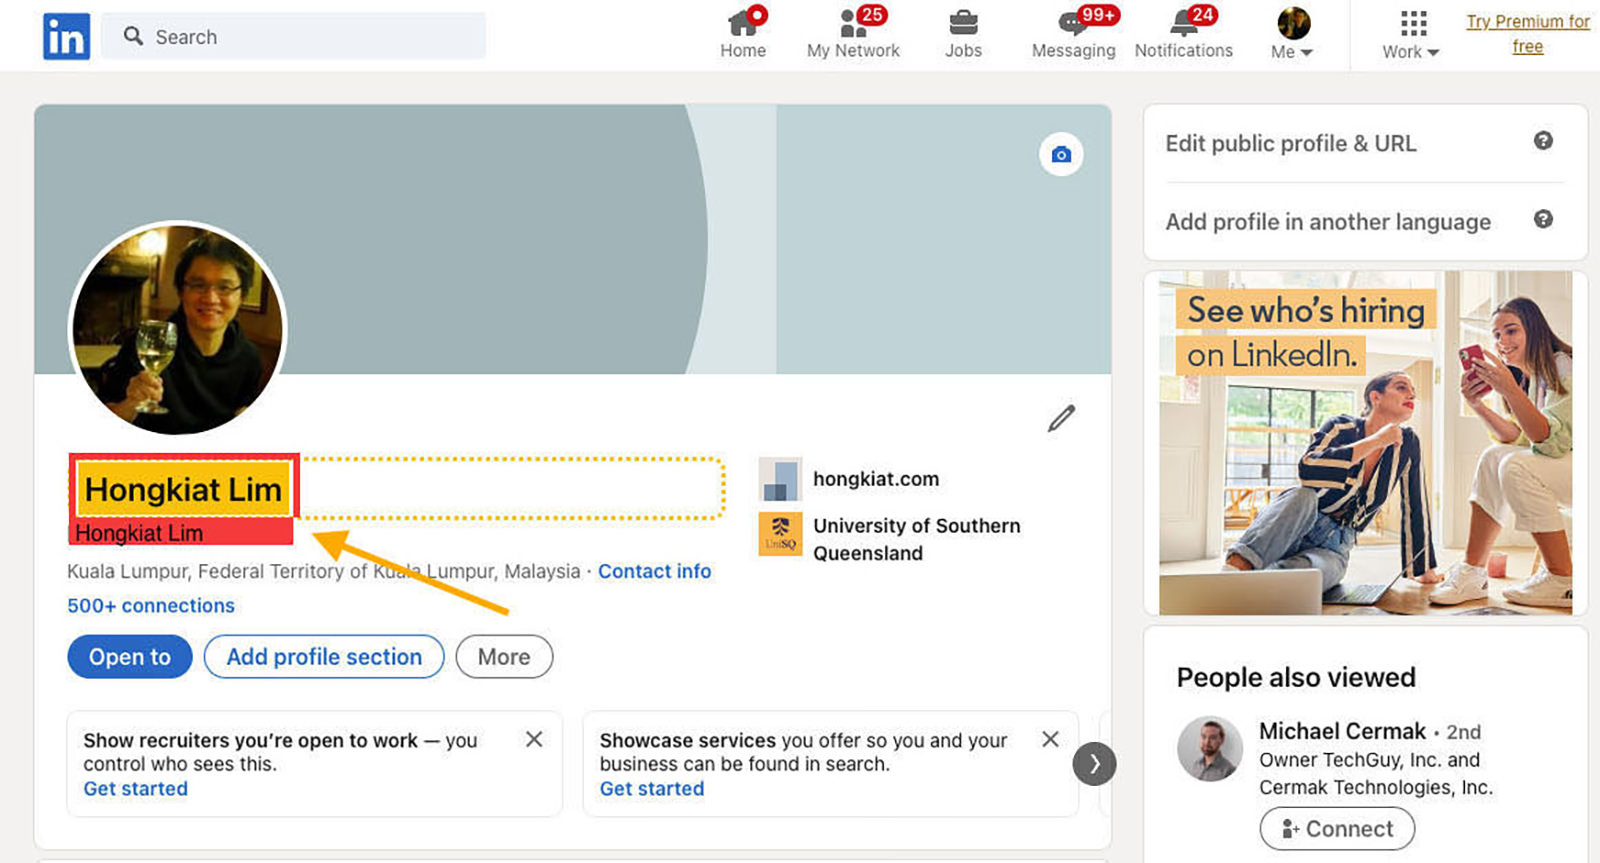
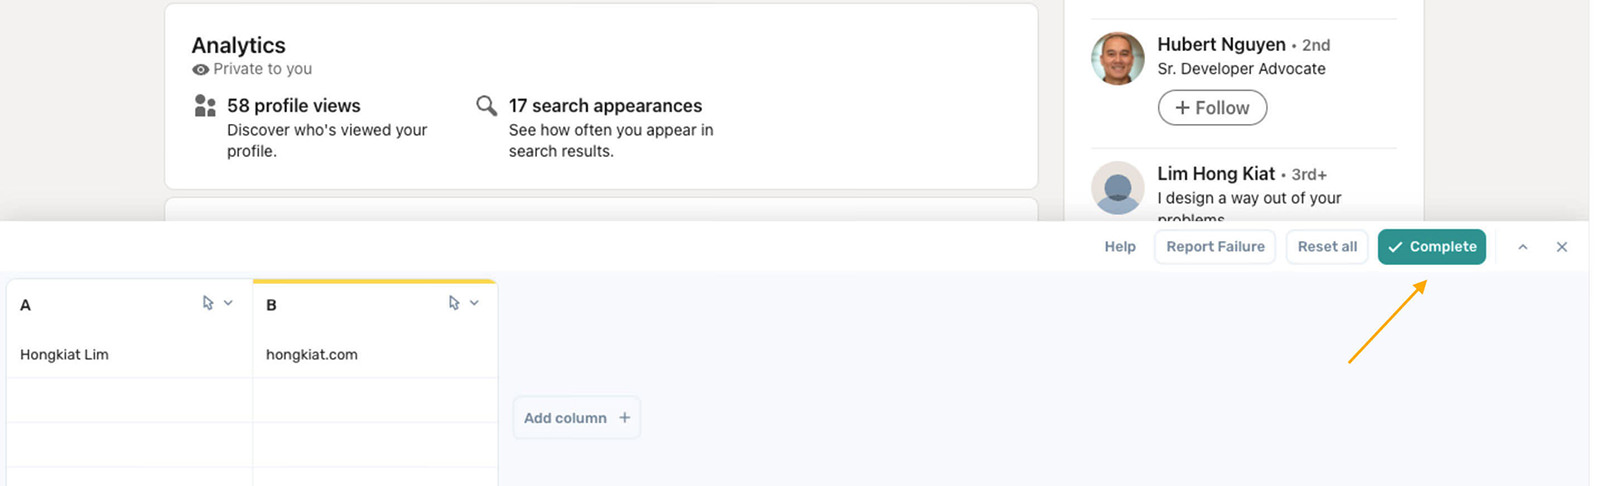
Scroll down and click “Add column +“, then return to the profile to click on the URL field.
When you’ve finished selecting the data, click the “Complete” button at the bottom of the page.
Step 3: Opening the ClickUp Form
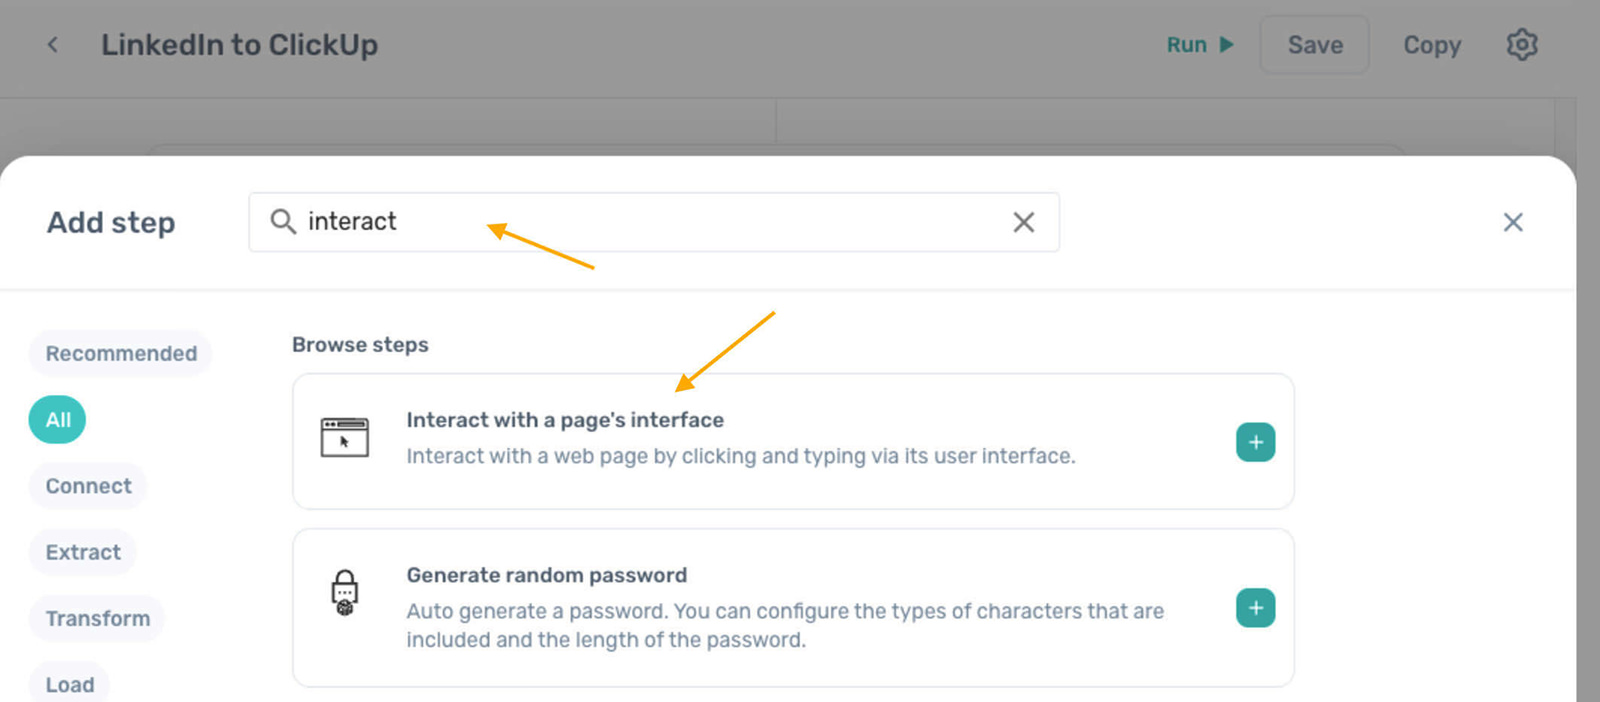
Continue by adding a new step with “+ Add a step“. Search for “Interact with a page’s interface” again.
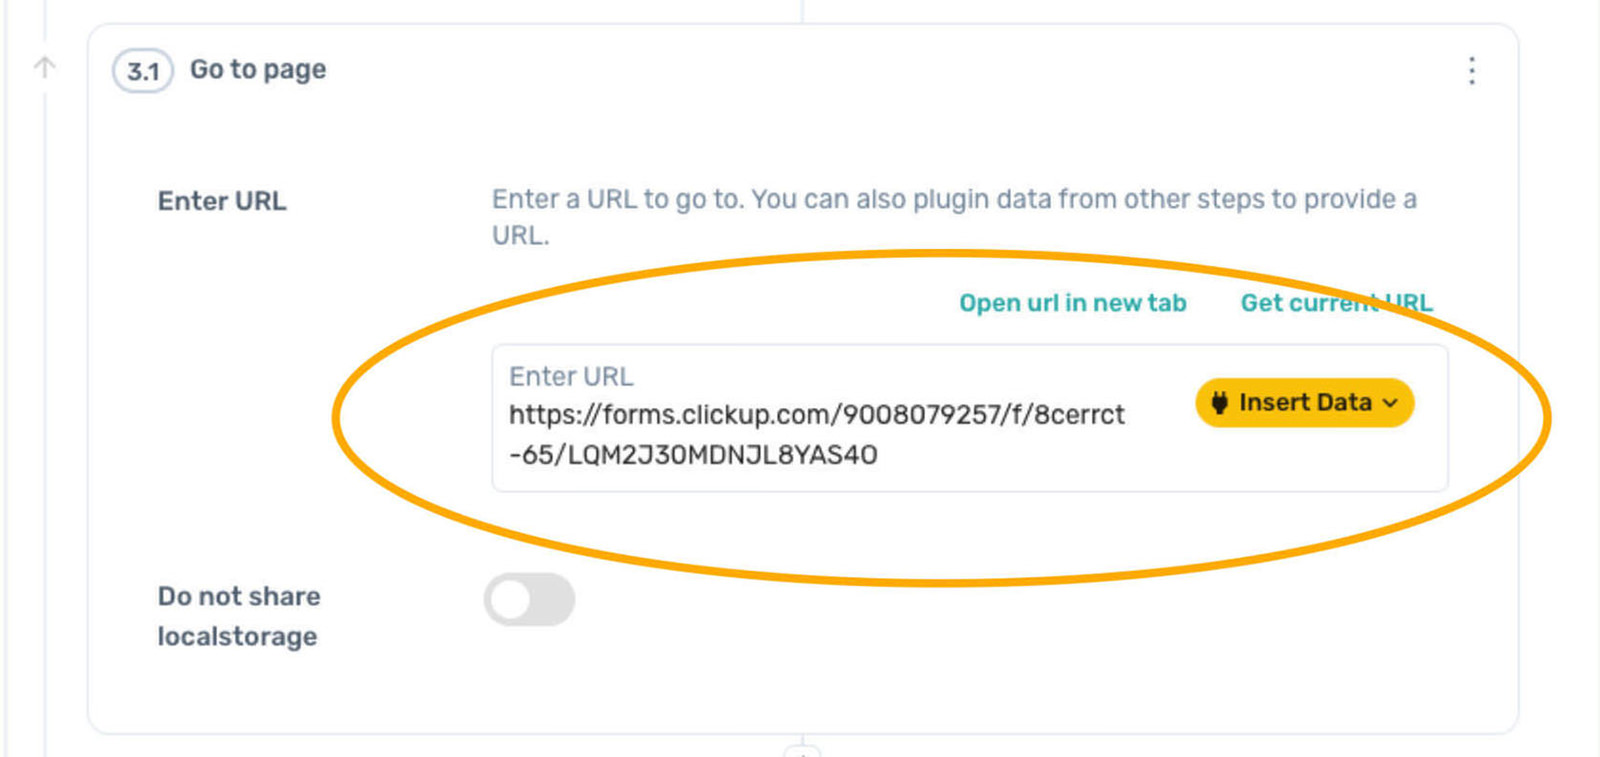
Fill in the ClickUp Form’s URL under “Enter URL” and select “Open URL in new tab“.
After the ClickUp form is open in a new tab, click the Axiom.ai Chrome extension icon to keep going.

Step 3.2: Entering Name Data into Form
Add another sub-step with “+ add a sub step“, search for “Enter Text“.
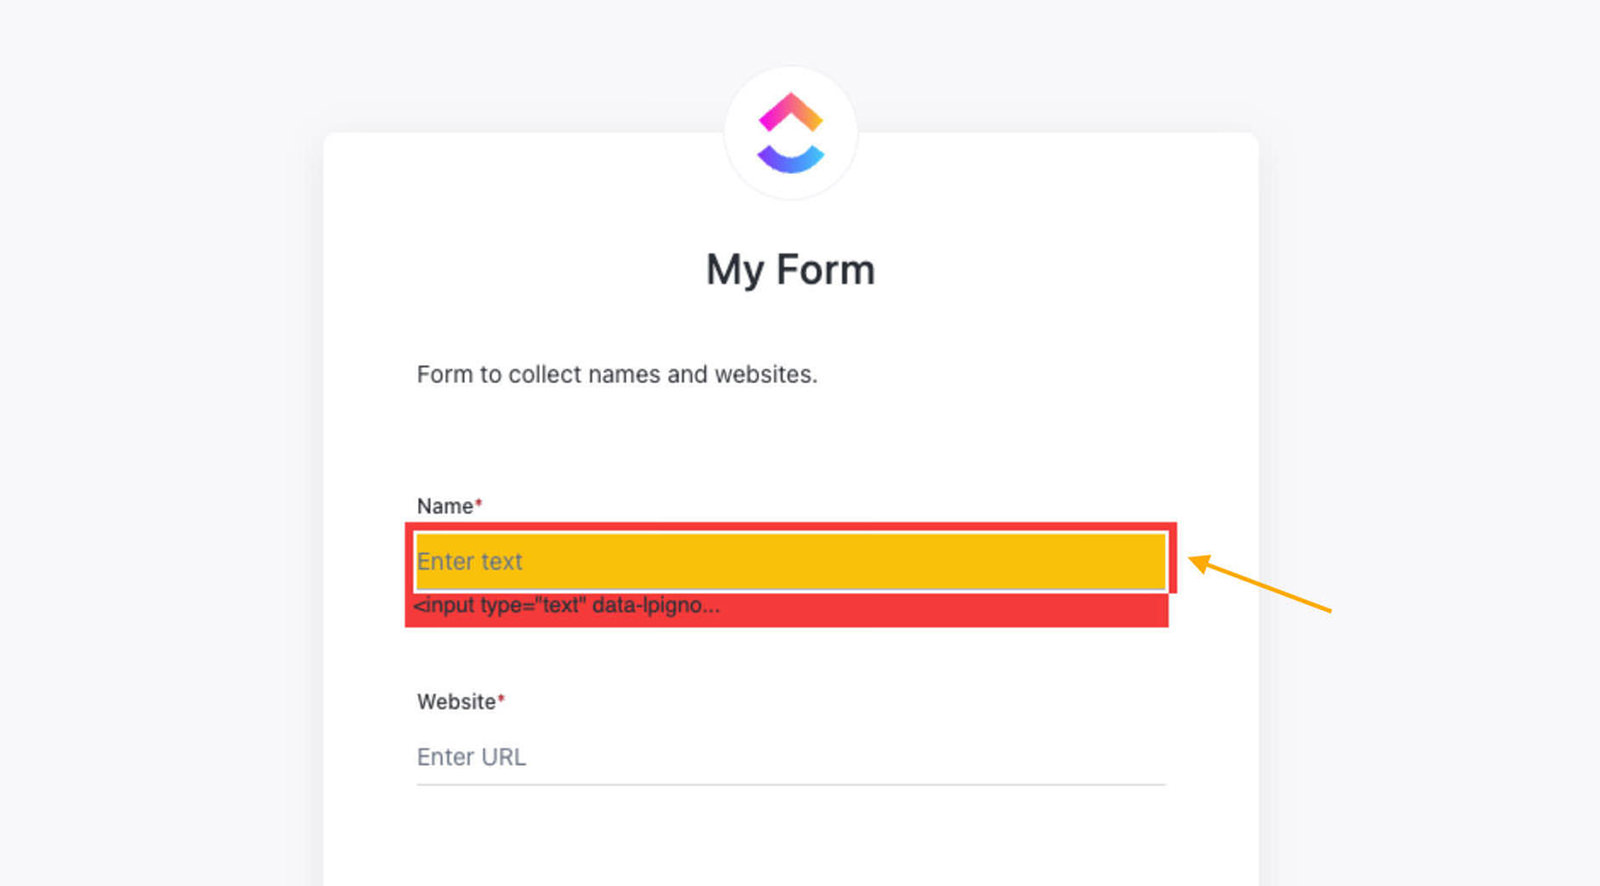
For the “Select text field“, hit the corresponding button, click once on the Name field in the ClickUp form, and finalize it with “Complete“.
In the “Text” section, click “Insert Data“, choose “all-interaction-data…“.
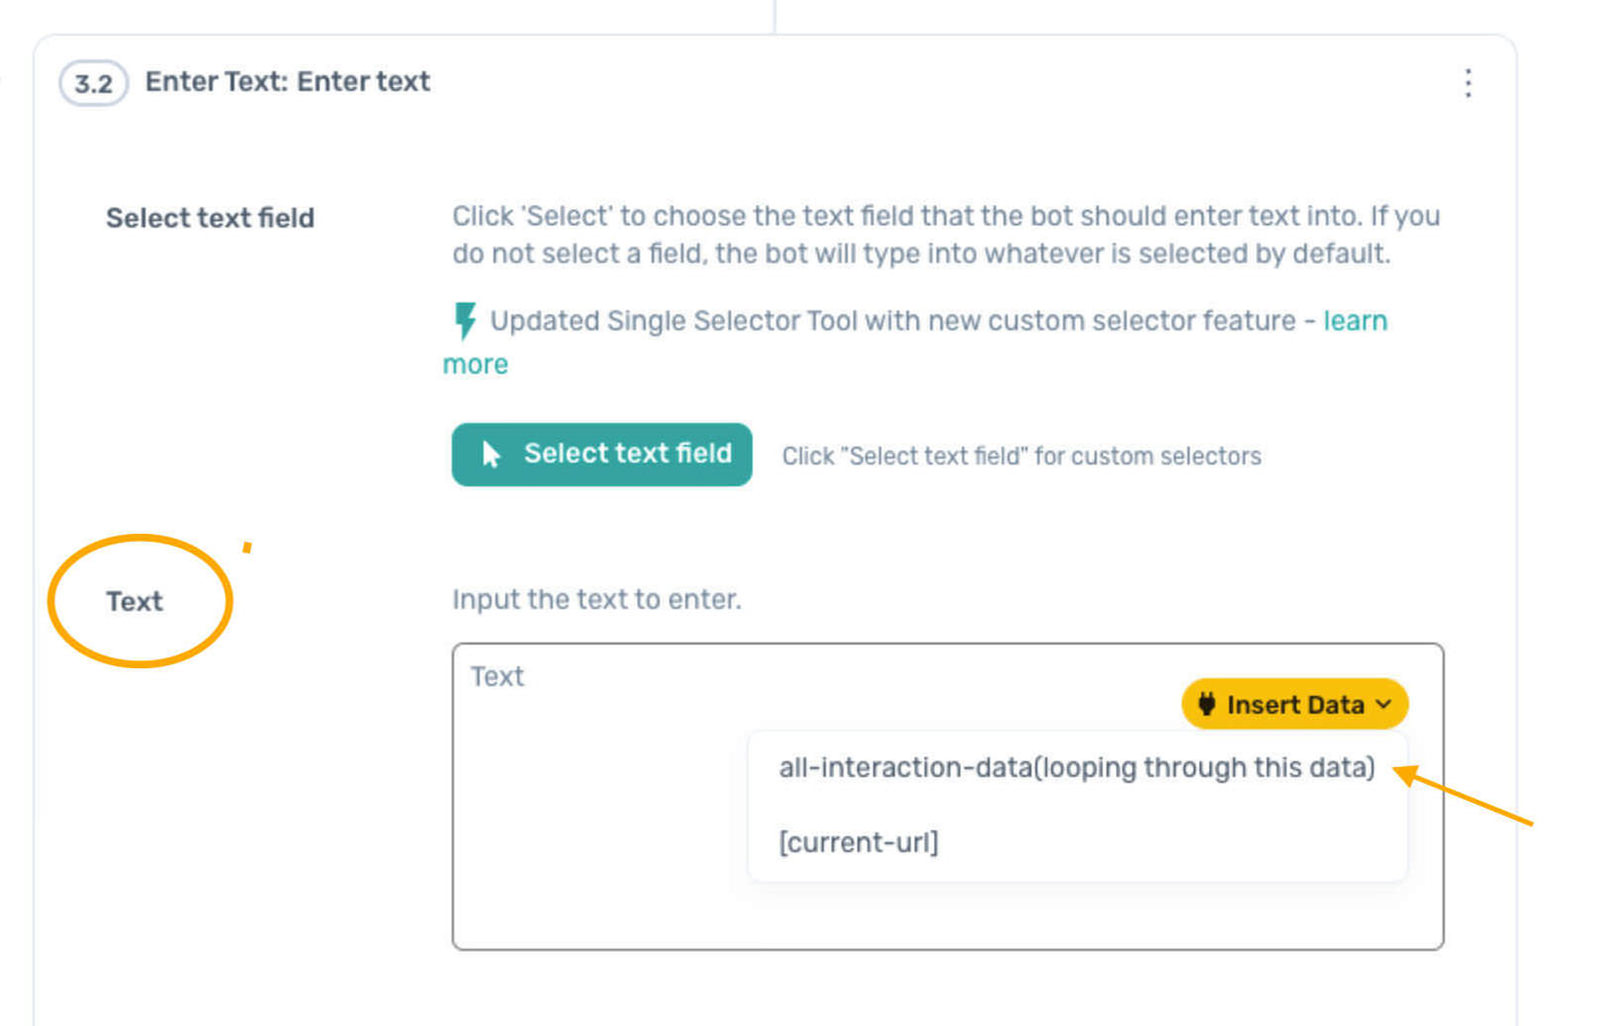
Pick Column A then click “Save and close“.

Step 3.3: Entering Website Data into Form
Again, click “+ add a sub step” and add another “Enter Text” step.
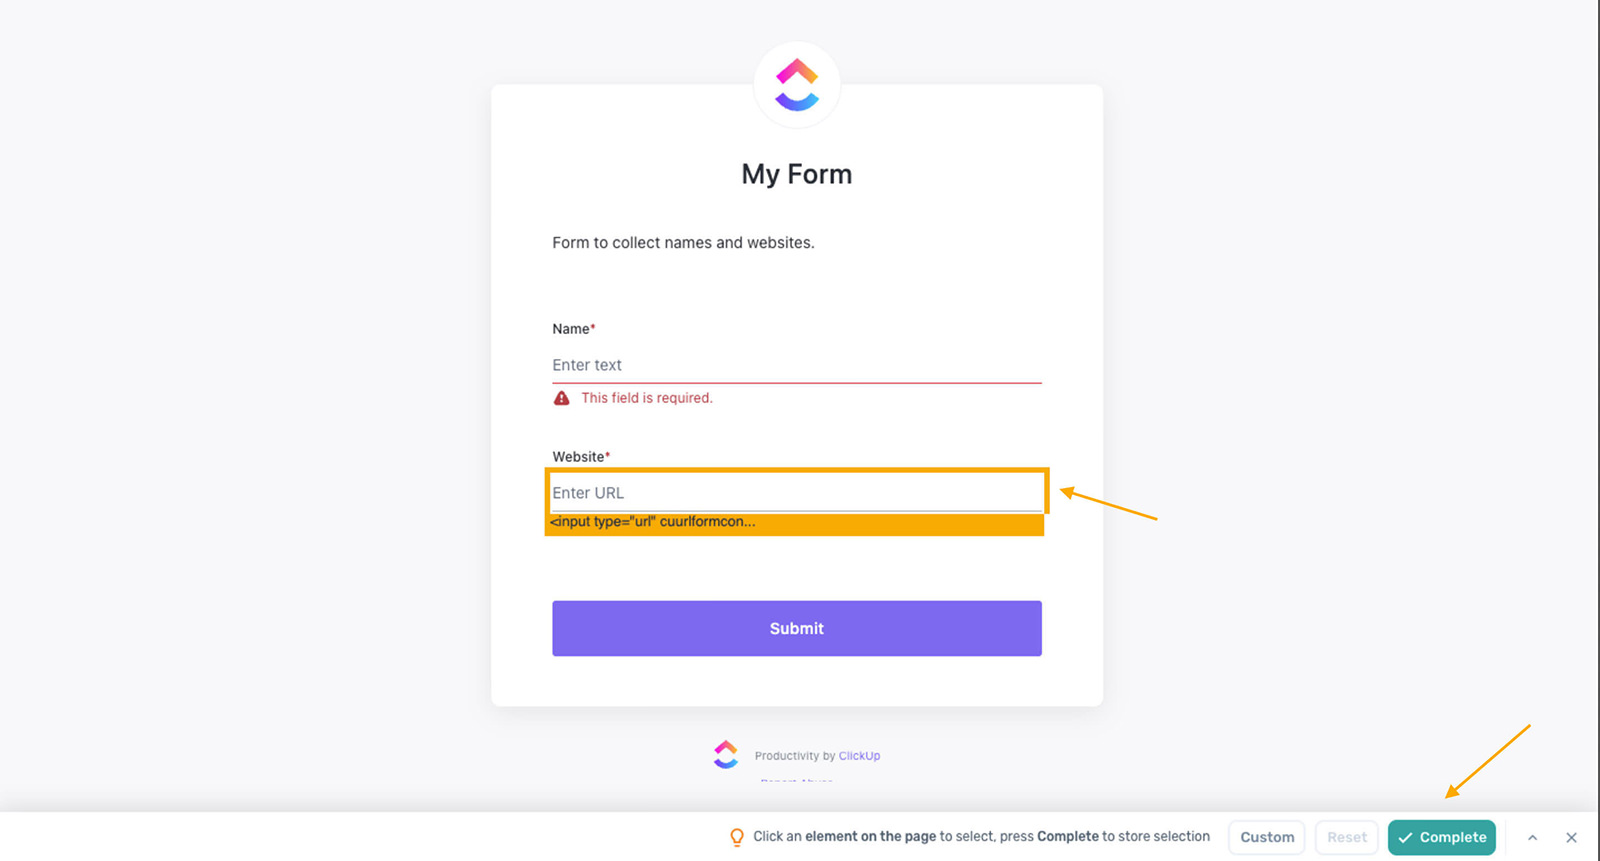
Click the “Select text field” button, but this time, click once on the Website field in the ClickUp form, and then hit “Complete“.
Under “Text“, hit “Insert Data“, select “all-interaction-data…“, choose Column B, and then click “Save and close“.
Step 3.4: Submitting the Form
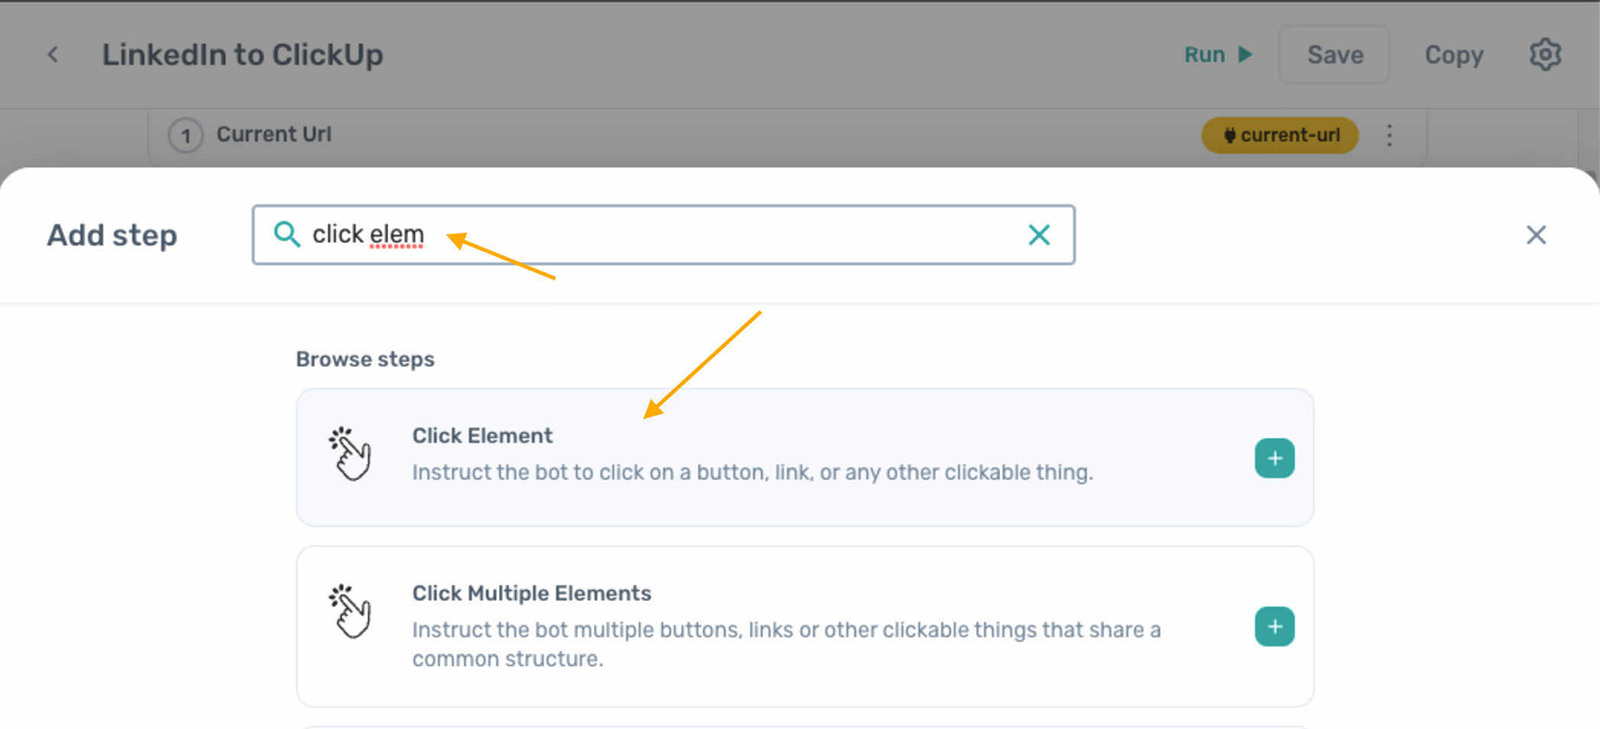
To submit the form, click “+ add a sub step” and look for “Click Element“. Then click the “Select” button, choose the Submit button on the ClickUp form page, and conclude with “Complete“.
With the automation setup finished, it’s time to run a test to ensure everything works smoothly.
Running a Test
To ensure your automation works, open a LinkedIn profile in Chrome. Access the Axiom.ai extension, click “Run” within your “LinkedIn to ClickUp” automation and choose “Run in cloud“.
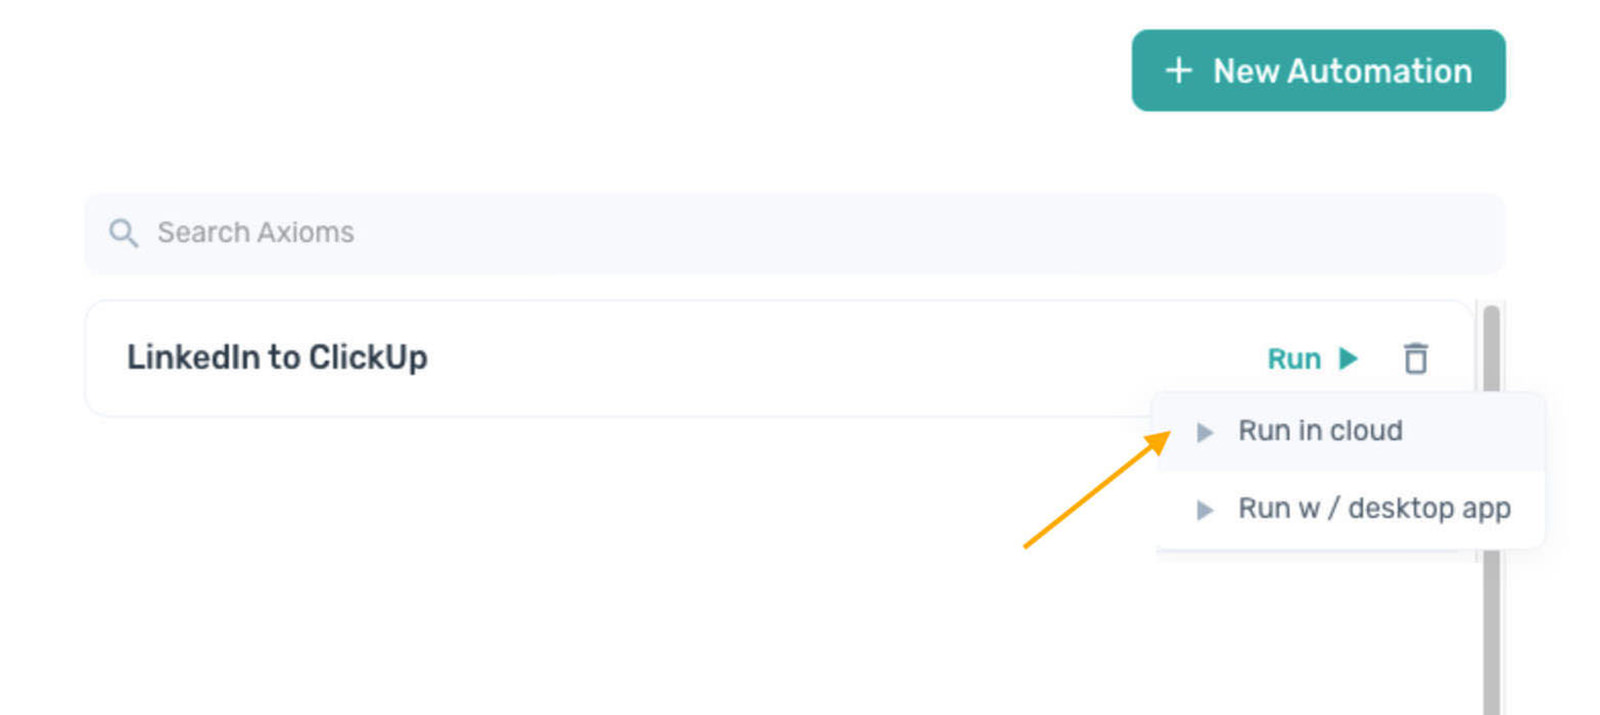
You may also opt for “Run w/ desktop app“, which requires installing the Axiom desktop app.
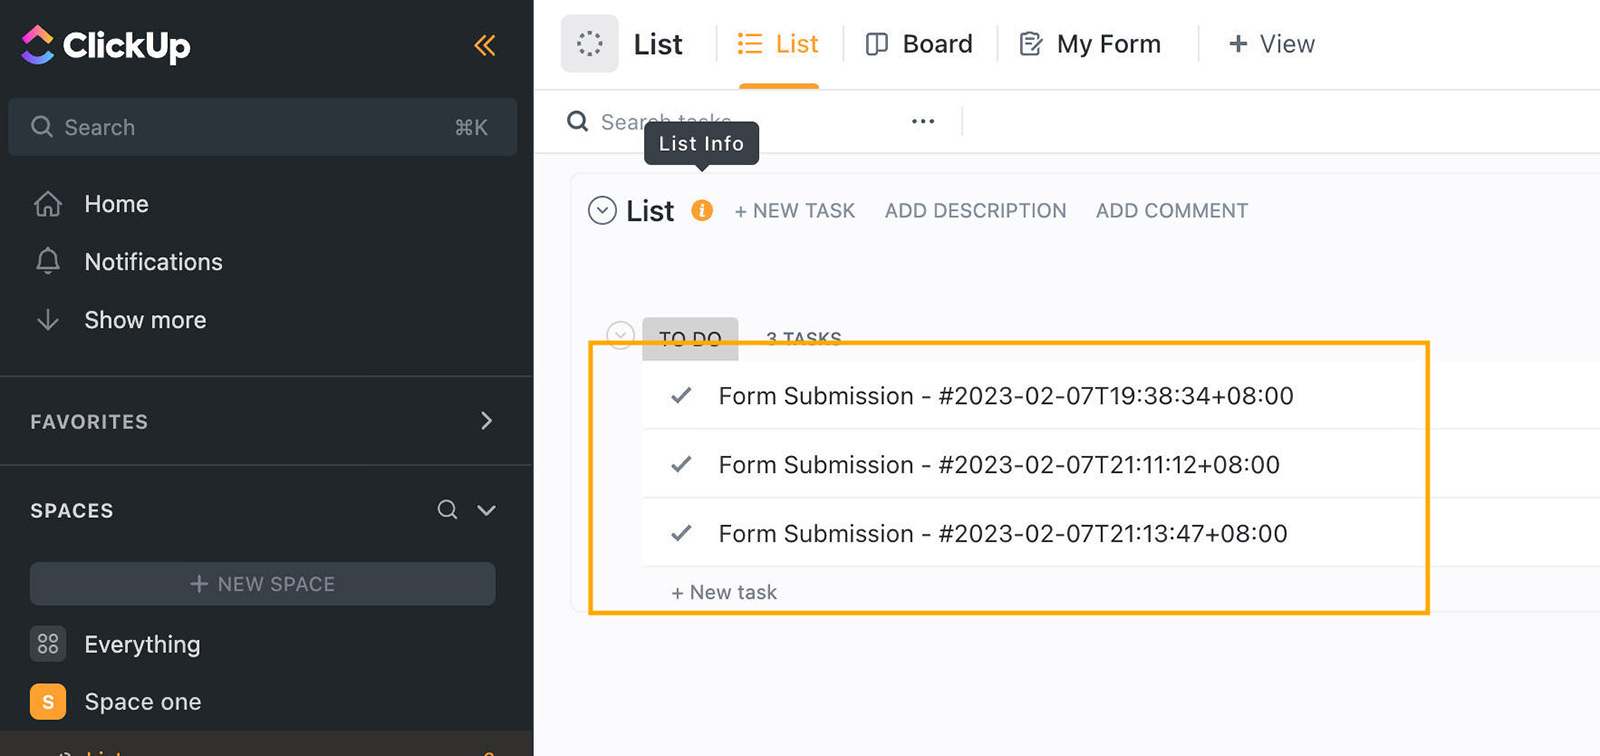
The automation will commence, and after completion, you’ll find the scraped data neatly stored in your ClickUp account.