How to Put Your WordPress Site in Maintenance Mode
There are times when you need to temporarily take your WordPress site offline, whether for updates, troubleshooting, or redesigns. Instead of displaying a broken or unfinished site, maintenance mode allows you to show visitors a professional message while you work behind the scenes.
Unlike a regular page, a maintenance page uses the 503 standard HTTP status code, which tells search engines the downtime is temporary and prevents SEO penalties.
In this article, we’ll walk you through a couple of different ways to implement this maintenance page. Let’s check it out.
Use Built-in Maintenance File
WordPress has a built-in maintenance mode that activates when you update your site. It creates a .maintenance file in the root directory of your site. This file contains the message you want to show visitors and the time the maintenance mode was activated. Likewise, you could create a .maintenance file manually to put your site in maintenance mode.
You can create the file, .maintenance, at the root of your WordPress site installation where the wp-config.php file resides, as you can see below:

Then put this code below within the file:
<?php $upgrading = time(); ?>
This will immediately activate WordPress maintenance mode. If you call the built-in wp_is_maintenance_mode function, it should return true, confirming that maintenance mode is active. When you reload the page, WordPress will display the default maintenance message.
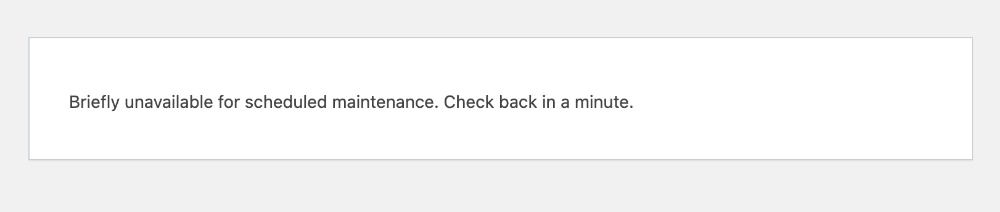
Customizing the Maintenance Page
The default maintenance message is simple and plain.
You can customize it by creating a custom maintenance page named maintenance.php within the wp-content directory. You can add a custom message and styles to the page to make it more appealing to visitors or make it fit better with your overall site design.
Here is an example code you can put within the file:
<!doctype html>
<html>
<head>
    <meta charset="utf-8">
    <title>Maintenance</title>
    <link rel="stylesheet" href="https://cdnjs.cloudflare.com/ajax/libs/normalize/8.0.1/normalize.min.css">
    <style>
    #container {
        display: flex;
        width: 100vw;
        height: 100vh;
        padding-inline: 20vw;
        box-sizing: border-box;
        text-align: center;
        justify-content: center;
        align-items: center;
        flex-flow: column wrap;
    }
    </style>
</head>
<body>
    <div id="container">
        <h1>Maintenance</h1>
        <p>Our website is currently undergoing scheduled maintenance. We should be back shortly. Thank you for your patience.</p>
    </div>
</body>
</html>
Now, when you reload your site, you should see the entire page rendered with the updated content and styles from this maintenance.php file.
The problem with this file is that you cannot use WordPress functions such as wp_head, wp_title, wp_footer, esc_html_e, etc. This means that you cannot display the site title, enqueue assets like stylesheets and JavaScript files, or any other dynamic content rendered using WordPress functions within this file.
That’s why, as you can see above, we’ve only added static content and linked stylesheets statically as well.
This leads to additional problems, such as the inability to translate content on the maintenance page. And since stylesheets can’t be dynamically enqueued, the maintenance page design may feel out of place if you change your theme.
Use a Plugin
The easiest way to enable maintenance mode on your WordPress site is by using a plugin. There are several options available, but in this article, we’ll use Feature Flipper. This plugin includes various utilities, one of which allows you to activate maintenance mode easily.
After installing and activating the plugin, navigate to Settings > Features > Site and enable the “Maintenance” option. As we can see below, you can also customize the maintenance page content to match your needs.

The maintenance page automatically inherits styles from your active theme to ensure that the page seamlessly matches your theme’s styles. If you change your theme, the maintenance page will adapt to the new styles accordingly.
Here’s how it looks with some of the popular themes from the WordPress.org repository:
TwentyTwentyFive

TwentyTwentyFour

TwentyTwentyOne

Wrapping Up
In this article, we explored two ways to enable maintenance mode on your WordPress site. The built-in method is quick and easy but lacks customization. Meanwhile, a plugin offers more flexibility and makes it easy to toggle maintenance mode on and off directly from the dashboard.
No matter which method you choose, don’t forget to disable maintenance mode once you’re done so your site remains accessible!